This is a trick I share, as I see many students having problems with this.
Assuming that your Kali distribution is recent (Linux Kernel bigger than Kernel 5.3), the most typical problem student have is that laptops xps from Dell and other brands have a combination of keys to enable or disable the Wifi.
On the Dell xps is on the key PrtScr, so if your Wifi is disabled, you can enable it in Kali Linux press:
CTRL + ALT + Fn + PrtScr
As you can see in the PrtScr the is an icon of Wifi Signal.
The Fn key is on the bottom left, next to Ctrl.
This is a very simple to fix problem, but many people suffer this problem and go crazy trying to update drivers or even having to use an external USB dongle.
You know I love Linux. I was compiling my own Kernels back in 1995, when it took more than 24 hours in a 386, and working on the first ISPs in Barcelona managing the Linux Systems.
For my computers I prefer Linux, no doubt about it, but many multinationals I worked for have Windows option only for the Laptops and Desktops.
During years I had to deal with sending files to Linux or Unix (HP UX, Sun Solaris…) to process them and getting back the result. Some sort of ETL and Map Reduce in the prehistory of personal computers, taking in count aspects like Networks speeds too, available space, splitting files for processing.
When I was working as Senior Project Manager in Winterthur Insurance, now Axa, I had to run a lot of ETL (Extract Transform Load) for considerably big files, or when I was project manager and later head of department in Volkswagen gedas or later helping Start ups like Privalia. I can tell you that Windows didn’t like you to open editors to work with 1GB text or CSV file, and doesn’t like it, even if your computer has 16GB of Memory, and even if they do the simplicity of Bash scripts and using pipes, grep, awk… is so powerful that is very convenient to have those files processed using Linux.
And honestly is a pain to send back and forth files to a UNIX System just for Data Crunch. And a VM will be slow and use memory, and you have enable some sort of sharing with it so it can access the Data. Not to talk if you need to split the data files in blocks to be processed in parallel by several computers.
There are many solutions, like using Virtual Machines, Docker, external Servers, etc…
WSL allows you to run Linux command line tools inside Windows.
Having WSL allows things to be done much more straightforward, processing the files in your local windows hard drives.
Please note: Maybe you have enough using GitBash.
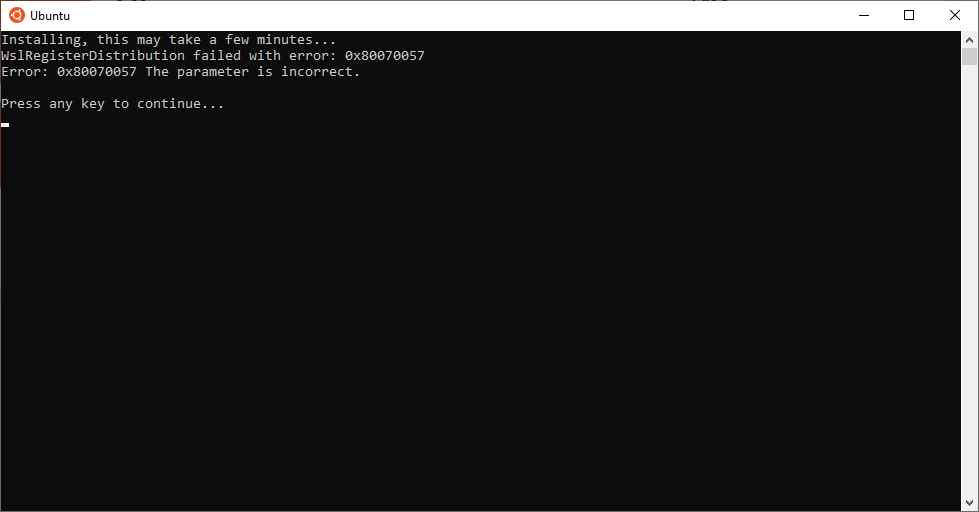
Error installing: WslRegisterDistribution failed with error: 0x80070057
When I installed it I found this error and look for an answer online. I found no solutions and many people suffering from the same problem, so I decided to publish an article on how to make it work.
Microsoft use Powershell to activate the features disabled in Windows, I did the same with Command Line, which I found more convenient for most of the non extremely tech people.
You will need:
For x64 systems: Version 1903 or higher, with Build 18362 or higher.
You can check your version of windows opening a Terminal (CMD.exe) and typing:
winver
For ARM64 systems: Version 2004 or higher, with Build 19041 or higher.
I’m not covering installing WSL for ARM, only for Intel/AMD Desktop/Laptops with Windows 10.
If you’re unsure, you can open a Terminal (CMD.exe) and run:
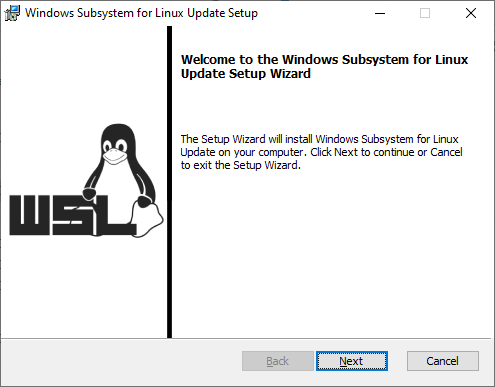
The recommended way to install Ubuntu on WSL is through the Microsoft Store.
The following Ubuntu releases are available as apps on the Microsoft Store:
Ubuntu 16.04 LTS (Xenial) is the first release available for WSL. It supports the x64 architecture only. (offline installer: x64)
Ubuntu 18.04 LTS (Bionic) is the second LTS release and the first one supporting ARM64 systems, too. (offline installers: x64, ARM64)
Ubuntu 20.04 LTS (Focal) is the current LTS release, supporting both x64 and ARM64 architecture.
Ubuntu (without the release version) always follows the recommended release, switching over to the next one when it gets the first point release. Right now it installs Ubuntu 20.04 LTS.
Each app creates a separate root file system in which Ubuntu shells are opened but app updates don’t change the root file system afterwards. Installing a different app in parallel creates a different root file system allowing you to have both Ubuntu LTS releases installed and running in case you need it for keeping compatibility with other external systems. You can also upgrade your Ubuntu 16.04 to 18.04 by running ‘do-release-upgrade’ and have three different systems running in parallel, separating production and sandboxes for experiments.
But if you prefer, instead of using the Windows Store, you can download the appx.
In the same page mentioned you can do it for several versions, I attach the link for Ubuntu 20.04 LTS: https://aka.ms/wslubuntu2004
Assuming you used the Windows Store, if you did not reboot and try now to execute it for the first time, or you go to the Command Line and write bash, or open Ubuntu from Windows menu, whatever method you use, you’ll get the abovementioned error.
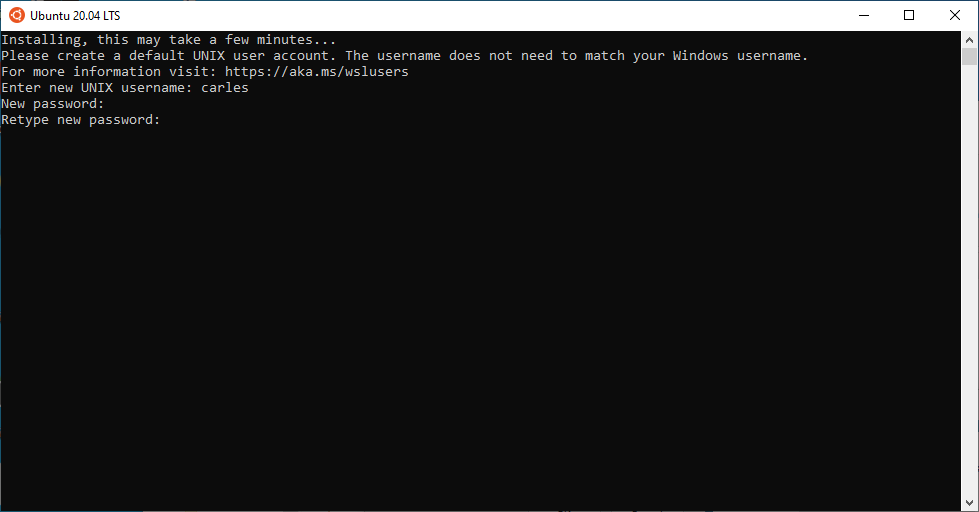
If that happens to you, just reboot and when you open it will work and will start the install and ask for a user and password:
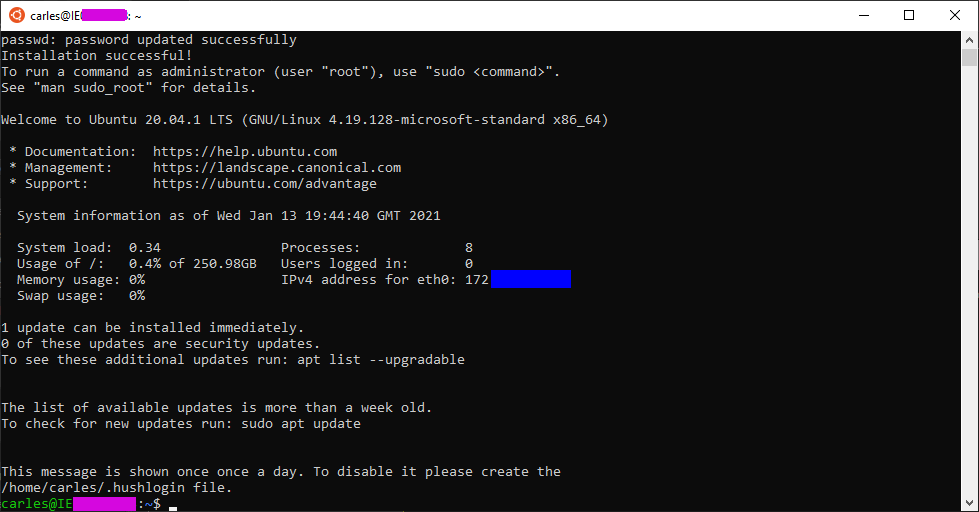
From here you’re able to update the system, execute the text commands available in Linux, access to the Windows drives, launch htop, git, Python3, apt, wget… copy and paste between windows and Linux terminal, share PATH…
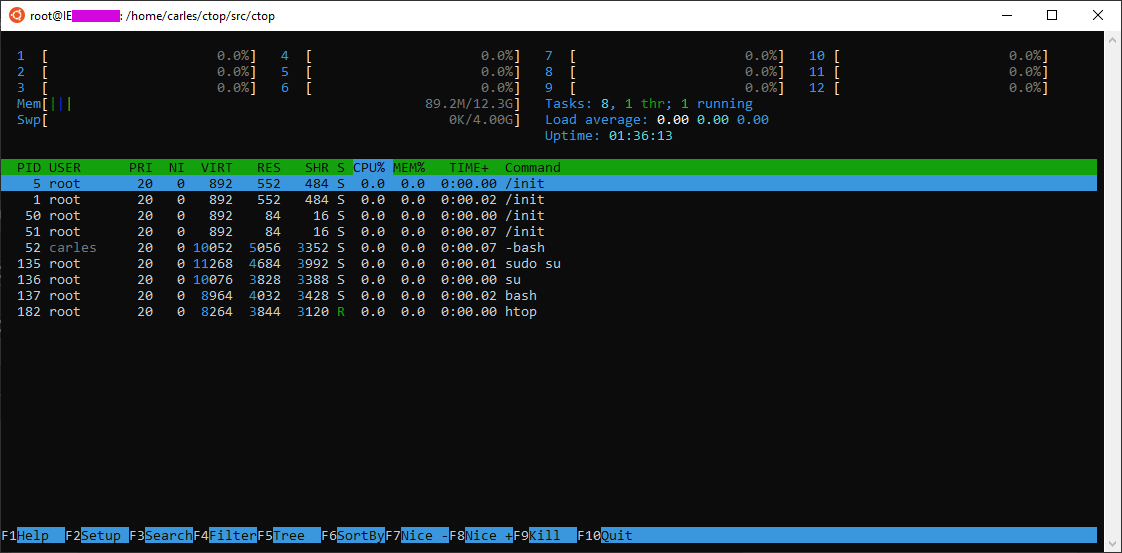
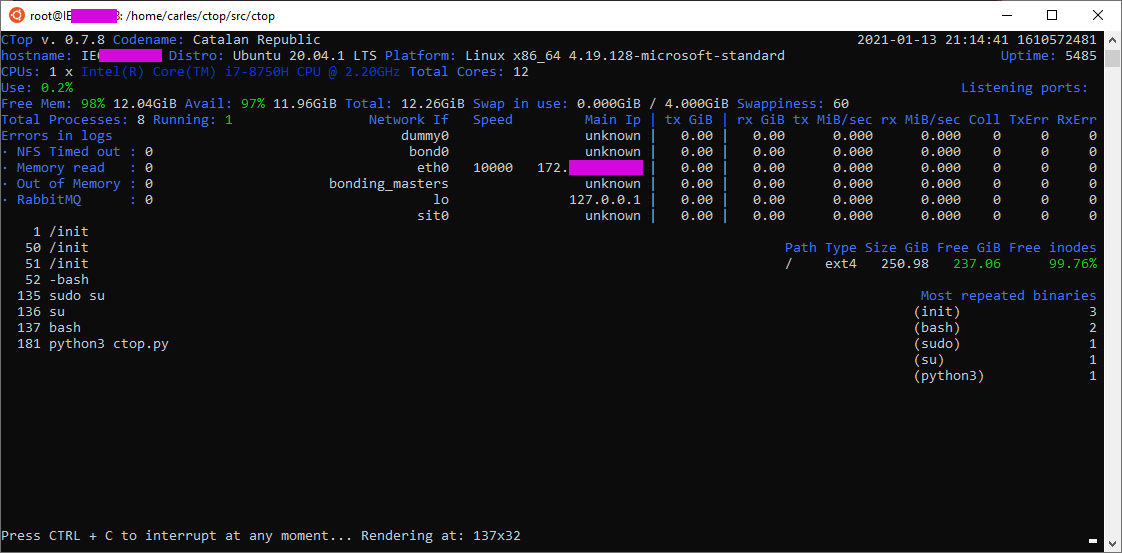
And of course you can run CTOP.py
Take in count that the space reported in / partition is not real, and that you have a 4GB swap.