Category Archives: Windows 10 Pro

Using Docker in Windows 10 without Windows Desktop with Docker Engine and without WSL

I added this article to my Docker Combat Guide book.

The change of license of Docker Desktop for Windows has been a low punch, a dirty one.
Many big companies use Windows as for the laptops and workstations, we like it or not.

You can setup a Linux development computer or Virtual Machine, you may argue, but things are not as easier.

Big companies have Software licenses assigned to corporation machines, so you may not use your Pycharm license in a Linux VM.

You may no use Docker Desktop either, if your company did not license it.

And finally you may need to have access to internal resources, like Artifactory, or Servers where access is granted via ACL, so only you, from your Development machine can access it. So you have to be able to run Docker locally.

After Docker introduced this changed of license I was using VirtualBox with NAT attached to the VPN Virtual Ethernet, and I port forwarded to be able to SSH, deploy, test, etc… from outside to my Linux VM, and it was working for a while, until with the last VirtualBox update and some Windows updates where pushed to my Windows box and my VirtualBox VMs stopped booting most of the times and having random problems.

I configured a new Linux VM in a Development Server, and I opened Docker API so my Pycharm’s workstation was able to deploy there and I was able to test. But the Dev Ip’s do not have access to the same Test Servers I need my Python Automation projects to reach (and quickly I used 50 GB of space), so I tried WSL. I like Pycharm I didn’t want to switch to VStudio Code because of their good Docker extensions, in any case I could not run my code locally with venv cause some of the packages where not available for Windows, so I needed Linux to run the Unit Testing and see the Code Coverage, run the code, etc…

I tried Hyper-V, tried with NAT External, but it was incompatible with my VPN.

Note: WSL can be used, but I wanted to use Docker Engine, not docker in WSL.

Installing Docker Command line binaries

The first thing I checked was the Docker downloads page.

I found the stand alone binary.

https://docs.docker.com/engine/install/binaries/#install-server-and-client-binaries-on-windows

In order to install it:

  1. Download the zip file from the page, in my case docker-20.10.12.zip
  2. Open PowerShell as Administrator
  3. Run: Expand-Archive C:\Users\carlesmateo\Downloads\docker-20.10.12.zip  -DestinationPath $Env:ProgramFiles\DockerCLI
  4. Run: cd $Env:ProgramFiles\DockerCLI\docker
  5. Run: .\dockerd.exe –register-service
  6. Run: Start-Service docker
  7. Check that Docker lists the running Containers (no errors) with: docker ps
  8. Check that the Service is running with: Get-Service docker
    You should expect something like:
Status Name DisplayName
------ ---- -----------
Running docker Docker Engine

Attempt to pull an Image with: docker pull ubuntu or docker pull php

If it works, you’re done, but most probably you will get it starting and get this error:

Error response from daemon: unsupported os linux

or this other error:

no matching manifest for windows/amd64 10.0.19042 in the manifest list entries

Depending on your system you may need to do certain things:

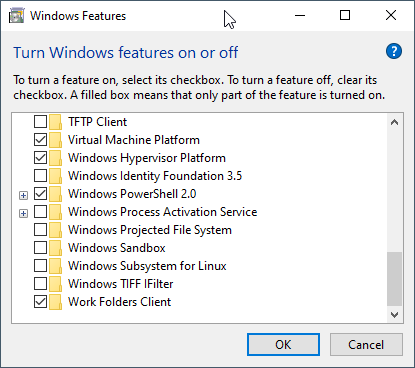
Turn Windows features on or off

I would make sure that are enabled:

  • Containers
  • Hyper-V
  • Virtual Machine Platform
  • Windows Hypervisor Platform
As you see WSL is not enabled

Press OK, and restart your computer.

Try Again to docker pull ubuntu

Enable Experimental Mode

Edit this file to enable experimental, you can run from the PowerShell:

notepad C:\ProgramData\Docker\config\daemon.json
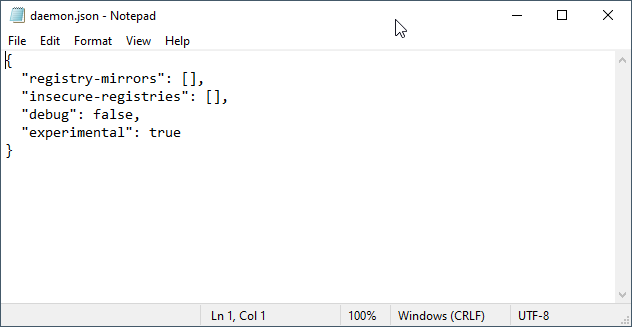
Change experimental from false to: true

Save the file and restart the Service:

Restart-Service docker

Check if it works

Get-Service docker
Status   Name               DisplayName
------   ----               -----------
Running  docker             Docker Engine

Try if now it works.

Switch Daemon

If it is not working, try running:

cd "C:\Program Files\Docker\Docker\"
.\DockerCli.exe -SwitchDaemon
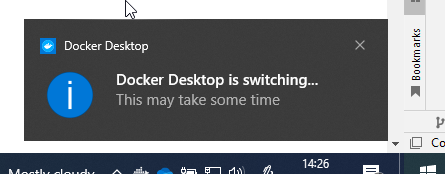
Give it two minutes and try to pull an image.
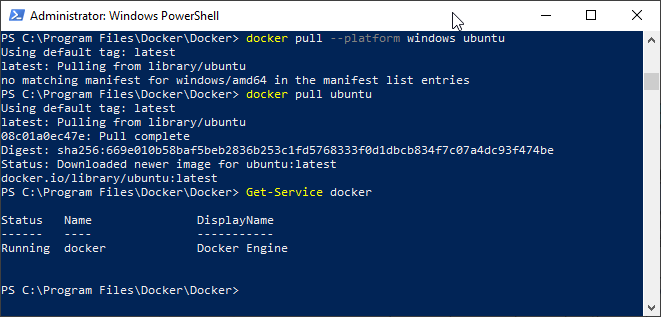
If it is still not working reboot, and try again:

cd "C:\Program Files\Docker\Docker\"
.\DockerCli.exe -SwitchDaemon
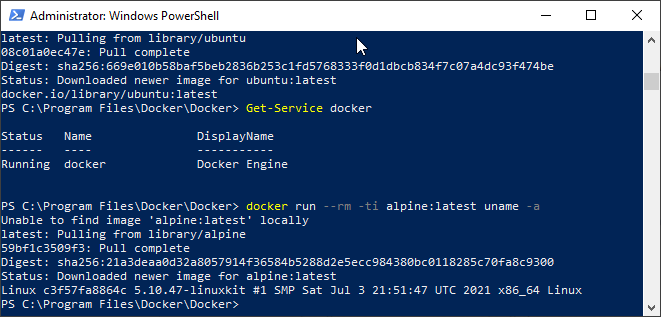
After it is working

I recommend you to add the new stand alone docker to the path, so you can call it from the terminal at any moment.
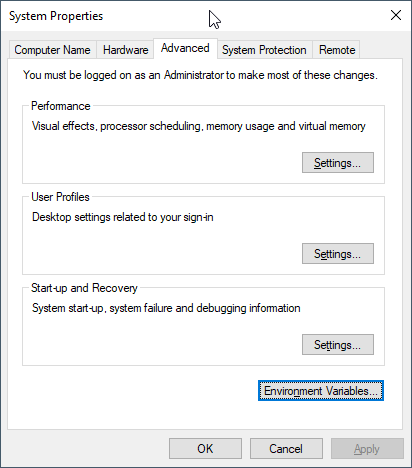
Edit the variable PATH of your user profile (not System wide)
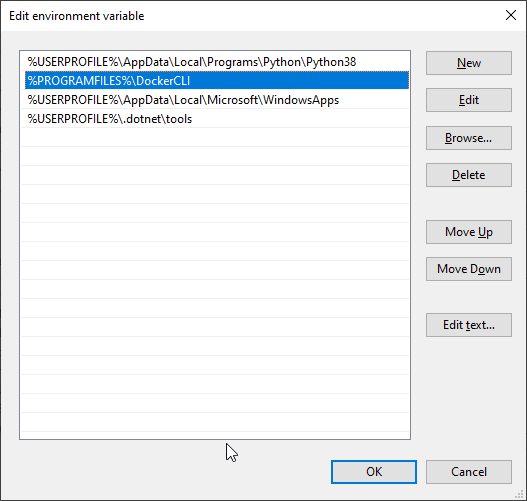
I recommend you to have it on top after Python.
Solving problems when updating to GNS3 last version, running with VirtualBox

Last Updated: 2022-01-19 12:05 Irish Time

So here I explain how to solve a problem that was happening to a friend.

He uses GNS3 for the university, and after installing the latest version, which in this case is 2.2.29, it stopped working.

He had it configured to use the local Server and VirtualBox in Windows 10.

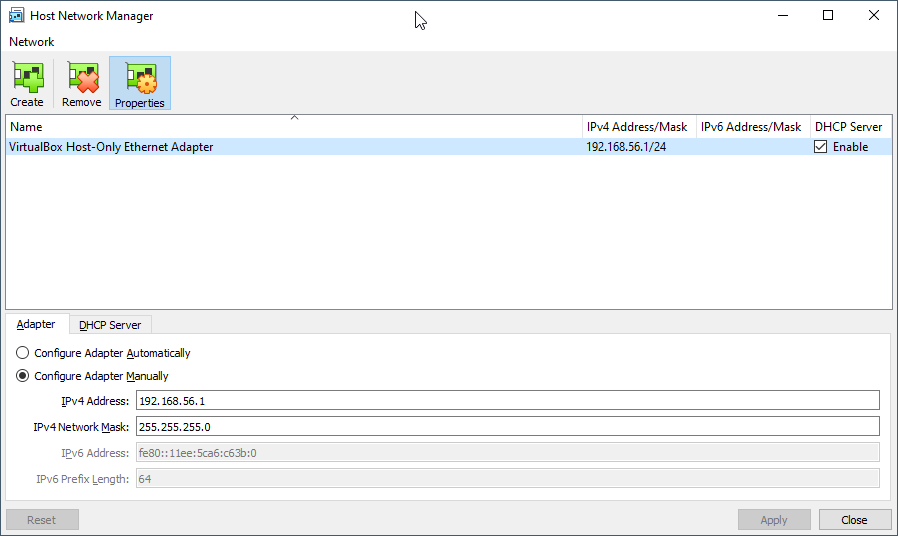
The first thing to check and to fix is the Ip address for Host Only.

If you use Linux or Mac, only certain Ip ranges can be used, or you’ll have to edit a config file inside /etc/vbox

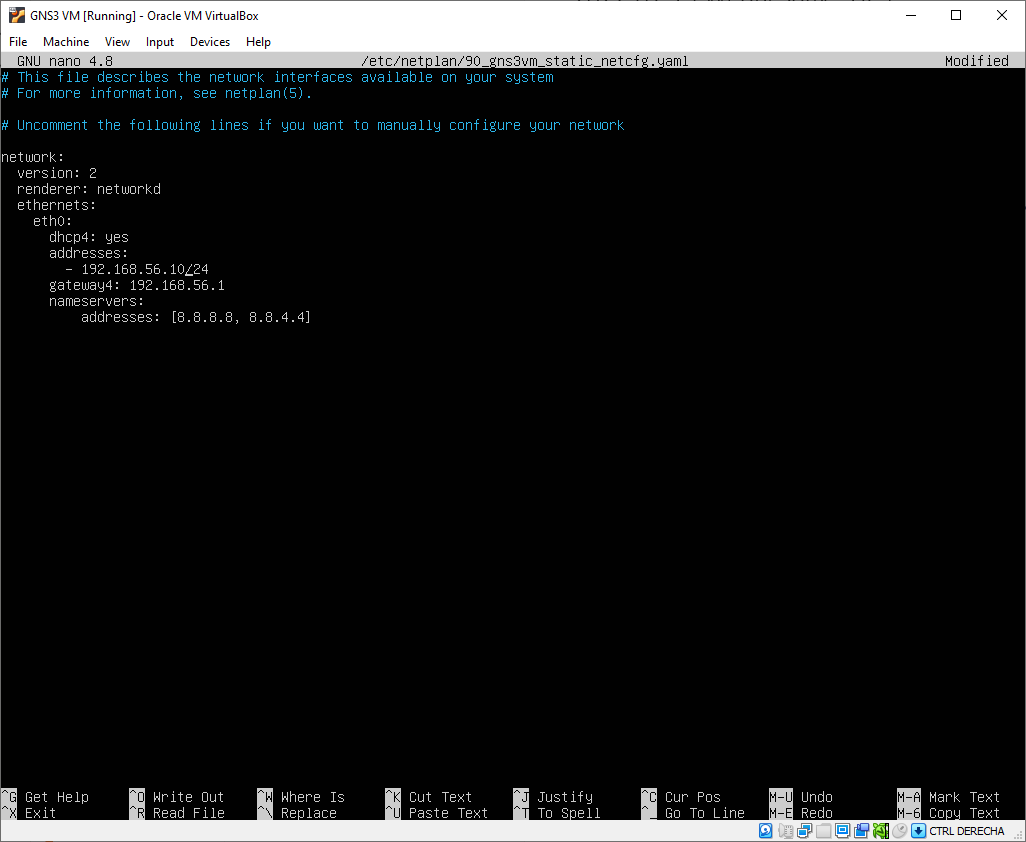
So the first thing is to set an Ip Address in VirtualBox VM that will make you worry free.

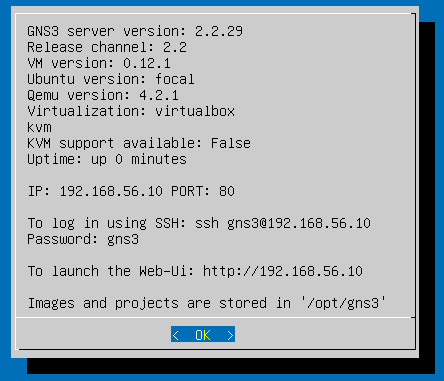
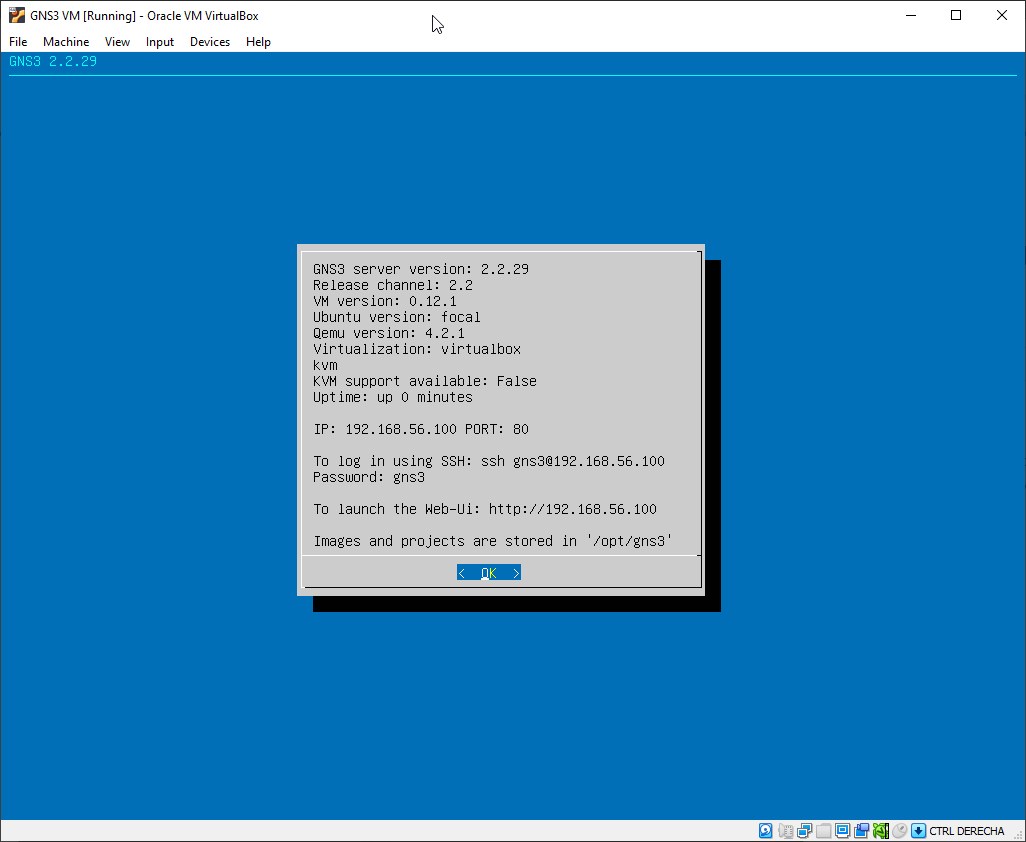
So start VirtualBox VM directly, and when the VM boots, use the text menu application to Configure to a valid Ip from the range defined for Host Only.

You can check this in VirtualBox in File > Host Network Manager

In my initial test I picket this Ip for the VM:

192.168.56.100

But using 192.168.56.100 can bring problems as the default DHCP Server is defined with this Ip, so I switched to:

192.168.56.10

Press CTRL + X to save and exit.

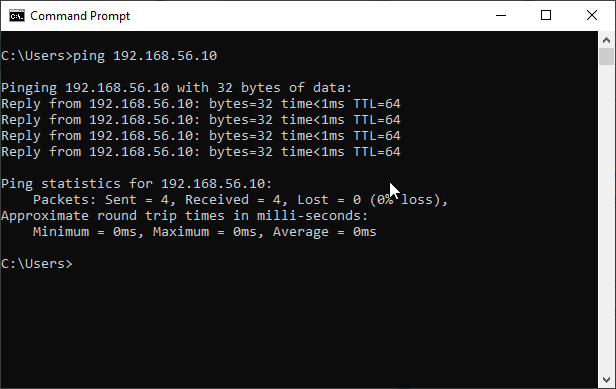
The VM will reboot automatically. Wait until it has booted and ping 192.168.56.10 from the Command Prompt.

Now, open a Windows Command Prompt or a Linux/Mac Terminal in you computer and ping the Ip:

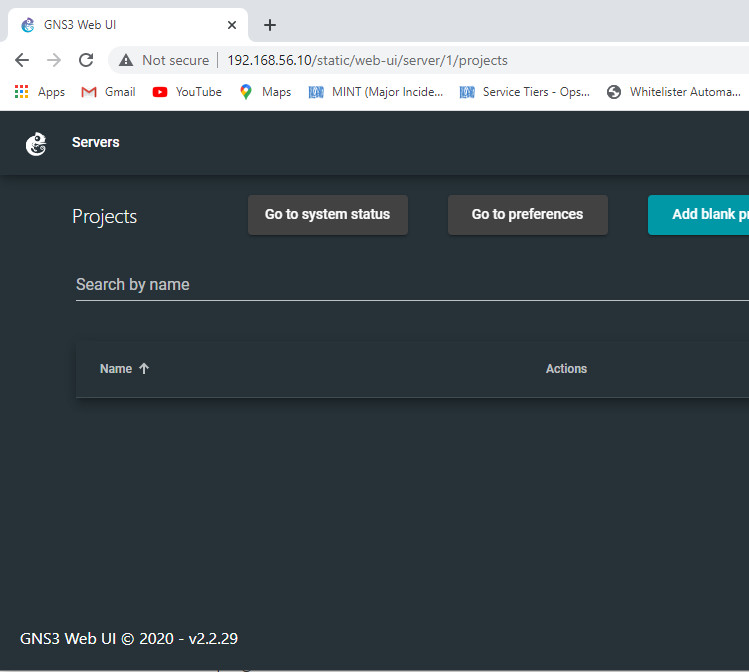
You should also be able to see the web interface going to:

http://192.168.56.10

If it works then power off the VM, as we will start it automatically when running GNS3 main program (not from VirtualBox).

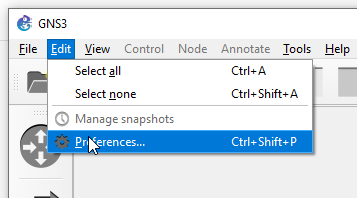
Now launch GNS3 program. Wait 30 seconds until it initializes and go to Edit > Preferences

Make sure you have the configuration like this:

Pay special attention to the Port for the GNS3 VM.

It seems like the main problem of my friend was that he was using a previous version, and he updated, and the settings from the previous version were kept. In his previous version he had configured the port 3080, but the new GNS 3 Server version 2.2.29 in the VM was using port 80, as you saw in my previous screenshots. So GNS3 was unable to connect to the VM.

After fixing this, restart GNS3, stop the VM if was not automatically stopped, and start GNS3 again.

After one minute approx connecting, you’ll see it working fine.

Solving Windows 10 PRO running Active Directory as Domain Admin

This explains how to solve a problem if you logged in to the domain, via your computer, as a regular user, and then you need to run Active Directory with Administrator privileges as another user.

First open CMD.exe as Administrator.

Then type:

C:\WINDOWS\system32>runas /netonly /user:mydomain\carles.adm "mmc.exe dsa.msc /server=myserver.mydomain.com"

Assuming my regular user is: carles

And my Administrator user is: carles.adm

Install Windows Subsystem for Linux, WSL 2 on Windows 10 64 bit, with Ubuntu, solution to error WslRegisterDistribution failed with error: 0x80070057

You know I love Linux. I was compiling my own Kernels back in 1995, when it took more than 24 hours in a 386, and working on the first ISPs in Barcelona managing the Linux Systems.

For my computers I prefer Linux, no doubt about it, but many multinationals I worked for have Windows option only for the Laptops and Desktops.

During years I had to deal with sending files to Linux or Unix (HP UX, Sun Solaris…) to process them and getting back the result. Some sort of ETL and Map Reduce in the prehistory of personal computers, taking in count aspects like Networks speeds too, available space, splitting files for processing.

When I was working as Senior Project Manager in Winterthur Insurance, now Axa, I had to run a lot of ETL (Extract Transform Load) for considerably big files, or when I was project manager and later head of department in Volkswagen gedas or later helping Start ups like Privalia. I can tell you that Windows didn’t like you to open editors to work with 1GB text or CSV file, and doesn’t like it, even if your computer has 16GB of Memory, and even if they do the simplicity of Bash scripts and using pipes, grep, awk… is so powerful that is very convenient to have those files processed using Linux.

And honestly is a pain to send back and forth files to a UNIX System just for Data Crunch. And a VM will be slow and use memory, and you have enable some sort of sharing with it so it can access the Data. Not to talk if you need to split the data files in blocks to be processed in parallel by several computers.

There are many solutions, like using Virtual Machines, Docker, external Servers, etc…

WSL allows you to run Linux command line tools inside Windows.

https://wiki.ubuntu.com/WSL

Having WSL allows things to be done much more straightforward, processing the files in your local windows hard drives.

Please note: Maybe you have enough using GitBash.

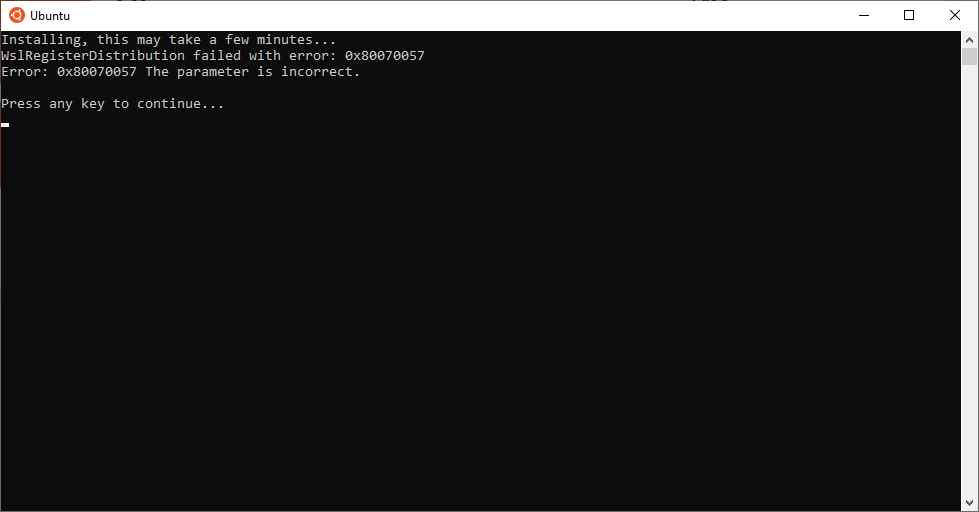
Error installing: WslRegisterDistribution failed with error: 0x80070057

When I installed it I found this error and look for an answer online. I found no solutions and many people suffering from the same problem, so I decided to publish an article on how to make it work.

The instructions I detail are based on the documentation from Canonical https://wiki.ubuntu.com/WSL and from Microsoft https://docs.microsoft.com/en-us/windows/wsl/install-win10 and the final solution I found.

Microsoft use Powershell to activate the features disabled in Windows, I did the same with Command Line, which I found more convenient for most of the non extremely tech people.

You will need:

  • For x64 systems: Version 1903 or higher, with Build 18362 or higher.

You can check your version of windows opening a Terminal (CMD.exe) and typing:

winver
  • For ARM64 systems: Version 2004 or higher, with Build 19041 or higher.

I’m not covering installing WSL for ARM, only for Intel/AMD Desktop/Laptops with Windows 10.

If you’re unsure, you can open a Terminal (CMD.exe) and run:

systeminfo | find "System Type"

If is a x64 system it will return: x64-based PC

Launch CMD.exe as Administrator and type:

dism /online /enable-feature /featurename:Microsoft-Windows-Subsystem-Linux /all /norestart

Enable Virtual Machine Feature:

dism /online /enable-feature /featurename:VirtualMachinePlatform /all /norestart

At this point you have to Restart Windows to complete this part of the installation, otherwise next step won’t work.

Download the Linux Kernel Update Package from here:

https://wslstorestorage.blob.core.windows.net/wslblob/wsl_update_x64.msi

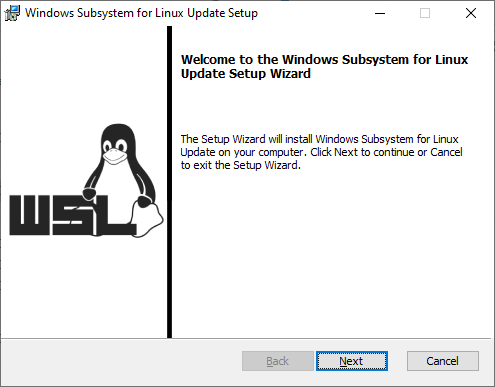
Execute wsl_update_x64.msi and grant permissions for modifying the system.

Now it’s crucial that you reboot again. Even if you’re not asked for.

That’s the tricky part.

Then set the version 2 of WSL as default:

C:\WINDOWS\system32>wsl --set-default-version 2
 For information on key differences with WSL 2 please visit https://aka.ms/wsl2

Installing Ubuntu (or Kali, or Debian, or openSUSE…)

Open the Microsoft Store or use Microsoft Store link to go directly to the installation of Ubuntu.

You have also several options as indicated in https://wiki.ubuntu.com/WSL:

The recommended way to install Ubuntu on WSL is through the Microsoft Store.

The following Ubuntu releases are available as apps on the Microsoft Store:

  • Ubuntu 16.04 LTS (Xenial) is the first release available for WSL. It supports the x64 architecture only. (offline installer: x64)
  • Ubuntu 18.04 LTS (Bionic) is the second LTS release and the first one supporting ARM64 systems, too. (offline installers: x64, ARM64)
  • Ubuntu 20.04 LTS (Focal) is the current LTS release, supporting both x64 and ARM64 architecture.
  • Ubuntu (without the release version) always follows the recommended release, switching over to the next one when it gets the first point release. Right now it installs Ubuntu 20.04 LTS.

Each app creates a separate root file system in which Ubuntu shells are opened but app updates don’t change the root file system afterwards. Installing a different app in parallel creates a different root file system allowing you to have both Ubuntu LTS releases installed and running in case you need it for keeping compatibility with other external systems. You can also upgrade your Ubuntu 16.04 to 18.04 by running ‘do-release-upgrade’ and have three different systems running in parallel, separating production and sandboxes for experiments.

But if you prefer, instead of using the Windows Store, you can download the appx.

In the same page mentioned you can do it for several versions, I attach the link for Ubuntu 20.04 LTS: https://aka.ms/wslubuntu2004

Assuming you used the Windows Store, if you did not reboot and try now to execute it for the first time, or you go to the Command Line and write bash, or open Ubuntu from Windows menu, whatever method you use, you’ll get the abovementioned error.

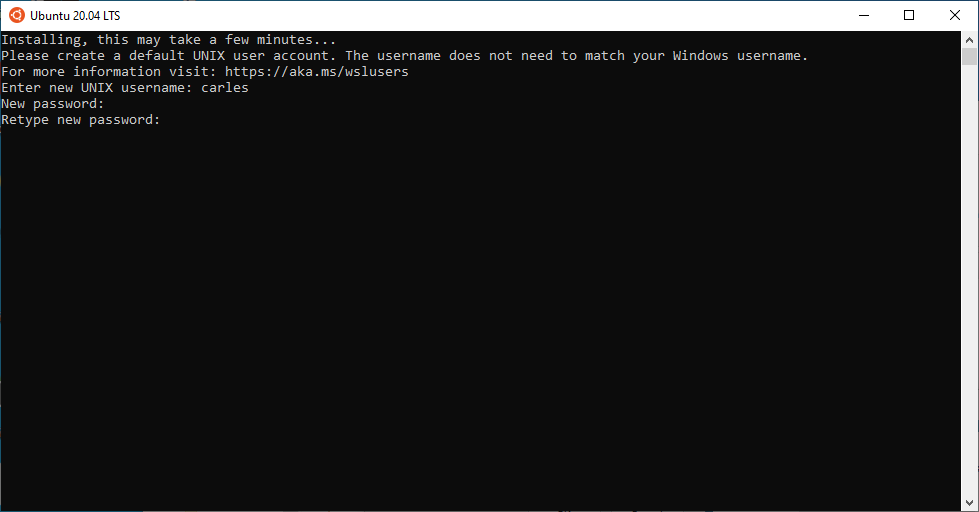
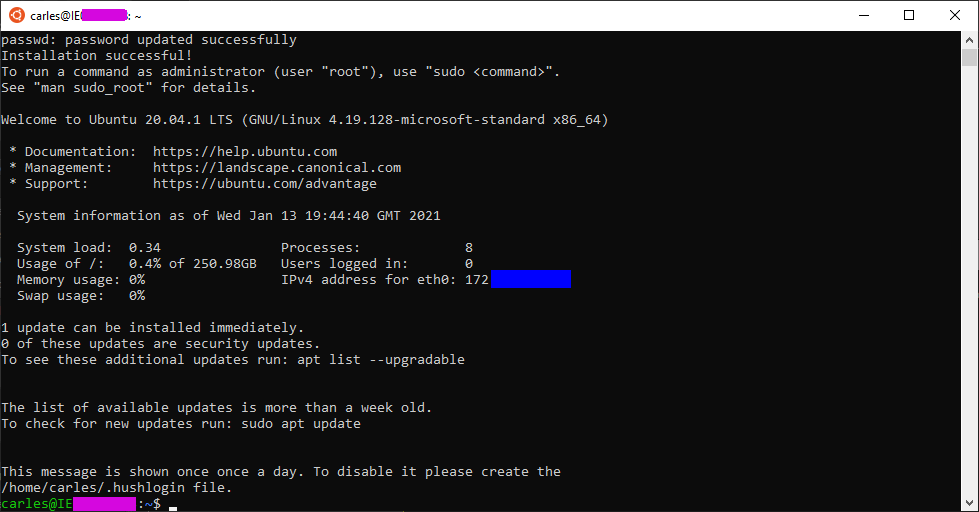
If that happens to you, just reboot and when you open it will work and will start the install and ask for a user and password:

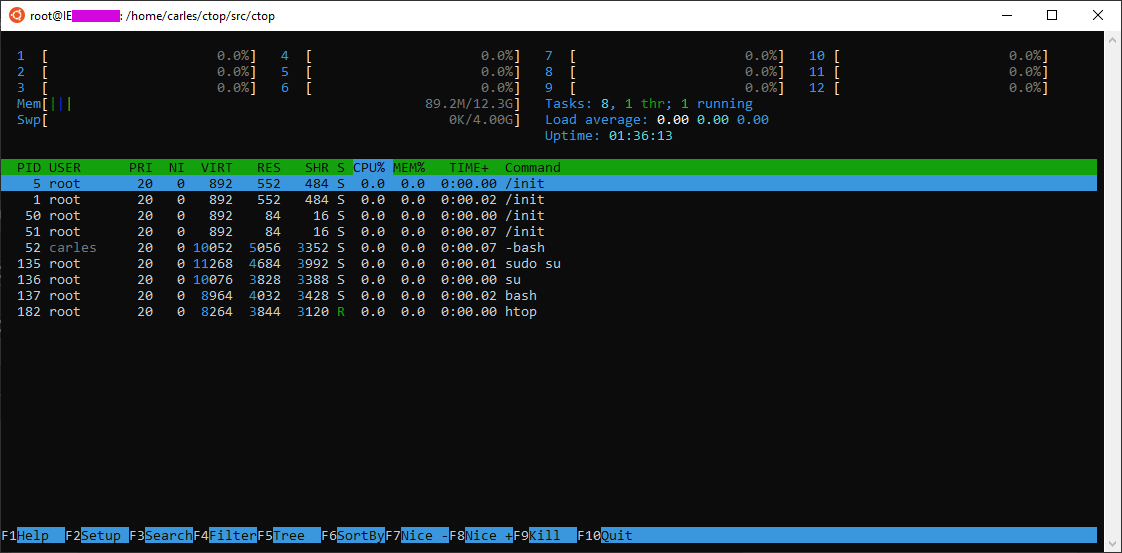
From here you’re able to update the system, execute the text commands available in Linux, access to the Windows drives, launch htop, git, Python3, apt, wget… copy and paste between windows and Linux terminal, share PATH…

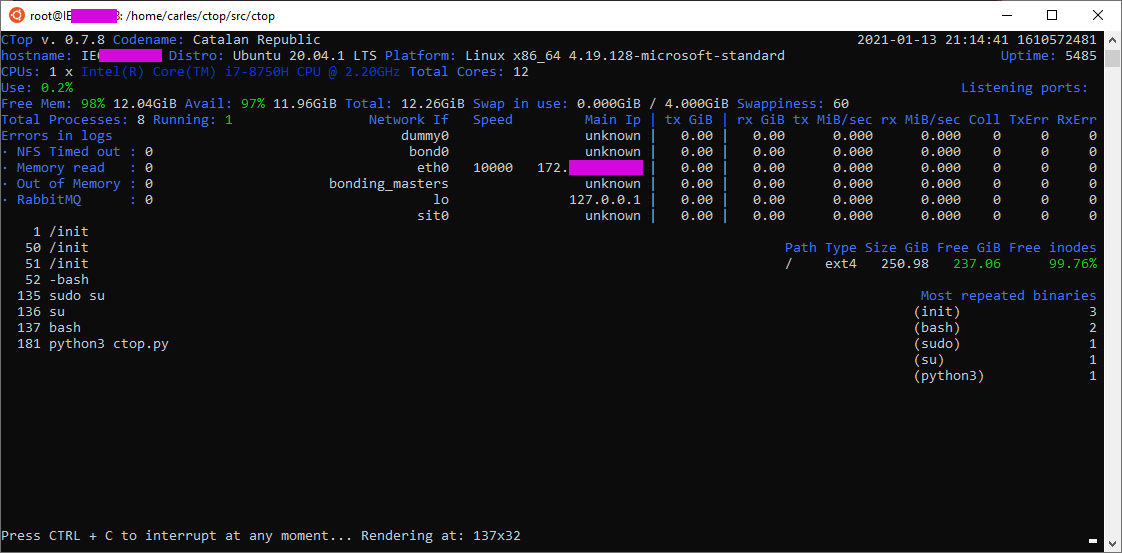
And of course you can run CTOP.py

Take in count that the space reported in / partition is not real, and that you have a 4GB swap.

You can access your C:\ Windows files from:

/mnt/c/