I wanted to do a do-release-upgrade to Update from Ubuntu 25.04 to Ubuntu 25.10, but I had almost no space left on the device. I didn’t want to uninstall the snap utilities that were using most of the space after the OS.
I created a video to explain this situation and how to fix it easily.
Host OS: Ubuntu 22.04 LTS, 64 GB of RAM
Guest OS: Ubuntu 25.04, 12 GB of RAM
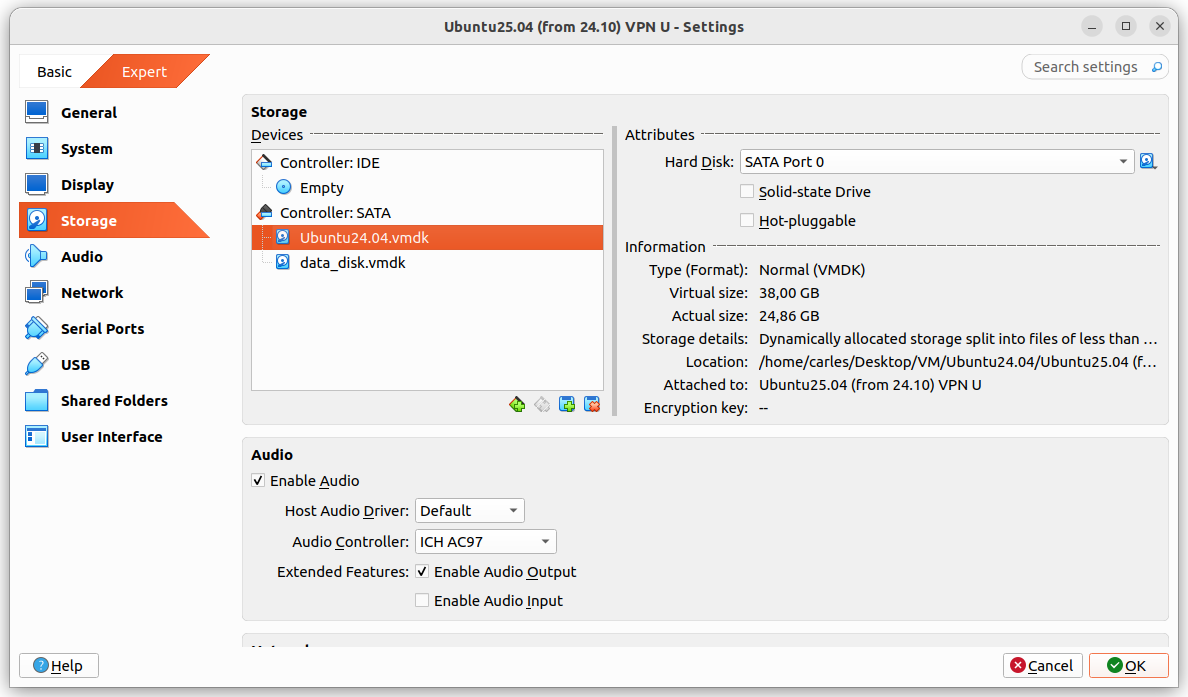
Guest drive: VMDK of 25GB, Dynamically allocated split in 2 GB files. Using 24.86GB
The problem was that I grow a disk with Virtual Box, from 25GB to 35GB and Virtual Box crashed.
It stayed in an error state, unable to access any configuration after I pressed Refresh, so I had to kill it and restart it.
I tried to expand to 36 and 37 GB with same results.
After restarting Virtual Box it shown the drive as 37 GB, so I guessed that the disk growing may have worked somehow and I tried to use the additional space from the guest VM.
I booted the guest VM with Ubuntu 25.04, sudo swapoff -a and deleted the swap partition with fdisk and I used resize2fs and growpart.
When the gues OS saw the 37GB I attempted the do-release-upgrade and it started to download packages.
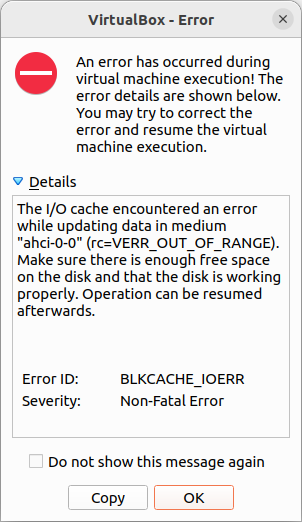
But at the point that the original 25GB were exceeded I got a recoverable IO cache error (rc=VERR_OUT_OF_RANGE).
From this point Ubuntu would be unable to complete to boot the guest VM.
I had data that I wanted to recover from the VM, so I tried to recover it, successfully.
Basically I booted with an Ubuntu 26.04 LTS live ISO, mounted the disk for read, enabled the network and scp my files to another computer.
scp, rsync, sftp… any of those will do the job.
I could also have created a new disk, attach to the guest VM, boot with Ubuntu Live, and copy from the damaged disk to the new one. Then shutdown, attach the new disk to another VM, and copy the data copied to the new disk to the healthy VM.
Or even I could have plugged an USB pendrive, telling VirtualBox to recognise those.
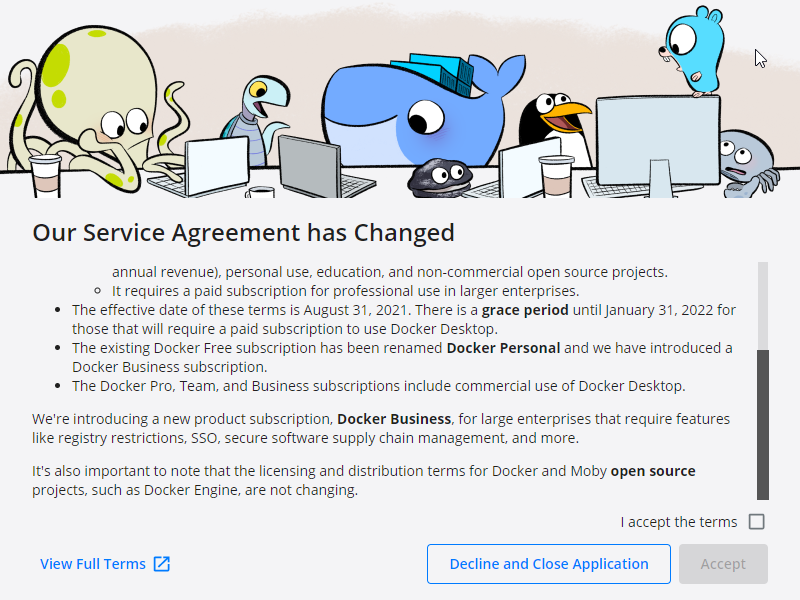
The change of license of Docker Desktop for Windows has been a low punch, a dirty one.
Many big companies use Windows as for the laptops and workstations, we like it or not.
You can setup a Linux development computer or Virtual Machine, you may argue, but things are not as easier.
Big companies have Software licenses assigned to corporation machines, so you may not use your Pycharm license in a Linux VM.
You may no use Docker Desktop either, if your company did not license it.
And finally you may need to have access to internal resources, like Artifactory, or Servers where access is granted via ACL, so only you, from your Development machine can access it. So you have to be able to run Docker locally.
After Docker introduced this changed of license I was using VirtualBox with NAT attached to the VPN Virtual Ethernet, and I port forwarded to be able to SSH, deploy, test, etc… from outside to my Linux VM, and it was working for a while, until with the last VirtualBox update and some Windows updates where pushed to my Windows box and my VirtualBox VMs stopped booting most of the times and having random problems.
I configured a new Linux VM in a Development Server, and I opened Docker API so my Pycharm’s workstation was able to deploy there and I was able to test. But the Dev Ip’s do not have access to the same Test Servers I need my Python Automation projects to reach (and quickly I used 50 GB of space), so I tried WSL. I like Pycharm I didn’t want to switch to VStudio Code because of their good Docker extensions, in any case I could not run my code locally with venv cause some of the packages where not available for Windows, so I needed Linux to run the Unit Testing and see the Code Coverage, run the code, etc…
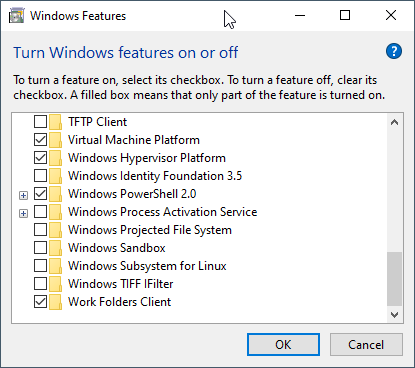
I tried Hyper-V, tried with NAT External, but it was incompatible with my VPN.
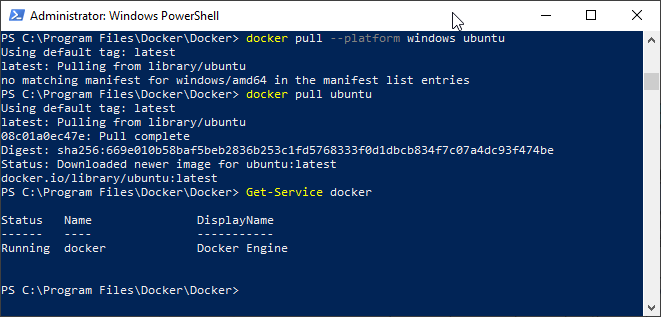
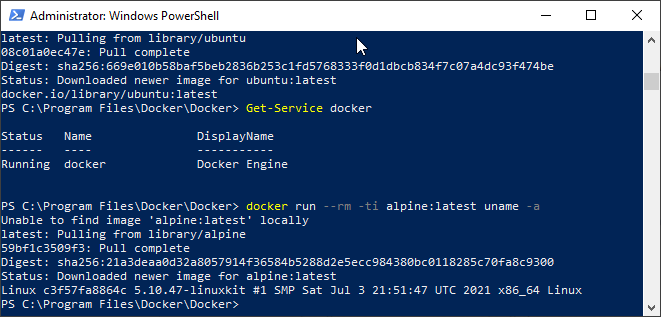
Note: WSL can be used, but I wanted to use Docker Engine, not docker in WSL.
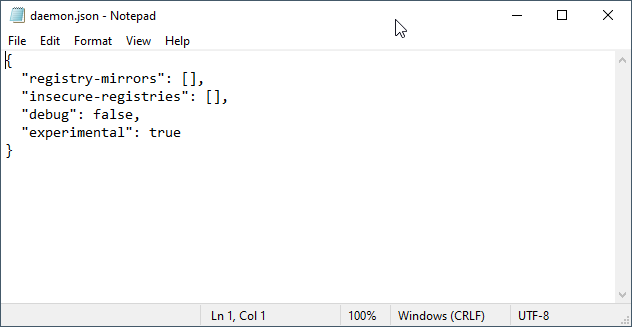
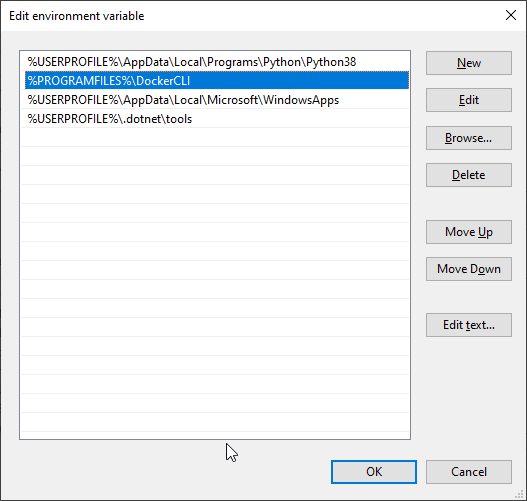
Installing Docker Command line binaries
The first thing I checked was the Docker downloads page.
So here I explain how to solve a problem that was happening to a friend.
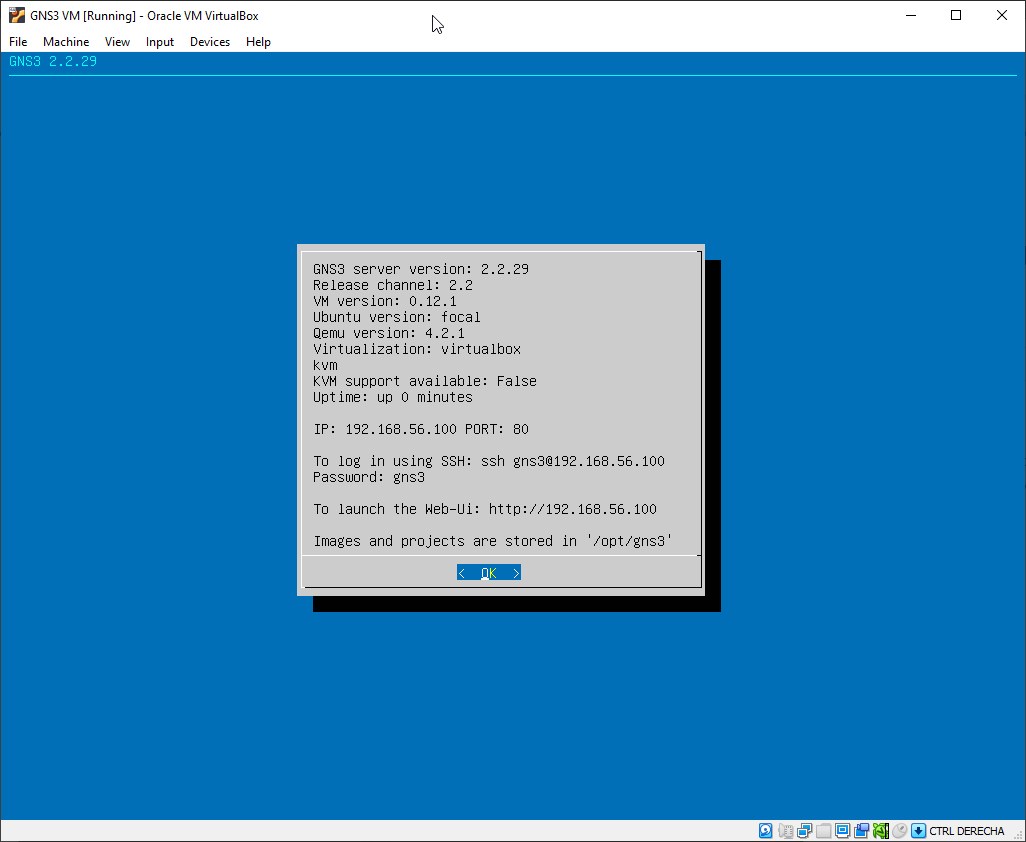
He uses GNS3 for the university, and after installing the latest version, which in this case is 2.2.29, it stopped working.
He had it configured to use the local Server and VirtualBox in Windows 10.
The first thing to check and to fix is the Ip address for Host Only.
If you use Linux or Mac, only certain Ip ranges can be used, or you’ll have to edit a config file inside /etc/vbox
So the first thing is to set an Ip Address in VirtualBox VM that will make you worry free.
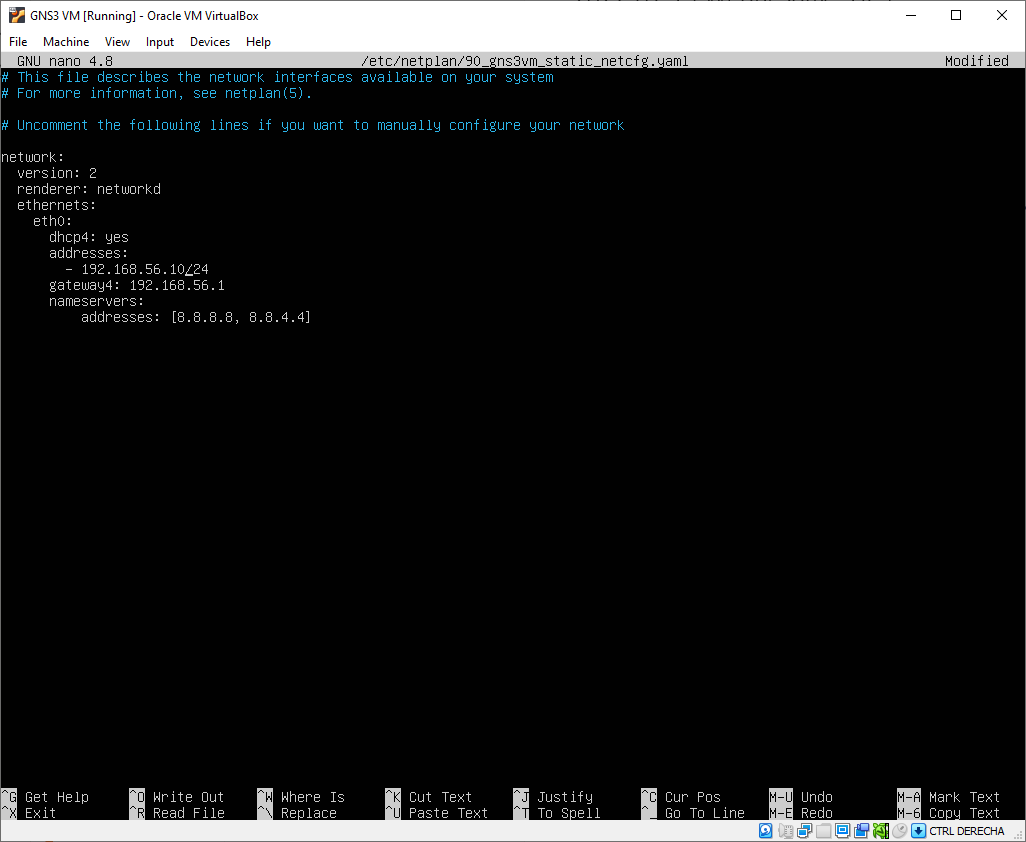
So start VirtualBox VM directly, and when the VM boots, use the text menu application to Configure to a valid Ip from the range defined for Host Only.
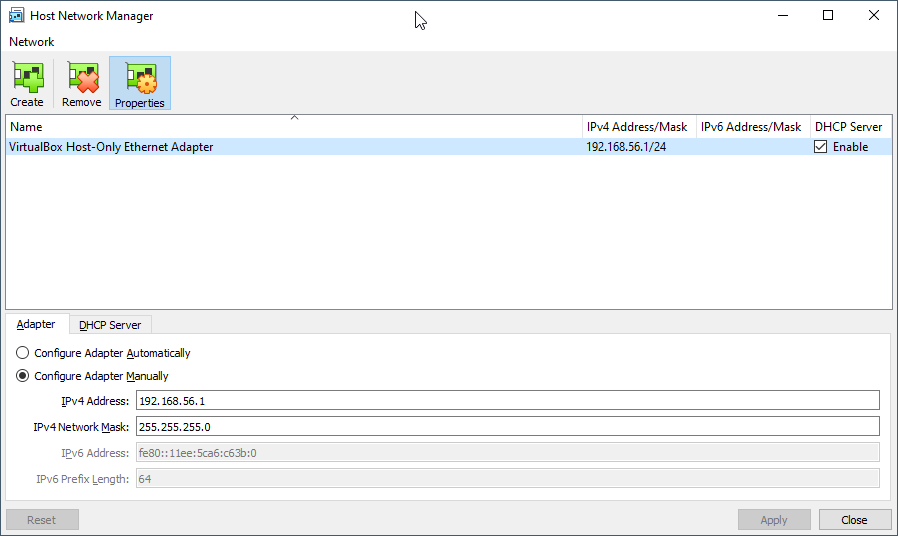
You can check this in VirtualBox in File > Host Network Manager
In my initial test I picket this Ip for the VM:
192.168.56.100
But using 192.168.56.100 can bring problems as the default DHCP Server is defined with this Ip, so I switched to:
192.168.56.10
Press CTRL + X to save and exit.
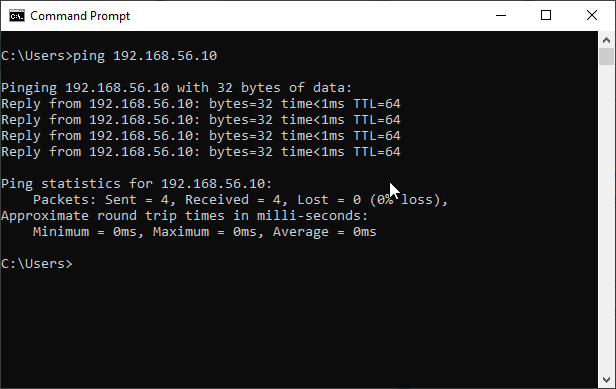
The VM will reboot automatically. Wait until it has booted and ping 192.168.56.10 from the Command Prompt.
Now, open a Windows Command Prompt or a Linux/Mac Terminal in you computer and ping the Ip:
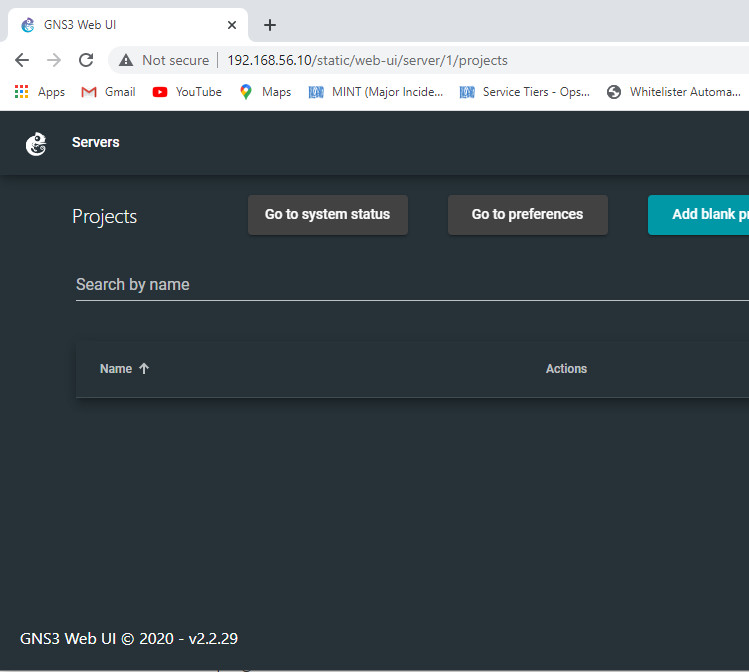
You should also be able to see the web interface going to:
http://192.168.56.10
If it works then power off the VM, as we will start it automatically when running GNS3 main program (not from VirtualBox).
Now launch GNS3 program. Wait 30 seconds until it initializes and go to Edit > Preferences
Make sure you have the configuration like this:
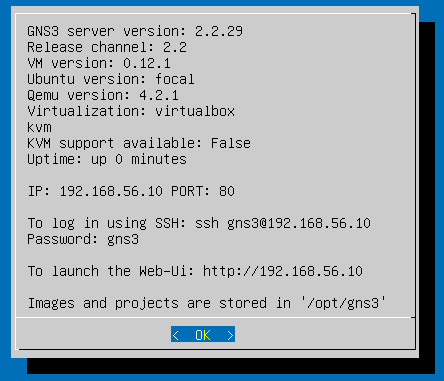
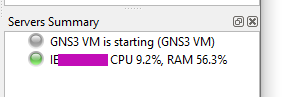
Pay special attention to the Port for the GNS3 VM.
It seems like the main problem of my friend was that he was using a previous version, and he updated, and the settings from the previous version were kept. In his previous version he had configured the port 3080, but the new GNS 3 Server version 2.2.29 in the VM was using port 80, as you saw in my previous screenshots. So GNS3 was unable to connect to the VM.
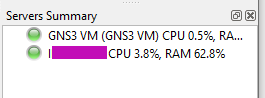
After fixing this, restart GNS3, stop the VM if was not automatically stopped, and start GNS3 again.
After one minute approx connecting, you’ll see it working fine.
If that fails is very probably that creating a new configuration, for a new user, will make things right.
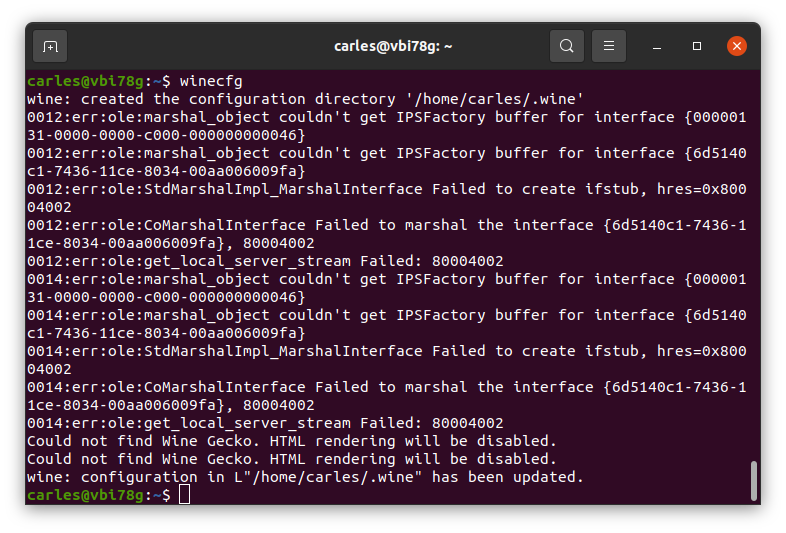
Update 2022-01-05: Take in count that you will be copying the Windows registry when doing this. I use this trick to clone applications that are no longer downloadable from the Internet. I clone wine to dedicated Virtual Machines. You may need different Virtual Machines for different programs if windows registry is different for them.