I wanted to do a do-release-upgrade to Update from Ubuntu 25.04 to Ubuntu 25.10, but I had almost no space left on the device. I didn’t want to uninstall the snap utilities that were using most of the space after the OS.
I created a video to explain this situation and how to fix it easily.
- Host OS: Ubuntu 22.04 LTS, 64 GB of RAM
- Guest OS: Ubuntu 25.04, 12 GB of RAM
- Guest drive: VMDK of 25GB, Dynamically allocated split in 2 GB files. Using 24.86GB
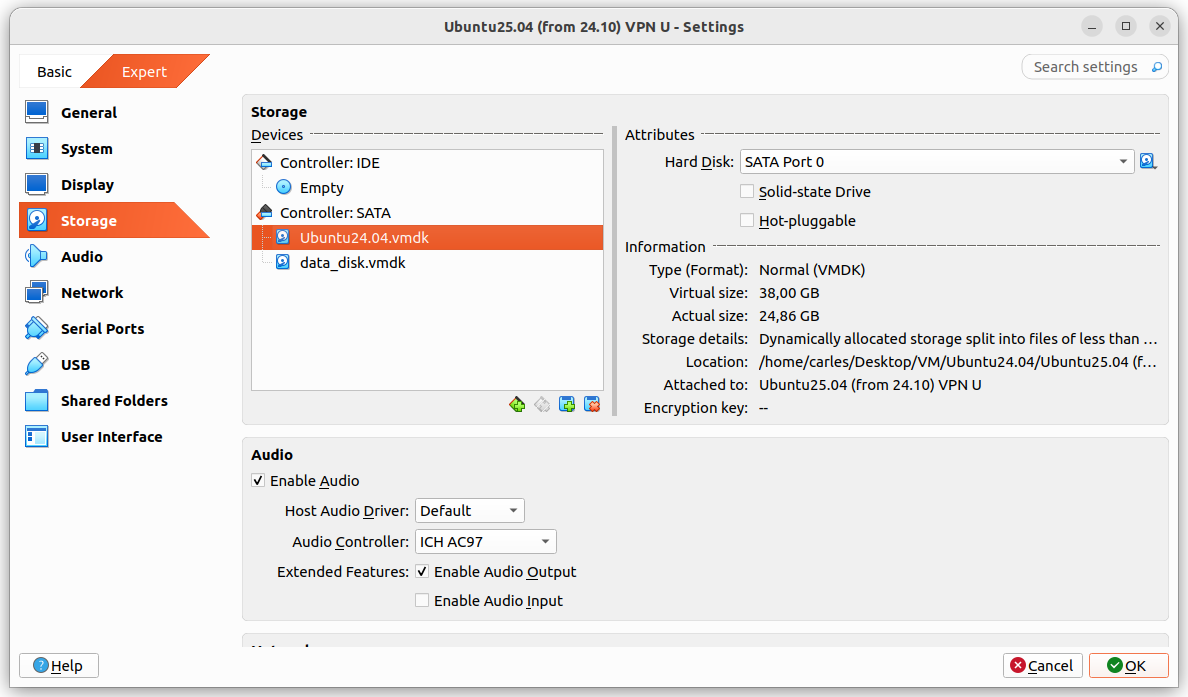
The problem was that I grow a disk with Virtual Box, from 25GB to 35GB and Virtual Box crashed.
It stayed in an error state, unable to access any configuration after I pressed Refresh, so I had to kill it and restart it.
I tried to expand to 36 and 37 GB with same results.
After restarting Virtual Box it shown the drive as 37 GB, so I guessed that the disk growing may have worked somehow and I tried to use the additional space from the guest VM.
I booted the guest VM with Ubuntu 25.04, sudo swapoff -a and deleted the swap partition with fdisk and I used resize2fs and growpart.
When the gues OS saw the 37GB I attempted the do-release-upgrade and it started to download packages.
But at the point that the original 25GB were exceeded I got a recoverable IO cache error (rc=VERR_OUT_OF_RANGE).
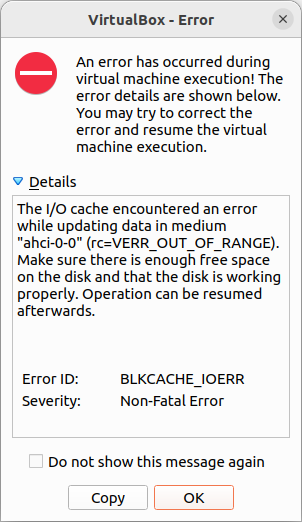
From this point Ubuntu would be unable to complete to boot the guest VM.
I had data that I wanted to recover from the VM, so I tried to recover it, successfully.
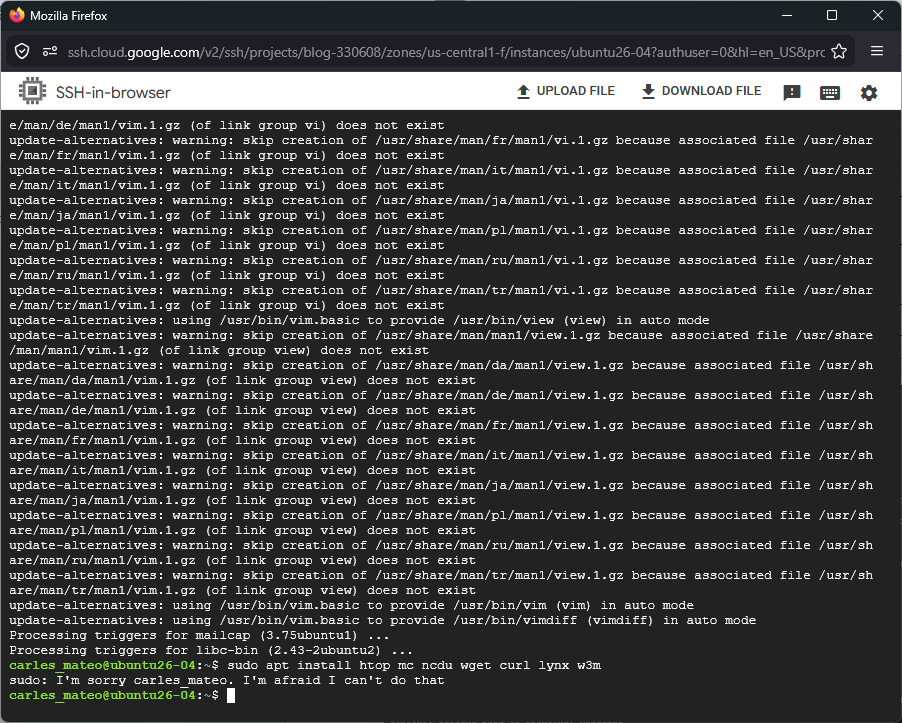
Basically I booted with an Ubuntu 26.04 LTS live ISO, mounted the disk for read, enabled the network and scp my files to another computer.
scp, rsync, sftp… any of those will do the job.
I could also have created a new disk, attach to the guest VM, boot with Ubuntu Live, and copy from the damaged disk to the new one. Then shutdown, attach the new disk to another VM, and copy the data copied to the new disk to the healthy VM.
Or even I could have plugged an USB pendrive, telling VirtualBox to recognise those.
Or use any web drive service.