I had this idea after one my Python and Linux students with two laptops, a Mac OS X and a Windows one explained me that the Mac OS X is often taken by their daughters, and that the Windows 10 laptop has not enough memory to run PyCharm and Virtual Box fluently. She wanted to have a Linux VM to practice Linux, and do the Bash exercises.
So this article explains how to create a Ubuntu 20.04 LTS Docker Container, and execute a shell were you can practice Linux, Ubuntu, Bash, and you can use it to run Python, Apache, PHP, MySQL… as well, if you want.
You need to install Docker for Windows of for Mac:
Just pay attention to your type of processor: Mac with Intel chip or Mac with apple chip.
The first thing is to create the Dockerfile.
FROM ubuntu:20.04

MAINTAINER Carles Mateo

ARG DEBIAN_FRONTEND=noninteractive

RUN apt update && \
    apt install -y vim python3-pip &&  \
    apt install -y net-tools mc htop less strace zip gzip lynx && \
    pip3 install pytest && \
    apt-get clean

RUN echo "#!/bin/bash\nwhile [ true ]; do sleep 60; done" > /root/loop.sh; chmod +x /root/loop.sh

CMD ["/root/loop.sh"]
So basically the file named Dockerfile contains all the blueprints for our Docker Container to be created.
You see that I all the installs and clean ups in one single line. That’s because Docker generates a layer of virtual disk per each line in the Dockerfile. The layers are persistent, so even if in the next line we delete the temporary files, the space used will not be recovered.
You see also that I generate a Bash file with an infinite loop that sleeps 60 seconds each loop and save it as /root/loop.sh This is the file that later is called with CMD, so basically when the Container is created will execute this infinite loop. Basically we give to the Container a non ending task to prevent it from running, and exiting.
Now that you have the Dockerfile is time to build the Container.
For Mac open a terminal and type this command inside the directory where you have the Dockerfile file:
sudo docker build -t cheap_ubuntu .
I called the image cheap_ubuntu but you can set the name that you prefer.
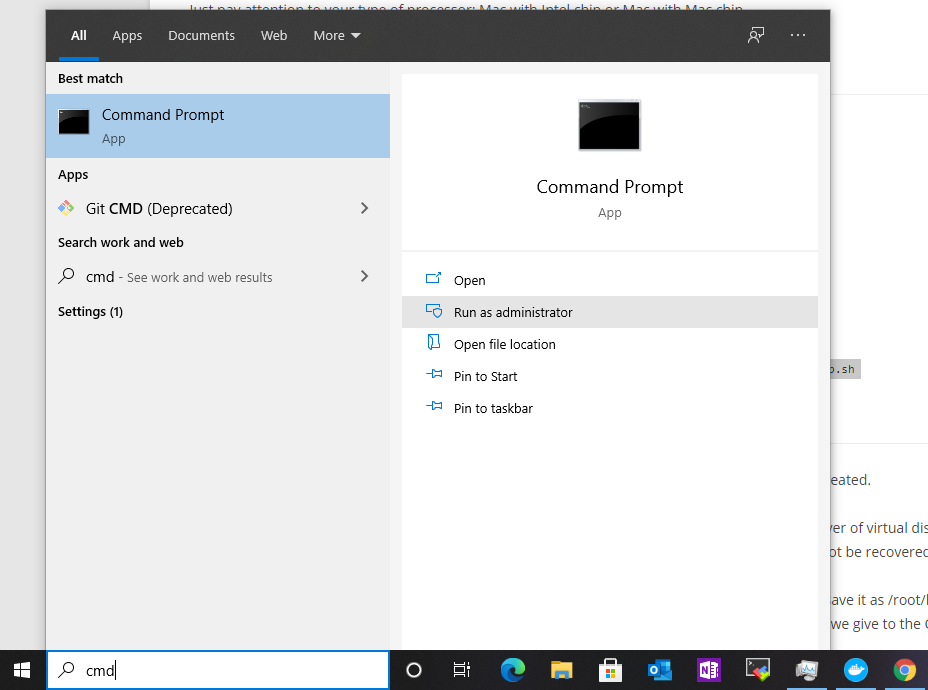
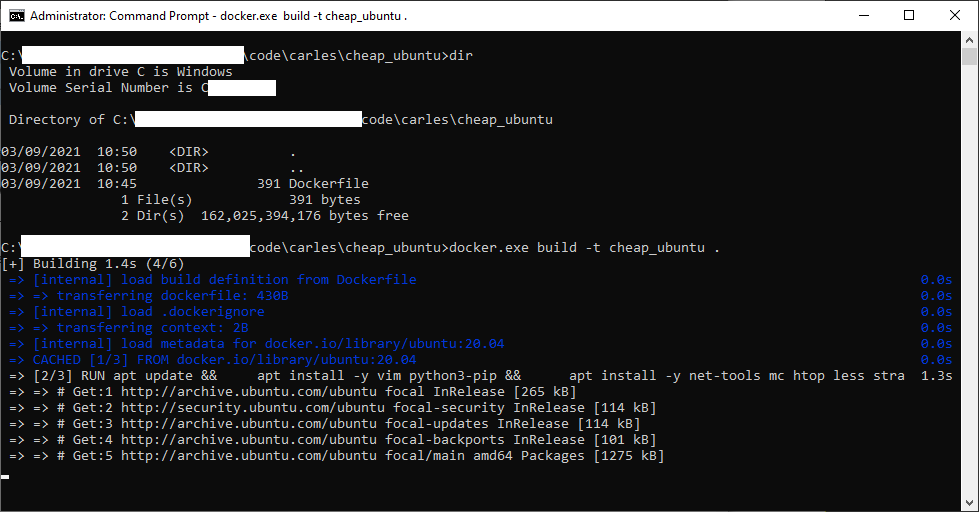
For Windows 10 open a Command Prompt with Administrative rights and then change directory (cd) to the one that has your Dockerfile file.
docker.exe build -t cheap_ubuntu .
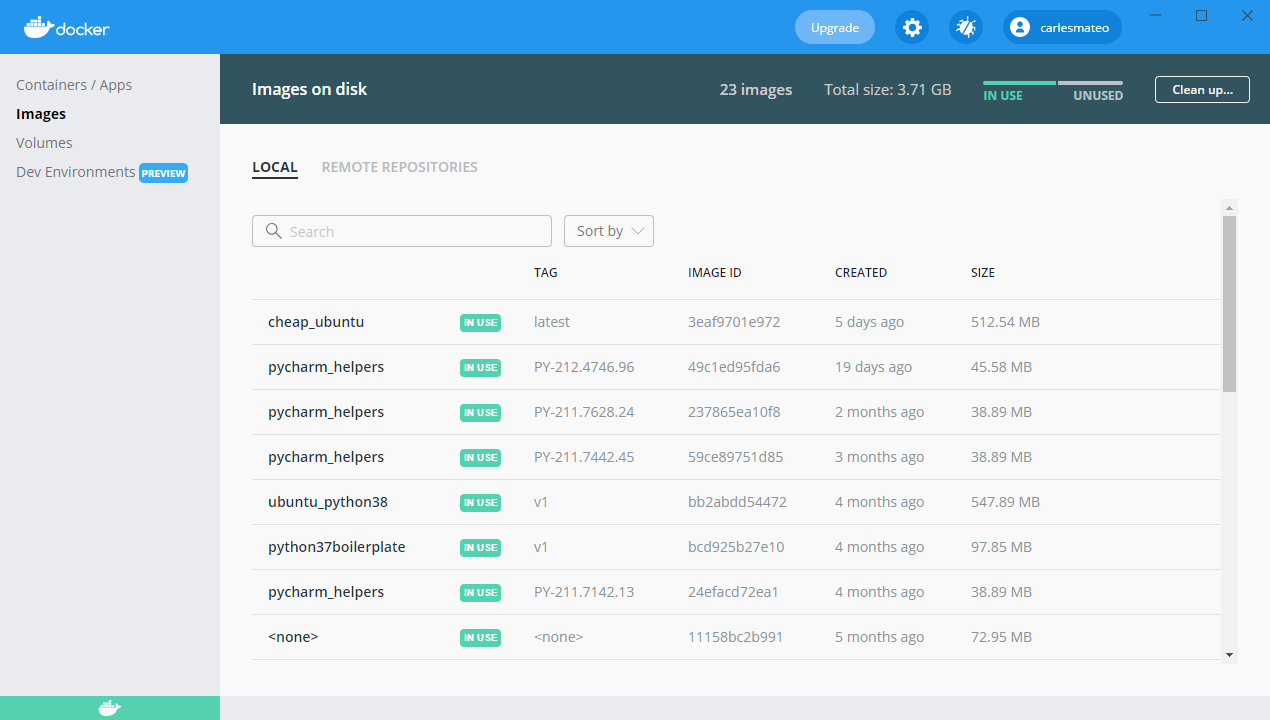
Now that you have the image built, you can create a Container based on it.
For Mac:
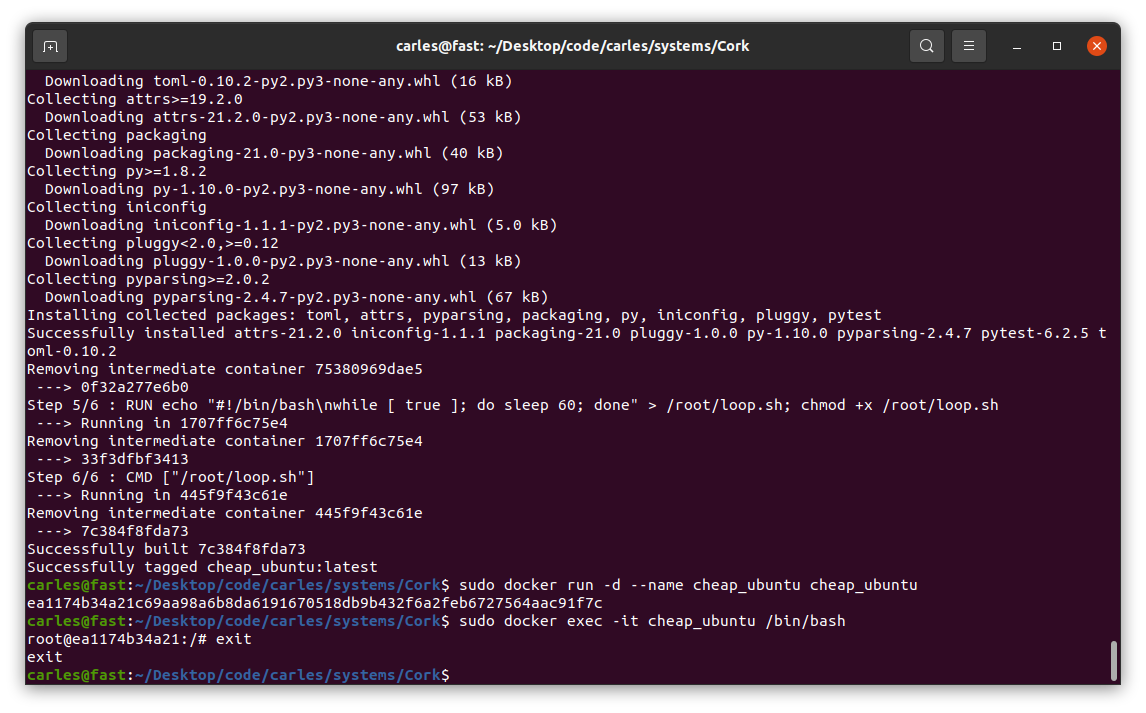
sudo docker run -d --name cheap_ubuntu cheap_ubuntu
For Windows (you can use docker.exe or just docker):
docker.exe run -d --name cheap_ubuntu cheap_ubuntu
Now you have Container named cheap_ubuntu based on the image cheap_ubuntu.
It’s time to execute an interactive shell and be able to play:
sudo docker exec -it cheap_ubuntu /bin/bash
For Windows:
docker.exe exec -it cheap_ubuntu /bin/bash
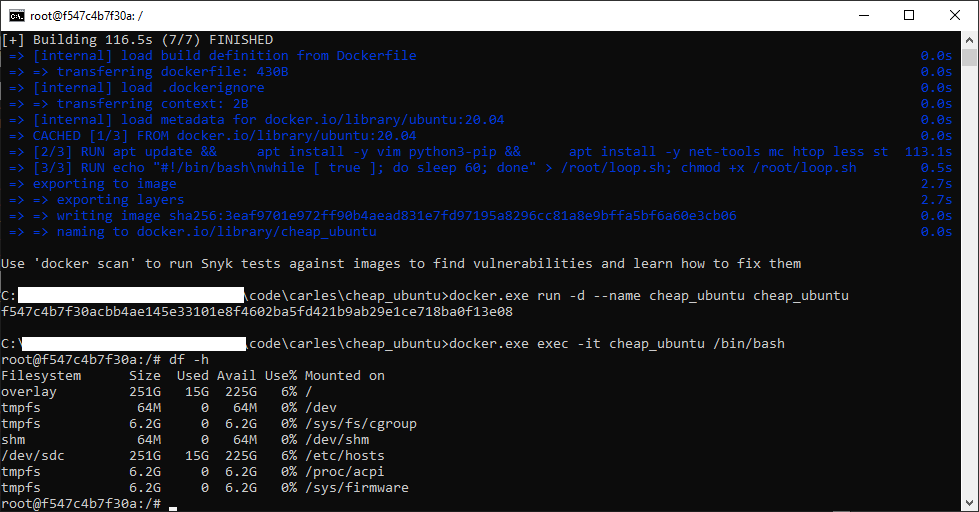
Now you have an interactive shell, as root, to your cheap_ubuntu Ubuntu 20.04 LTS Container.
You’ll not be able to run the graphical interface, but you have a complete Ubuntu to learn to program in Bash and to use Linux from Command Line.
You will exit the interactive Bash session in the container with:
exit
If you want to stop the Container:
sudo docker stop cheap_ubuntu
Or for Windows:
docker.exe stop cheap_ubuntu
If you want to see what Containers are running do:
sudo docker ps