Claude AI hands on creating a Book e-Commerce and fixing errors, PHPStorm, PHP, Docker Desktop, MySQL in Windows
I’ll show the process of a creation of a web application for a e-Commerce book store.
The most important is to define a good requirements prompt.
I created a file named docs/promptia.md
Set the quality to the max in youtube to be able to see the screen clearly.
It takes long time, so unless you want to see all the process in real time, use the chapters I added to skip to the parts you’re interested.
Chapters in the youtube video:
00:00 Tell Claude to create a web app based on docs/promptia.md
18:29 Claude asks permission to run Powershell commands
19:02 Application created
19:37 Check in PHPStorm the promptia.md
19:51 Add to git and Commit with PHPStorm
20:27 Create and launch containers
20:50 Create the containers
20:54 Launch containers
21:10 Show in Docker Desktop
21:23 Display in logs entrypoint.sh
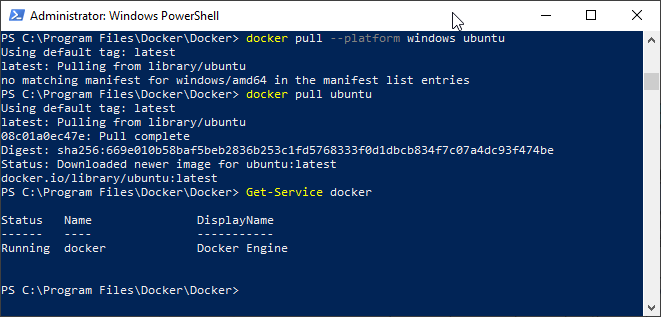
22:04 composer install
22:19 Error: missing composer require symfony/yaml
22:32 Asking Claude to fix the error
23:50 Destroy project to ensure it is build without errors (for later in Production)
24:28 Create destroy-project.bat
25:42 Re-creating the containers
25:52 Re-creating without cache
29:20 Containers launched in Docker Desktop
30:10 composer update
30:28 Checking engine container error in a .yaml in Claude Code
31:13 Error non-existent service “doctrine system cache pool”
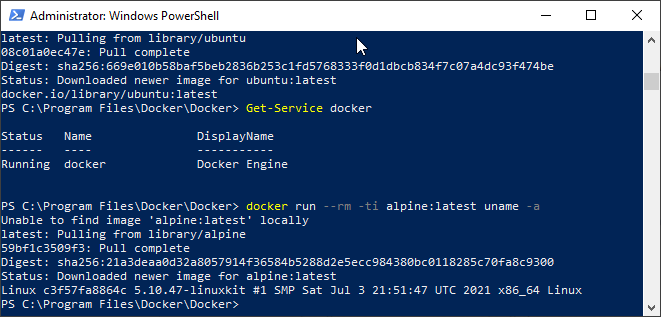
31:34 Inside the engine container curl http://127.0.0.1 Http Error 500
31:44 composer dump-env dev
31:57 Error a non-empty secret is required Http Error 500
32:14 Showing Claude the error, so it fixes it
33:12 Check from the engine container curl http://127.0.0.1
33:42 Error could not find the driver
33:51 Asking Claud to fix the error
34:05 Finding the error in the logs
34:27 I ask Claude, to continue with the log entry, after it finishes
35:16 Claude fixes the first problem and starts analyzing the second
35:35 Claude finds and fixes the second problem (introduced by Claude before)
37:12 Creating the Database with the Command
37:32 A new curl, and a new error found (introduced by Claude before)
37:58 Requesting to Claude to fix the error
38:25 Claude fixes the error
38:30 The new website loads correctly
39:00 Viewing register form (needs work)
39:05 Request a script to enter to mysql via CLI
40:02 I open the new script login_to_mysql.sh in PHPStorm
40:23 Trying the CLI Command to init the Database Schema
40:39 Giving chmod +x from Docker (for commiting to the repo)
40:45 login_to_mysql.sh fails (due an error introduced by Claude before)
40:58 finding extension=pdo_mysql in php.ini on the container duplicated
41:10 Asking Claude to remove the error
41:37 Claude realizes the error
41:45 Logged to MySQL with the script
42:05 DESC orders;
42:18 Asking Claude a refactor or prices from DECIMAL to Integers
43:53 Ask next questions while Claude is still working
46:56 Update the Command to reflect the new field changes
48:00 Copy the ALTER TABLE
48:05 Execute in the MySQL in Docker Desktop
48:12 Schema updated in docs/scheme.md
48:18 Add a field “public_name”
48:58 Update MySQL with the ALTER