Tag Archives: git

Firsts steps programming in Python 3 with PyCharm and Git

This is a very simple guide for beginners, to benefit from using this amazing Python IDE with Git.

You may think that it’s a bit difficult and why you should use it. The first reason I would tell is because it marks the errors, not just syntax errors also if you have typos or you forgot an import or you forgot to declare a variable, has autocomplete, will mark when you don’t follow standards, etc… If you want to be a professional, this is the tool that most Python professional developers and companies use.

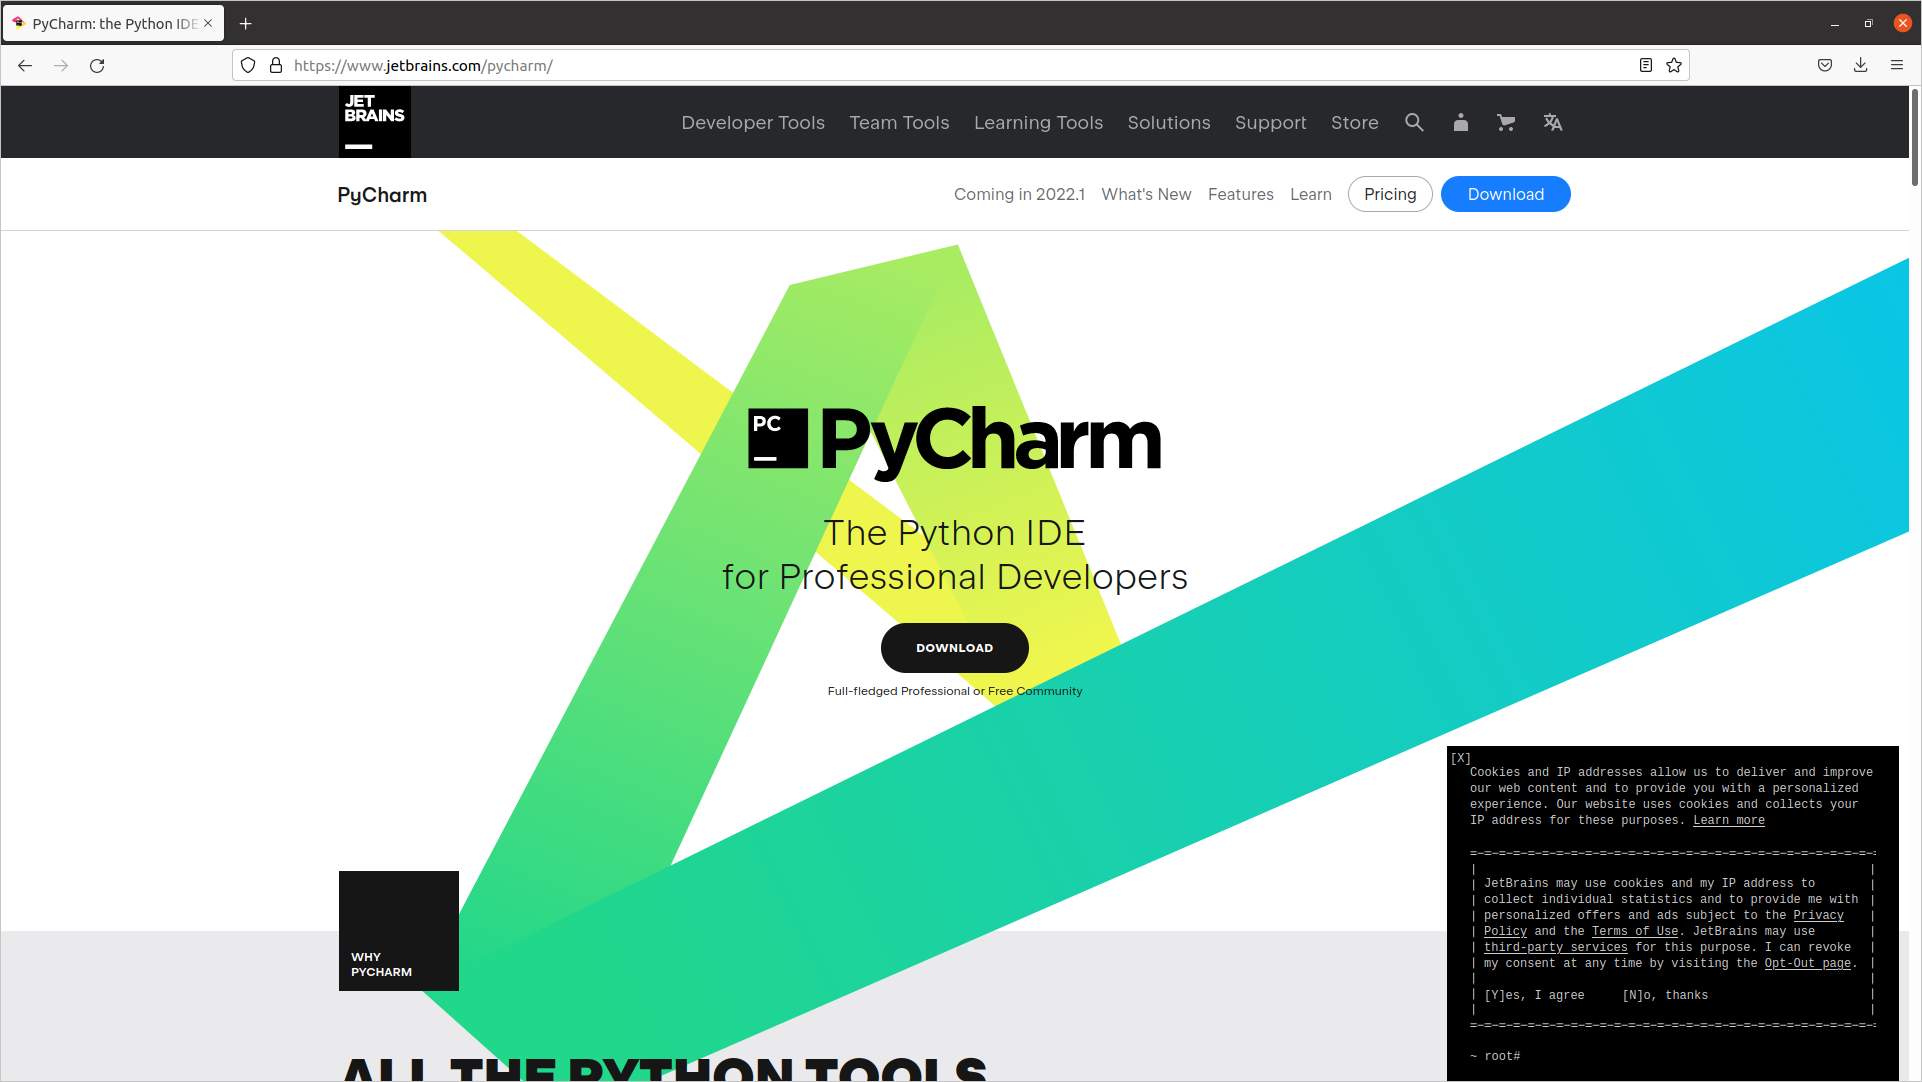
Go to Jetbrains page and from there select Developer Tools and PyCharm.
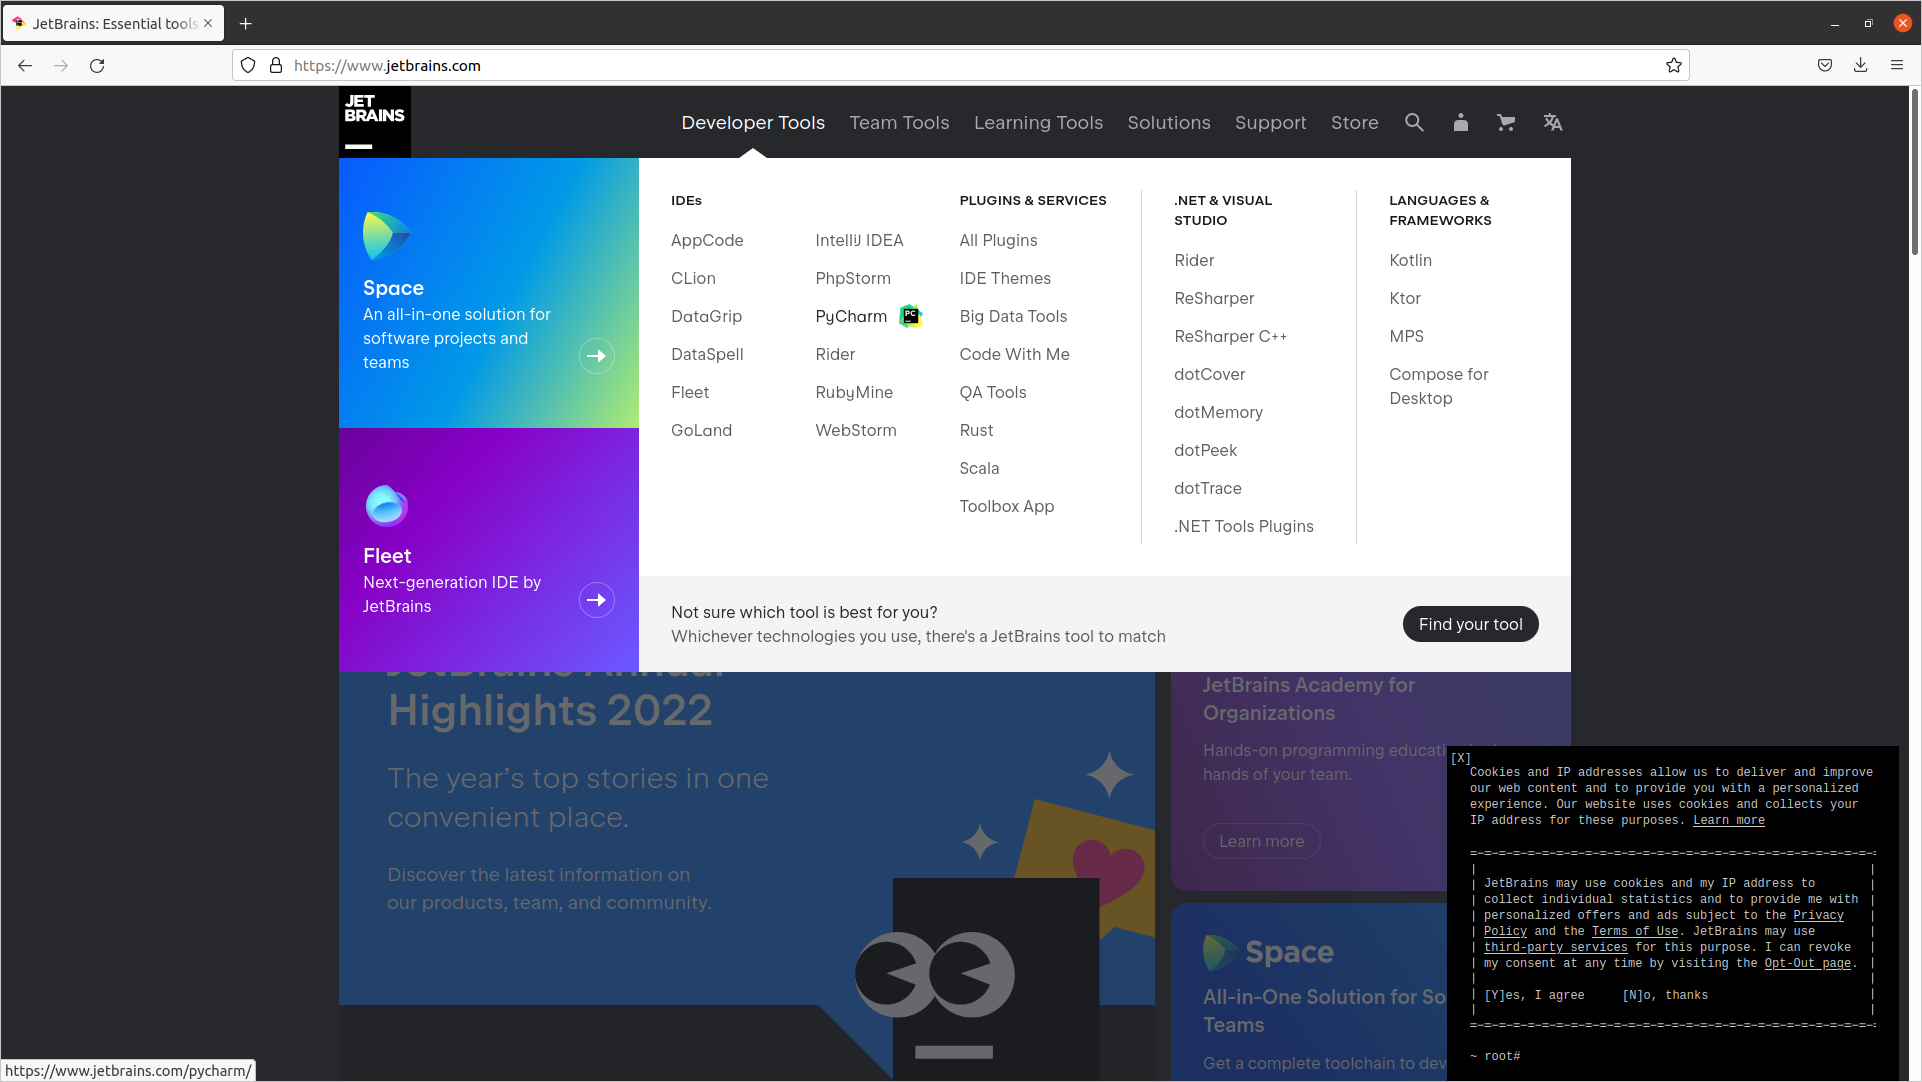
You can use this url to go directly:

https://www.jetbrains.com/pycharm/

PyCharm Community Edition is completely free.

If you don’t have it, create an account in Gitlab. I recommend you to use Gitlab over Github.

Before continuing you’ll have to validate your account by clicking the email that Gitlab sent you.

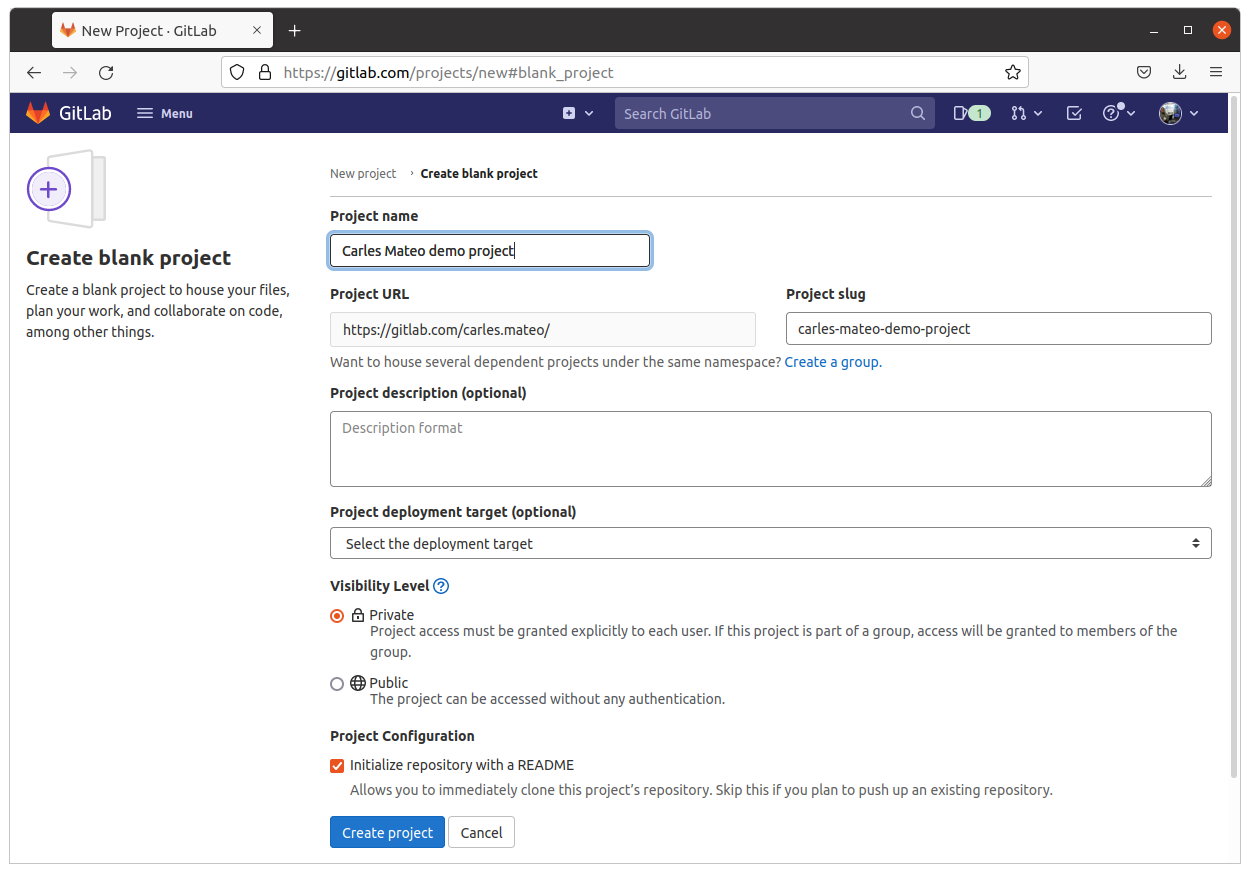
Create a New project, by pressing the blue button with this label.

Choose Create blank project.
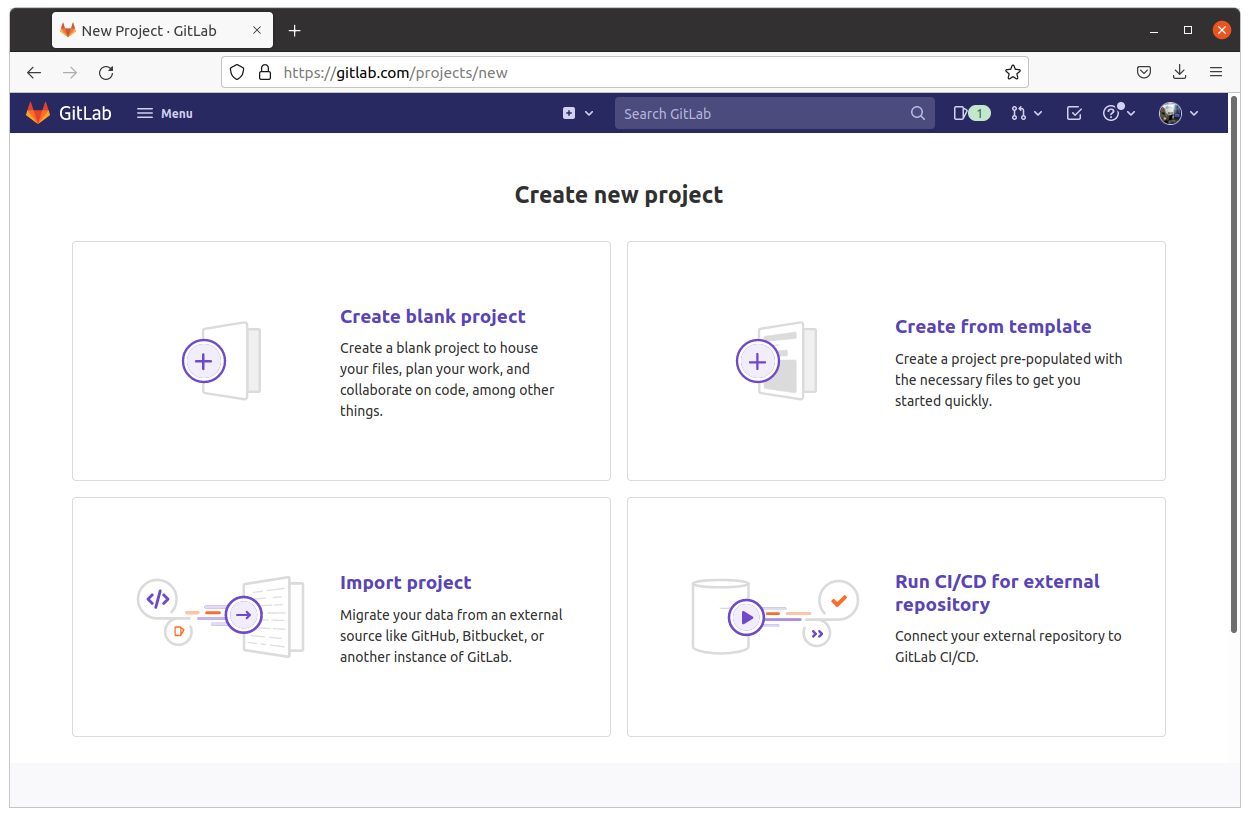
If you select Public everybody will be able to see your code, I recommend you to start with a Private project.

Let checked Initialize repository with a README as this will save you plenty of time and will allow you to start working immediately.

The project will be created for you.

Hit the Clone blue button and it will provide two methods to clone your git repository. You will copy the Clone with HTTPS url.
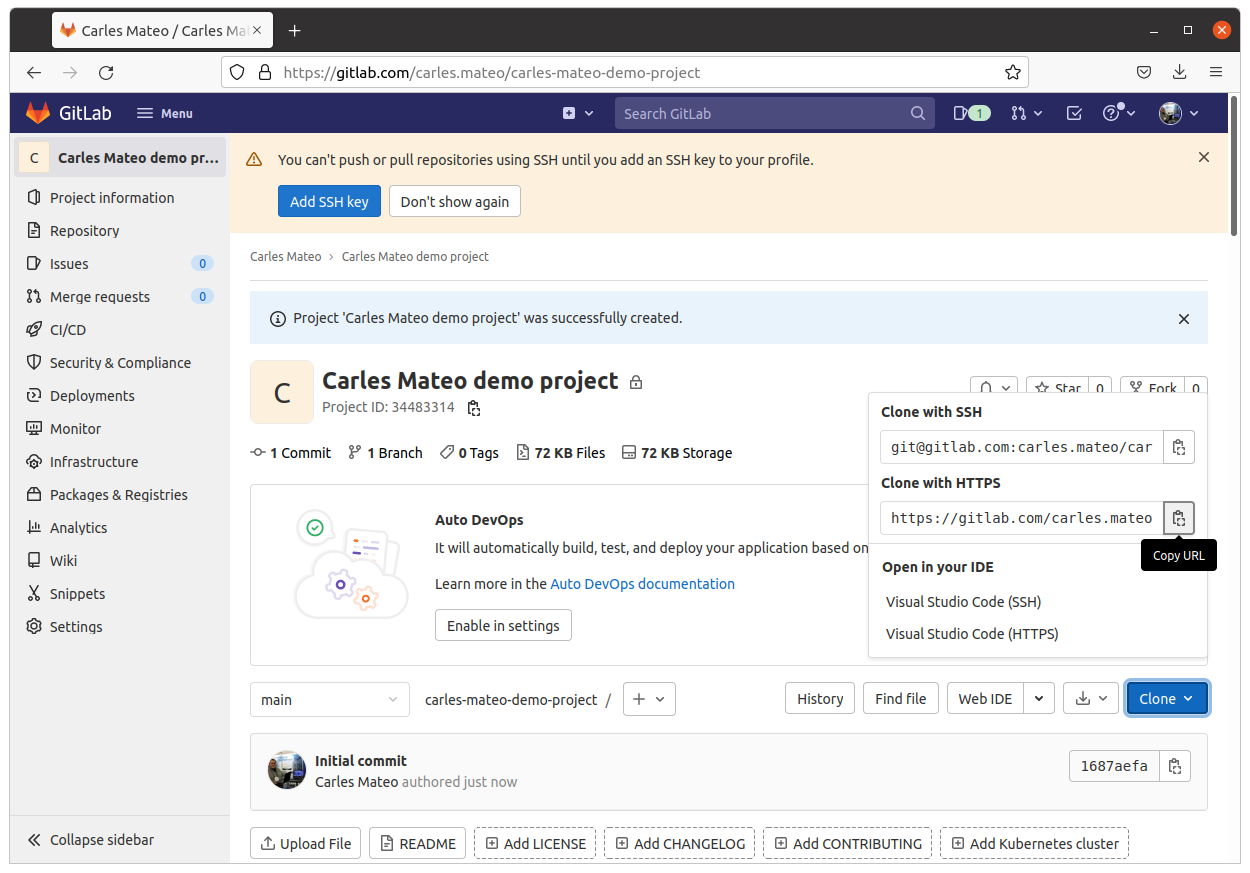
There are different ways to clone a new project.

Assuming you already have one opened go to Main Menu > Git > Clone

In the URL field paste the URL you copied from Gitlab, in my case:

https://gitlab.com/carles.mateo/carles-mateo-demo-project.git
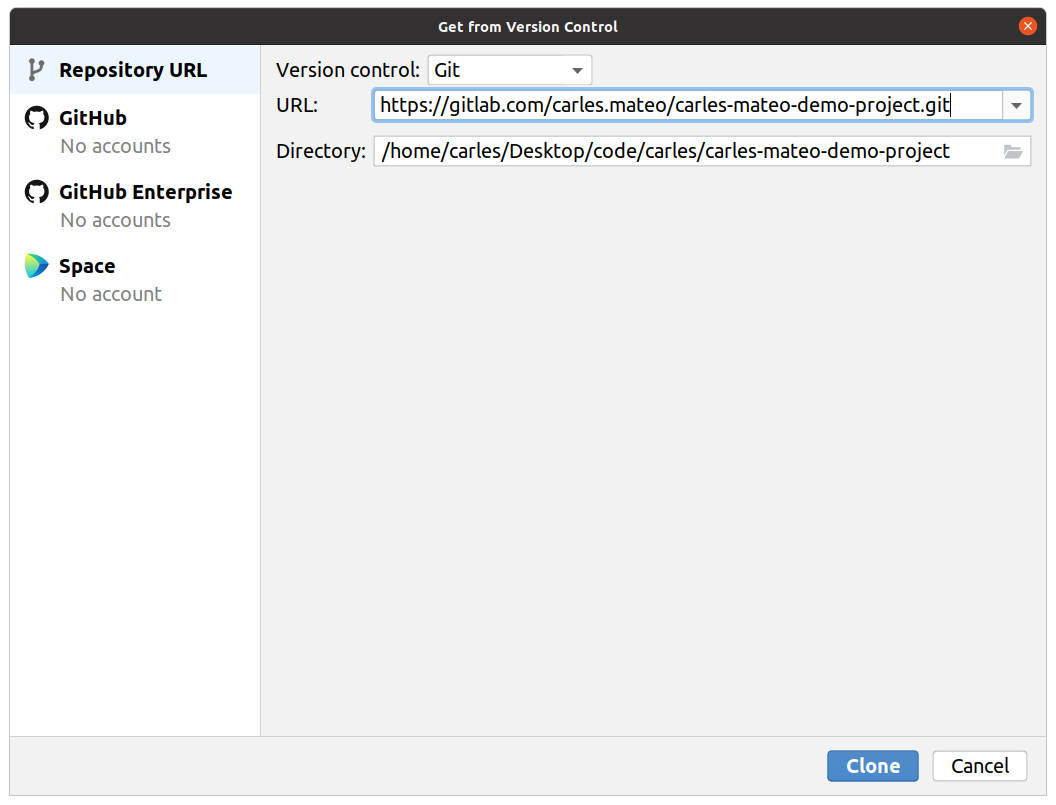
And press the blue botton Clone.

If you don’t have Git installed, PyCharm will tell you in red, and will allow you to install it for you. It is a very convenient way to install it, specially if you use Windows.

In Ubuntu or Debian Linux installing git is so easy as typing from the Terminal:

sudo apt install git

If it’s your first time PyCharm will ask you for your credentials in Gitlab, so your username or email, and your password.

As it is you own new project and it’s empty, you can trust it. Hit Trust Project.
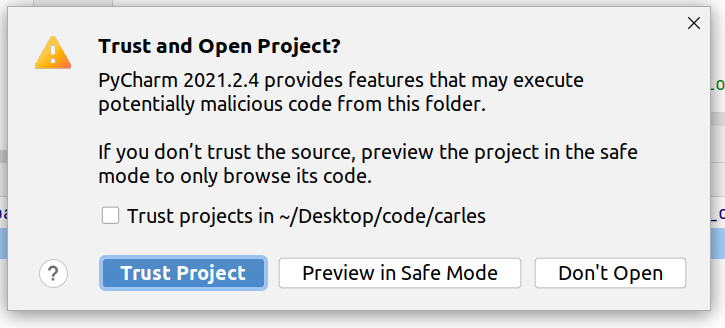
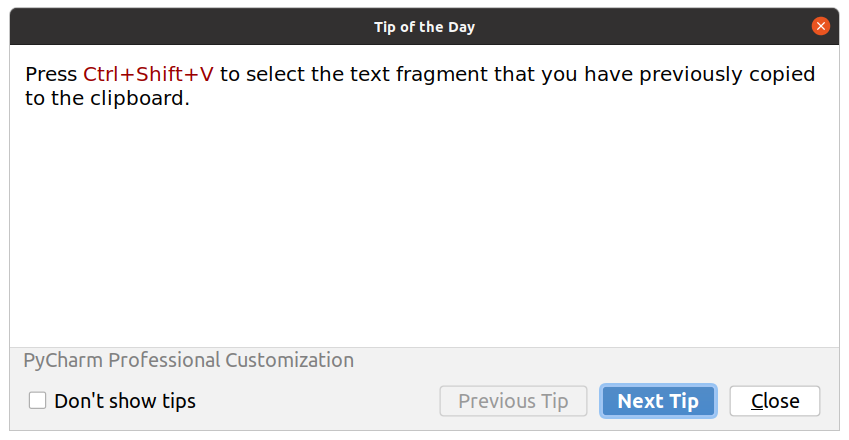
A window with tips will appear, you can close it.
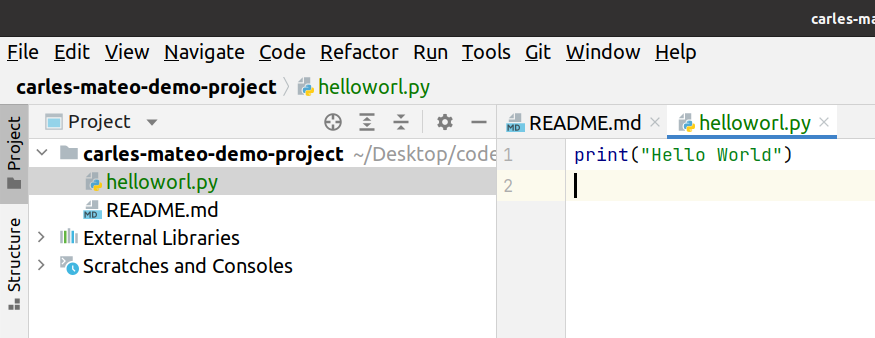
As you see your project is empty. Only has a the default README.md file created by Gitlab.

Creating new Python files

On the top left, over the name of your project folder press with the Right button of the mouse and select New > Python File

Enter the name of the file, I choose helloworld and press Enter.

You will be asked if you want to add automatically the file to Git. This refers to your local Git repository. Say Yes and you will see the file changing from color Red, which means it is not added to the repository to Green. Green means that is added, but has never been committed.

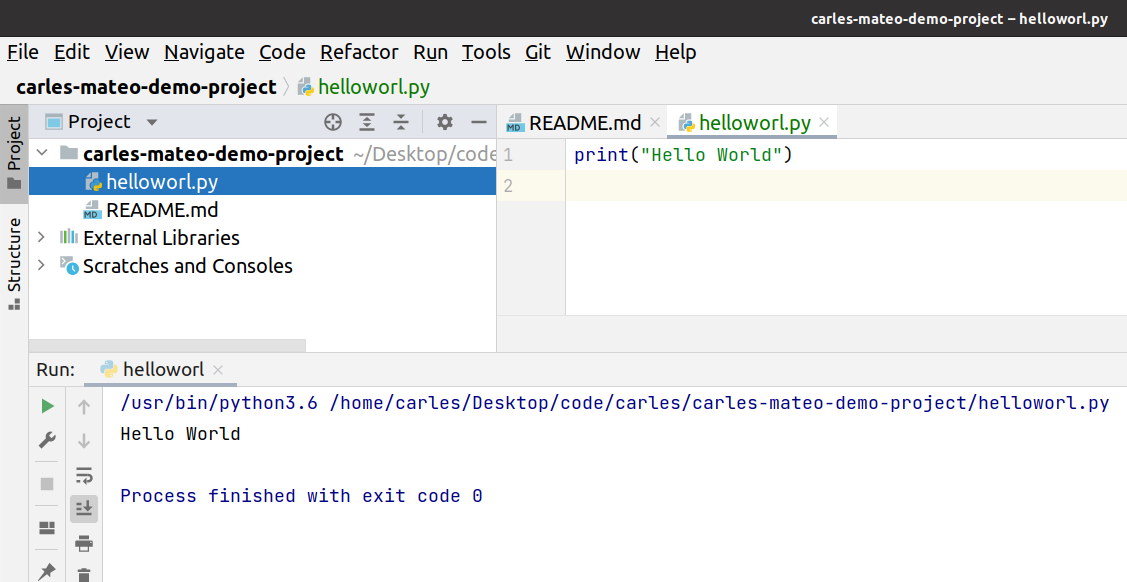
Just add this line to helloworld.py

print("Hello World")

Note: I made a typo and I wrote “helloworl.py” instead of “helloworld.py”, I will show how to fix this later.
Now, press over the file name over the top left, with the Right button of the mouse, and select Run helloworl (In your case will be Run helloword)

Note: To be able to run a Python program, you need to have Python installed.

Note2: Do not start the name of your file by test as PyCharm will consider that you are writing Unit Testing Code, and will not show the option to run the code, but to run with pytest (if you have pytest framework installed).

And you see on the bottom how it worked and printed “Hello World”.
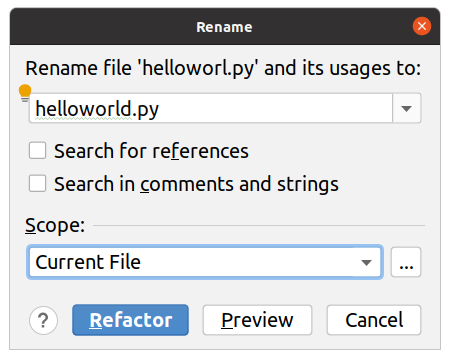
To rename the file you’ll click over it with the Right button of the mouse and select Refactor > Rename

Type the correct name, in my case “helloworld.py” and for the Scope select: Current File.

PyCharm is so powerful that can search for your entire project to see if other files are using that file and will update the code to reflect the file name change. By indicating Scope: Current File we are telling that the change affects only to this file, and by not marking Search for references and not marking Search in comments and strings you are indicating to PyCharm that it should not search in code and comments to update them with the new file. This option is really useful when you get more confident with programming.
Perfect. Now you want to commit the file to the repository and Push.

The first time PyCharm will ask you how people will know you, that is, your visible name in the Git History of Commits, and your email. You can mark to use these properties locally. This is basically because Git needs to know how to identify you. Consider that Git was created to work with Teams, so everybody should know who made what. Add your friendly name, like “Carles Mateo” and your email. I recommend you to check to use this info for Git globally (all the projects in your computer).

When you commit you’re expected to provide a Commit Message. As Git is used by teams, to work on the same code, try to explain briefly what your changes consisted on.
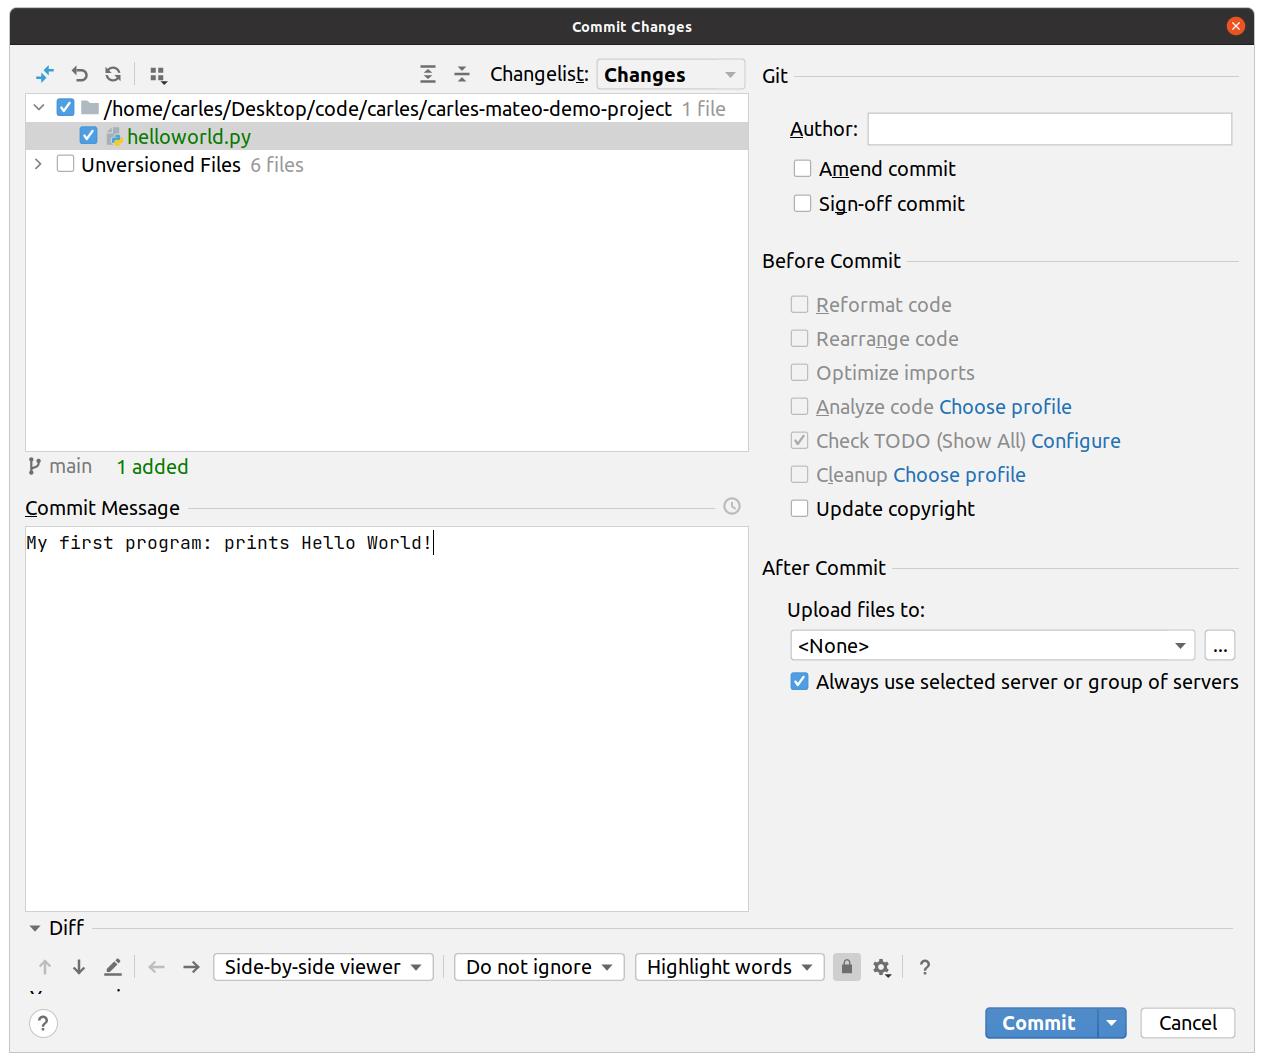
If you press Commit, you will see how helloworld.py is no longer in color green, now is black. This means that the file is up to date respect our local Git.

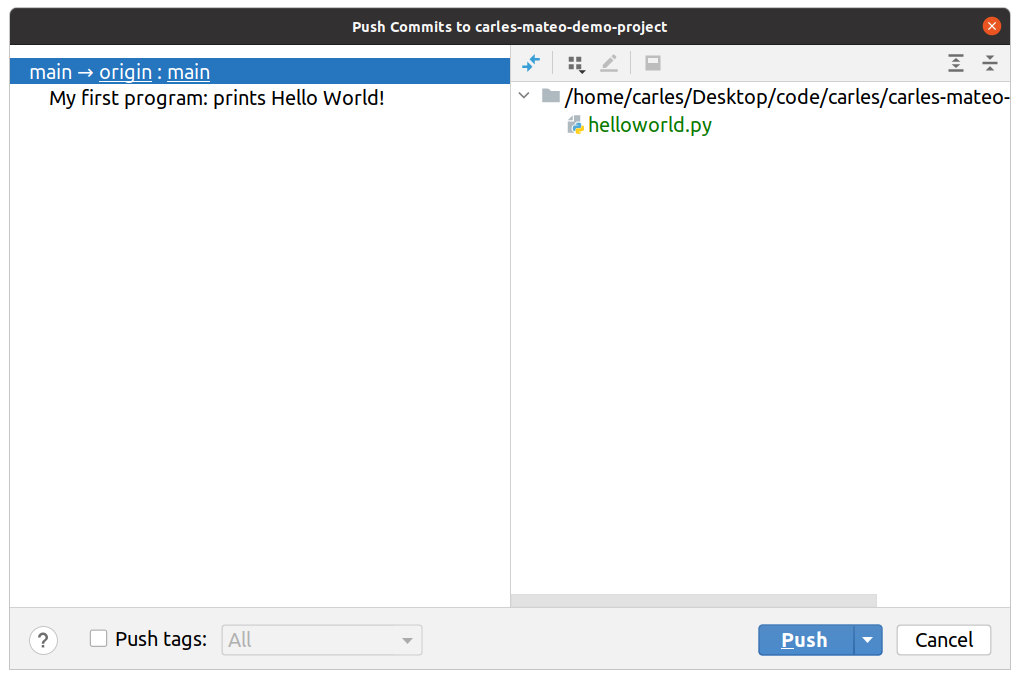
Go to the Main Menu and select Git > Push.

You’ll see a message in the bottom indicating that your code has been pushed to the repository.

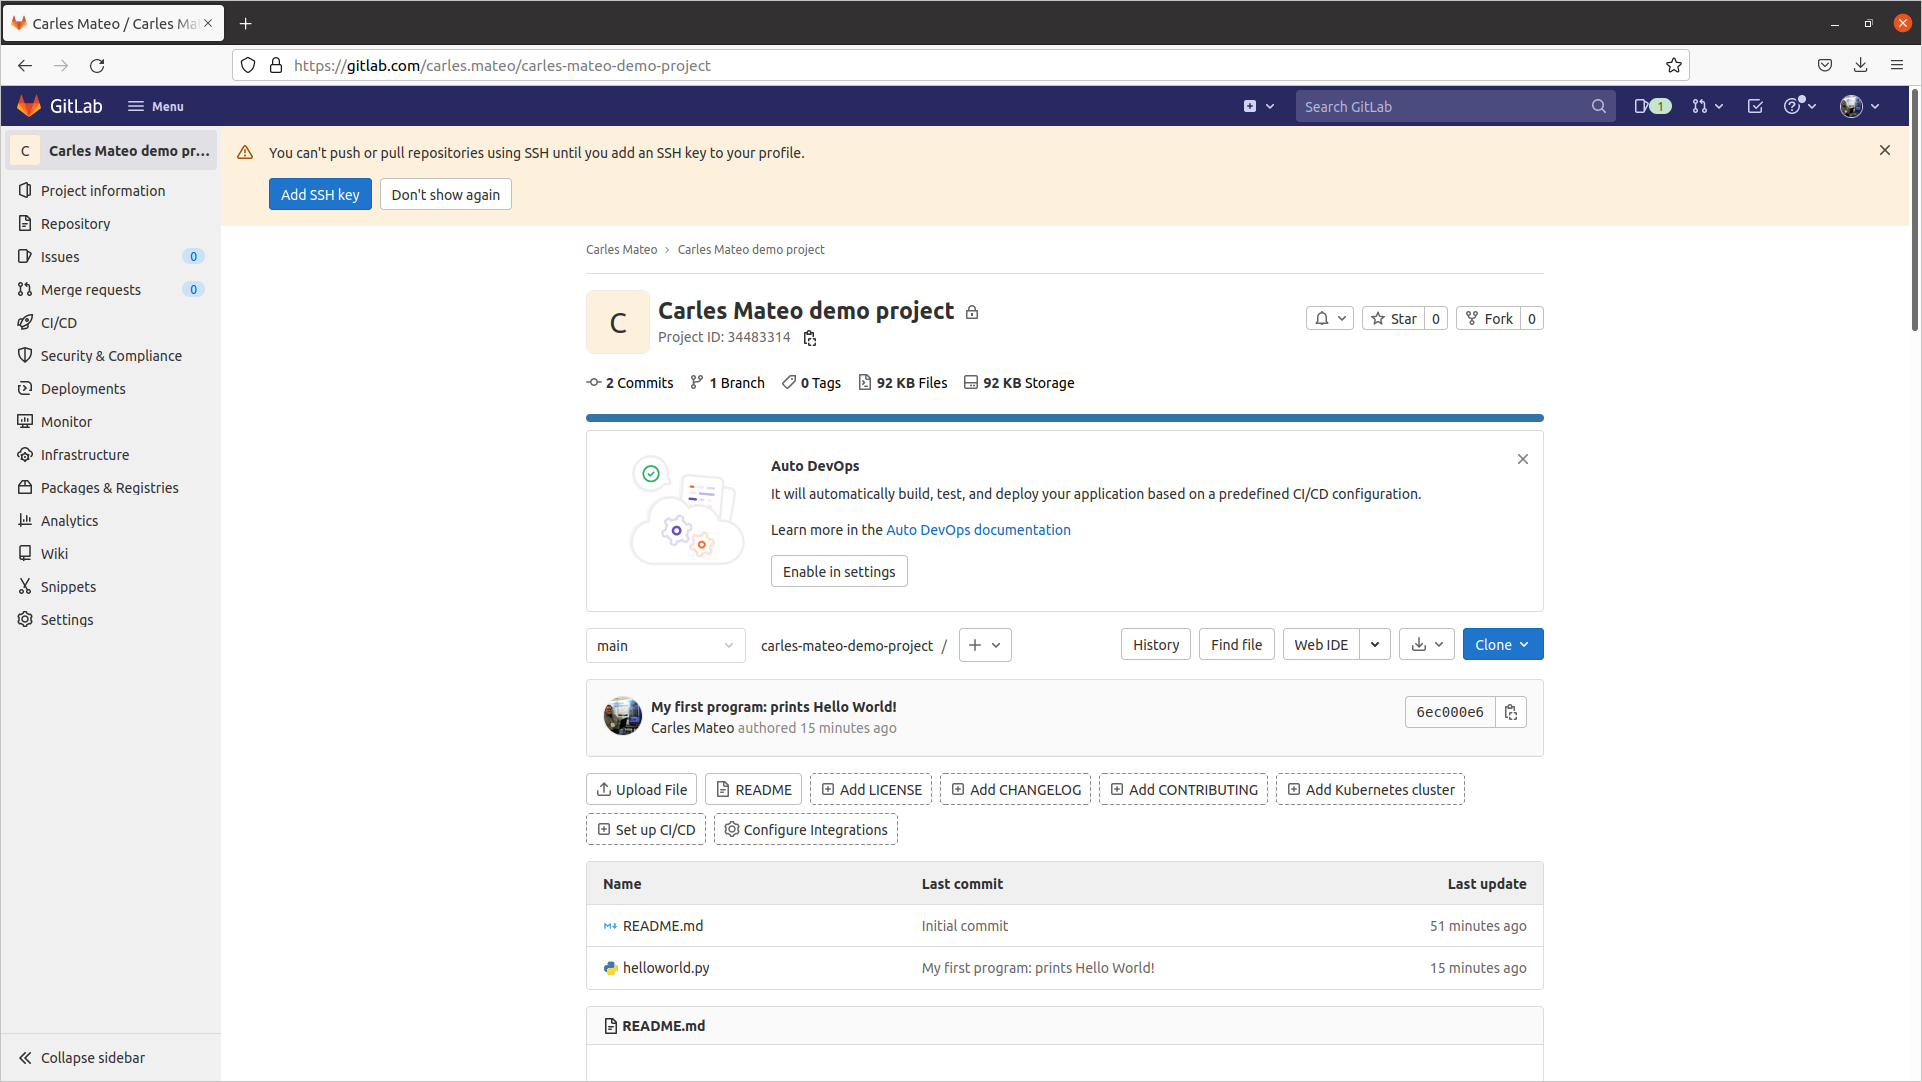
Now, you can refresh your browser, and you’ll see the changes in Gitlab:
PyCharm vs VSCode

I got asked what are the advantage from PyCharm respect VSCode.

I may refer to this excellent comparison:

While VSCode has some great support for Python coding with the ‘Python’ plugin by Microsoft, PyCharm is truly designed for Python development and it shows.

https://tangenttechnologies.ca/blog/pycharm-vs-vscode/
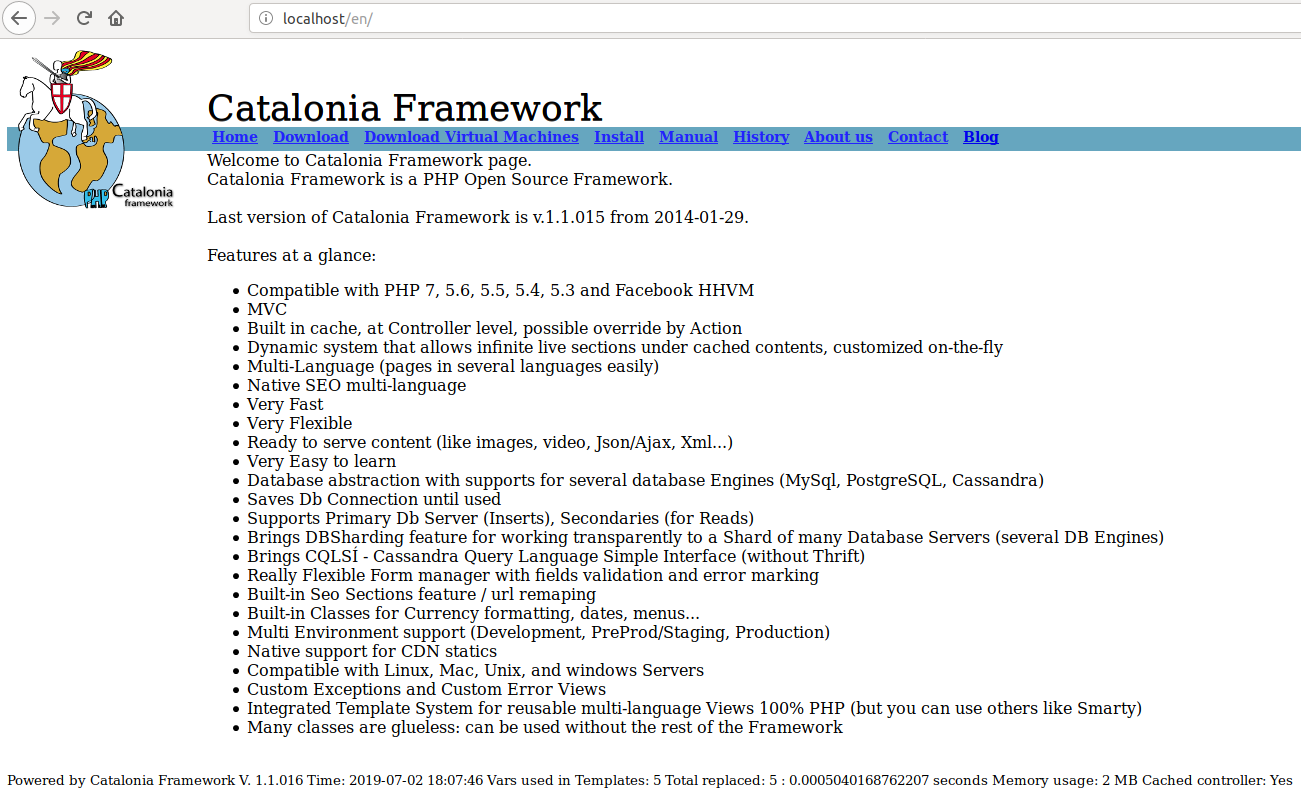
https://tangenttechnologies.ca/blog/pycharm-vs-vscode/
Adding my Server as Docker, with PHP Catalonia Framework, explained

Update: 2021-07-23 Ubuntu 19.04 is no longer available, so I updated the article in order to work with Ubuntu 20.04. and with PHP 7.4 and all their dependencies.

The previous day I explained how I migrated my old Server (Amazon Instance) to a more powerful model, with more recent OS, WebServer, etc…

This was interesting under the point of view of dealing with elastic Ip’s, Amazon AWS Volumes, etc… but was a process basically manual. I could have generated an immutable image to start from next time, but this is another discussion, specially because that Server Instance has different base Software, including a MySql Database.

This time I want to explain, step by step, how to containerize my Server, so I can port to different platforms, and I can be independent on what the Server Operating System is. It will work always, as we defined the Operating System for the Docker Container.

So we start to use IaC (Infrastructure as Code).

So first you need to install docker.

So basically if your laptop is an Ubuntu 18.04 LTS or 20.04 LTS you have to:

sudo apt install docker.io

Start and Automate Docker

The Docker service needs to be setup to run at startup. To do so, type in each command followed by enter:

sudo systemctl start docker
sudo systemctl enable docker

Create the Dockerfile

For doing this you can use any text editor, but as we are working with IaC why not use a Code Editor?.

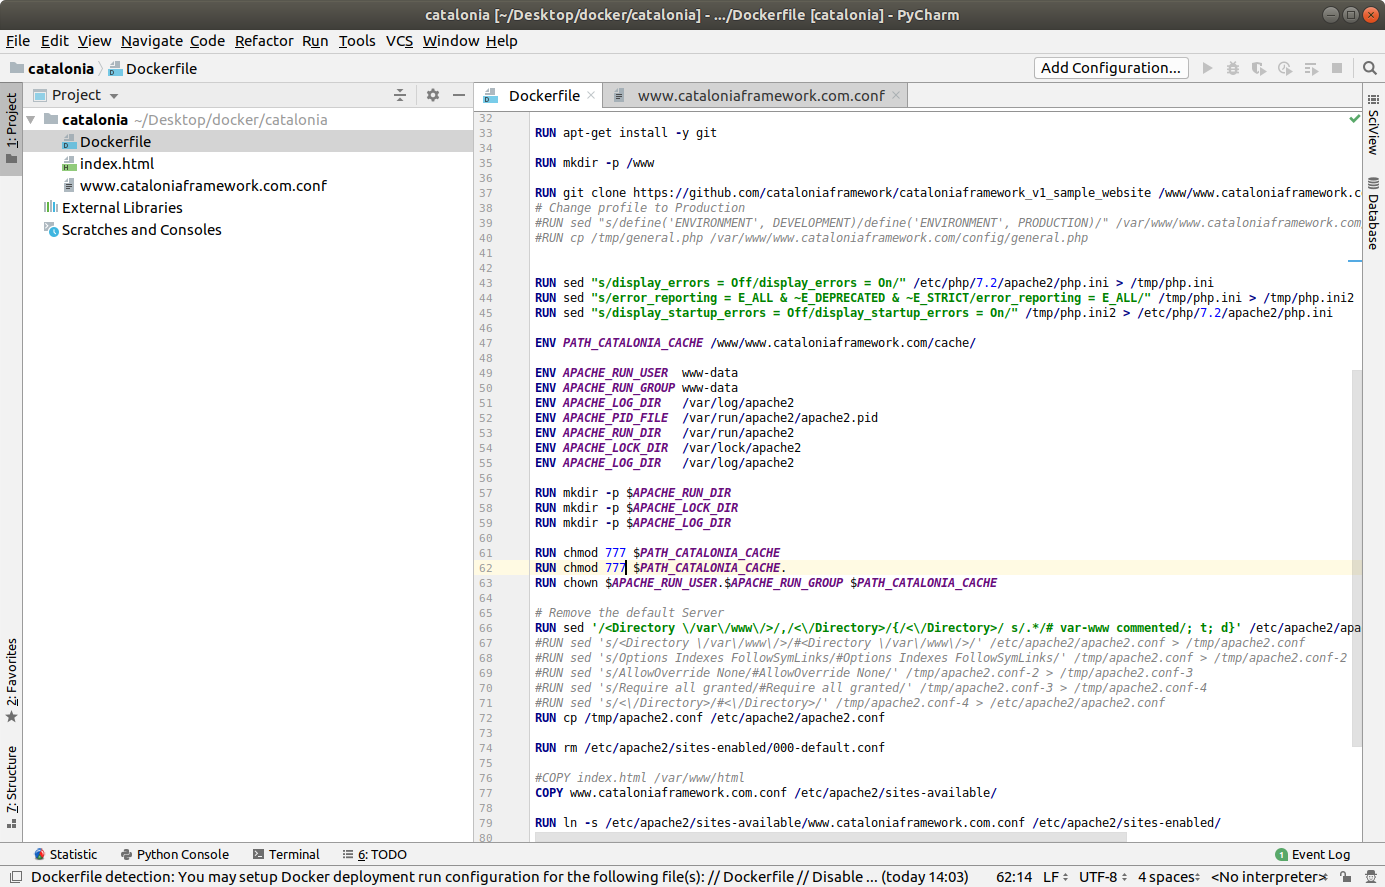
You can use the versatile PyCharm, that has modules for understanding Docker and so you can use Control Version like git too.

This is the updated Dockerfile to work with Ubuntu 20.04 LTS

FROM ubuntu:20.04

MAINTAINER Carles <carles@carlesmateo.com>

ARG DEBIAN_FRONTEND=noninteractive

#RUN echo "nameserver 8.8.8.8" > /etc/resolv.conf

RUN echo "Europe/Ireland" | tee /etc/timezone

# Note: You should install everything in a single line concatenated with
#       && and finalizing with 
# apt autoremove && apt clean

#       In order to use the less space possible, as every command is a layer
RUN apt update && apt install -y apache2 ntpdate libapache2-mod-php7.4 mysql-server php7.4-mysql php-dev libmcrypt-dev php-pear git && apt autoremove && apt clean

RUN a2enmod rewrite

RUN mkdir -p /www

# In order to activate Debug
# RUN sed -i "s/display_errors = Off/display_errors = On/" /etc/php/7.2/apache2/php.ini 
# RUN sed -i "s/error_reporting = E_ALL & ~E_DEPRECATED & ~E_STRICT/error_reporting = E_ALL/" /etc/php/7.2/apache2/php.ini 
# RUN sed -i "s/display_startup_errors = Off/display_startup_errors = On/" /etc/php/7.2/apache2/php.ini 
# To Debug remember to change:
# config/{production.php|preproduction.php|devel.php|docker.php} 
# in order to avoid Error Reporting being set to 0.

ENV PATH_CATALONIA /www/www.cataloniaframework.com/
ENV PATH_CATALONIA_WWW /www/www.cataloniaframework.com/www/
ENV PATH_CATALONIA_CACHE /www/www.cataloniaframework.com/cache/

ENV APACHE_RUN_USER  www-data
ENV APACHE_RUN_GROUP www-data
ENV APACHE_LOG_DIR   /var/log/apache2
ENV APACHE_PID_FILE  /var/run/apache2/apache2.pid
ENV APACHE_RUN_DIR   /var/run/apache2
ENV APACHE_LOCK_DIR  /var/lock/apache2
ENV APACHE_LOG_DIR   /var/log/apache2

RUN mkdir -p $APACHE_RUN_DIR
RUN mkdir -p $APACHE_LOCK_DIR
RUN mkdir -p $APACHE_LOG_DIR
RUN mkdir -p $PATH_CATALONIA
RUN mkdir -p $PATH_CATALONIA_WWW
RUN mkdir -p $PATH_CATALONIA_CACHE

# Remove the default Server
RUN sed -i '/<Directory \/var\/www\/>/,/<\/Directory>/{/<\/Directory>/ s/.*/# var-www commented/; t; d}' /etc/apache2/apache2.conf 

RUN rm /etc/apache2/sites-enabled/000-default.conf

COPY www.cataloniaframework.com.conf /etc/apache2/sites-available/

RUN chmod 777 $PATH_CATALONIA_CACHE
RUN chmod 777 $PATH_CATALONIA_CACHE.
RUN chown --recursive $APACHE_RUN_USER.$APACHE_RUN_GROUP $PATH_CATALONIA_CACHE

RUN ln -s /etc/apache2/sites-available/www.cataloniaframework.com.conf /etc/apache2/sites-enabled/

# Note: You should clone locally and COPY to the Docker Image
#       Also you should add the .git directory to your .dockerignore file
#       I made this way to show you and for simplicity, having everything
#       in a single file
##RUN git clone https://github.com/cataloniaframework/cataloniaframework_v1_sample_website /www/www.cataloniaframework.com
##RUN git checkout tags/v.1.16-web-1.0
# In order to change profile to Production
# RUN sed -i "s/define('ENVIRONMENT', DOCKER)/define('ENVIRONMENT', PRODUCTION)/" /var/www/www.cataloniaframework.com/config/general.php 
COPY *.php /www/www.cataloniaframework.com/www

# for debugging
#RUN apt-get install -y vim

RUN service apache2 restart

EXPOSE 80

CMD ["/usr/sbin/apache2", "-D", "FOREGROUND"]

The www.cataloniaframework.com.conf file

As you saw in the Dockerfile you have the line:

COPY www.cataloniaframework.com.conf /etc/apache2/sites-available/

This will copy the file www.cataloniaframework.com.conf that must be in the same directory that the Dockerfile file, to the /etc/apache2/sites-available/ folder in the container.

<VirtualHost *:80>
    ServerAdmin webmaster@cataloniaframework.com
    # Uncomment to use a DNS name in a multiple VirtualHost Environment
    #ServerName www.cataloniaframework.com
    #ServerAlias cataloniaframework.com
    DocumentRoot /www/www.cataloniaframework.com/www
    <Directory /www/www.cataloniaframework.com/www/>
            Options -Indexes +FollowSymLinks +MultiViews
            AllowOverride All
            Order allow,deny
            allow from all
            Require all granted
    </Directory>
    ErrorLog ${APACHE_LOG_DIR}/www-cataloniaframework-com-error.log
    # Possible values include: debug, info, notice, warn, error, crit,
    # alert, emerg.
    LogLevel warn
    CustomLog ${APACHE_LOG_DIR}/www-cataloniaframework-com-access.log combined
</VirtualHost>

Stopping, starting the docker Service and creating the Catalonia image

service docker stop && service docker start

To build the Docker Image we will do:

docker build -t catalonia . --no-cache

I use the –no-cache so git is pulled and everything is reworked, not kept from cache.

Now we can run the Catalonia Docker, mapping the 80 port.

docker run -d -p 80:80 catalonia

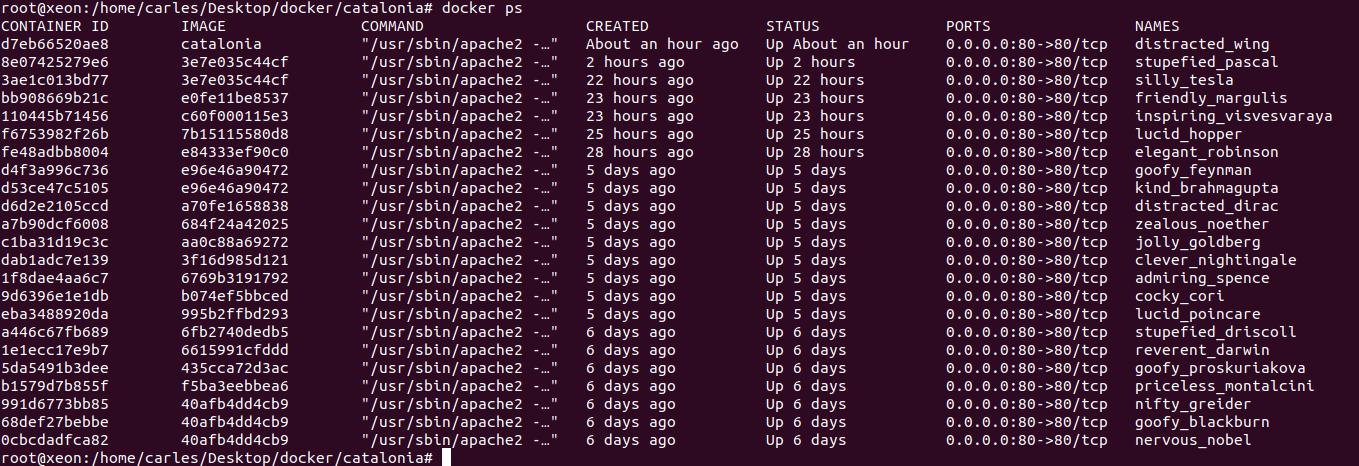
If you want to check what’s going on inside the Docker, you’ll do:

docker ps

And so in this case, we will do:

docker exec -i -t distracted_wing /bin/bash

Finally I would like to check that the web page works, and I’ll use my preferred browser. In this case I will use lynx, the text browser, cause I don’t want Firefox to save things in the cache.