 It all started with my best friend, and the best Engineer I know, E. H. We often meet for doing hackatons and we explore node, go, patterns, technologies… Some times we just meet and improvise a hackaton.
I’ve been carrying with me a laptop, almost every single day of my life, since many years ago (that’s why I created some jokes about gym and IT and have fun with my friends, like: we IT guys go to the gym to be so strong so we can carry a laptop everywhere, all the time, without effort).
But some of my friends suffer from the back, and they can’t carry weight, so they don’t bring with them the laptop unless necessary.
There are some other friends, Sysadmins in the Operations field, that sometimes have alerts, so they have to carry a laptop with them when they’re on guard, but sometimes they have an alert out of guard, and nobody else can fix it and they don’t have a computer with them.
I also I’m concerned about privacy and sadly most smartphone builders install crappy Software that spy the users, and send keystrokes to third party companies, etc… So having a portable device, small as a credit card, where you can type your business ideas or your thoughts with some privacy, or you can use to fix remote servers when they broke, etc… looked appealing. This also fits with my private messenger c-client.
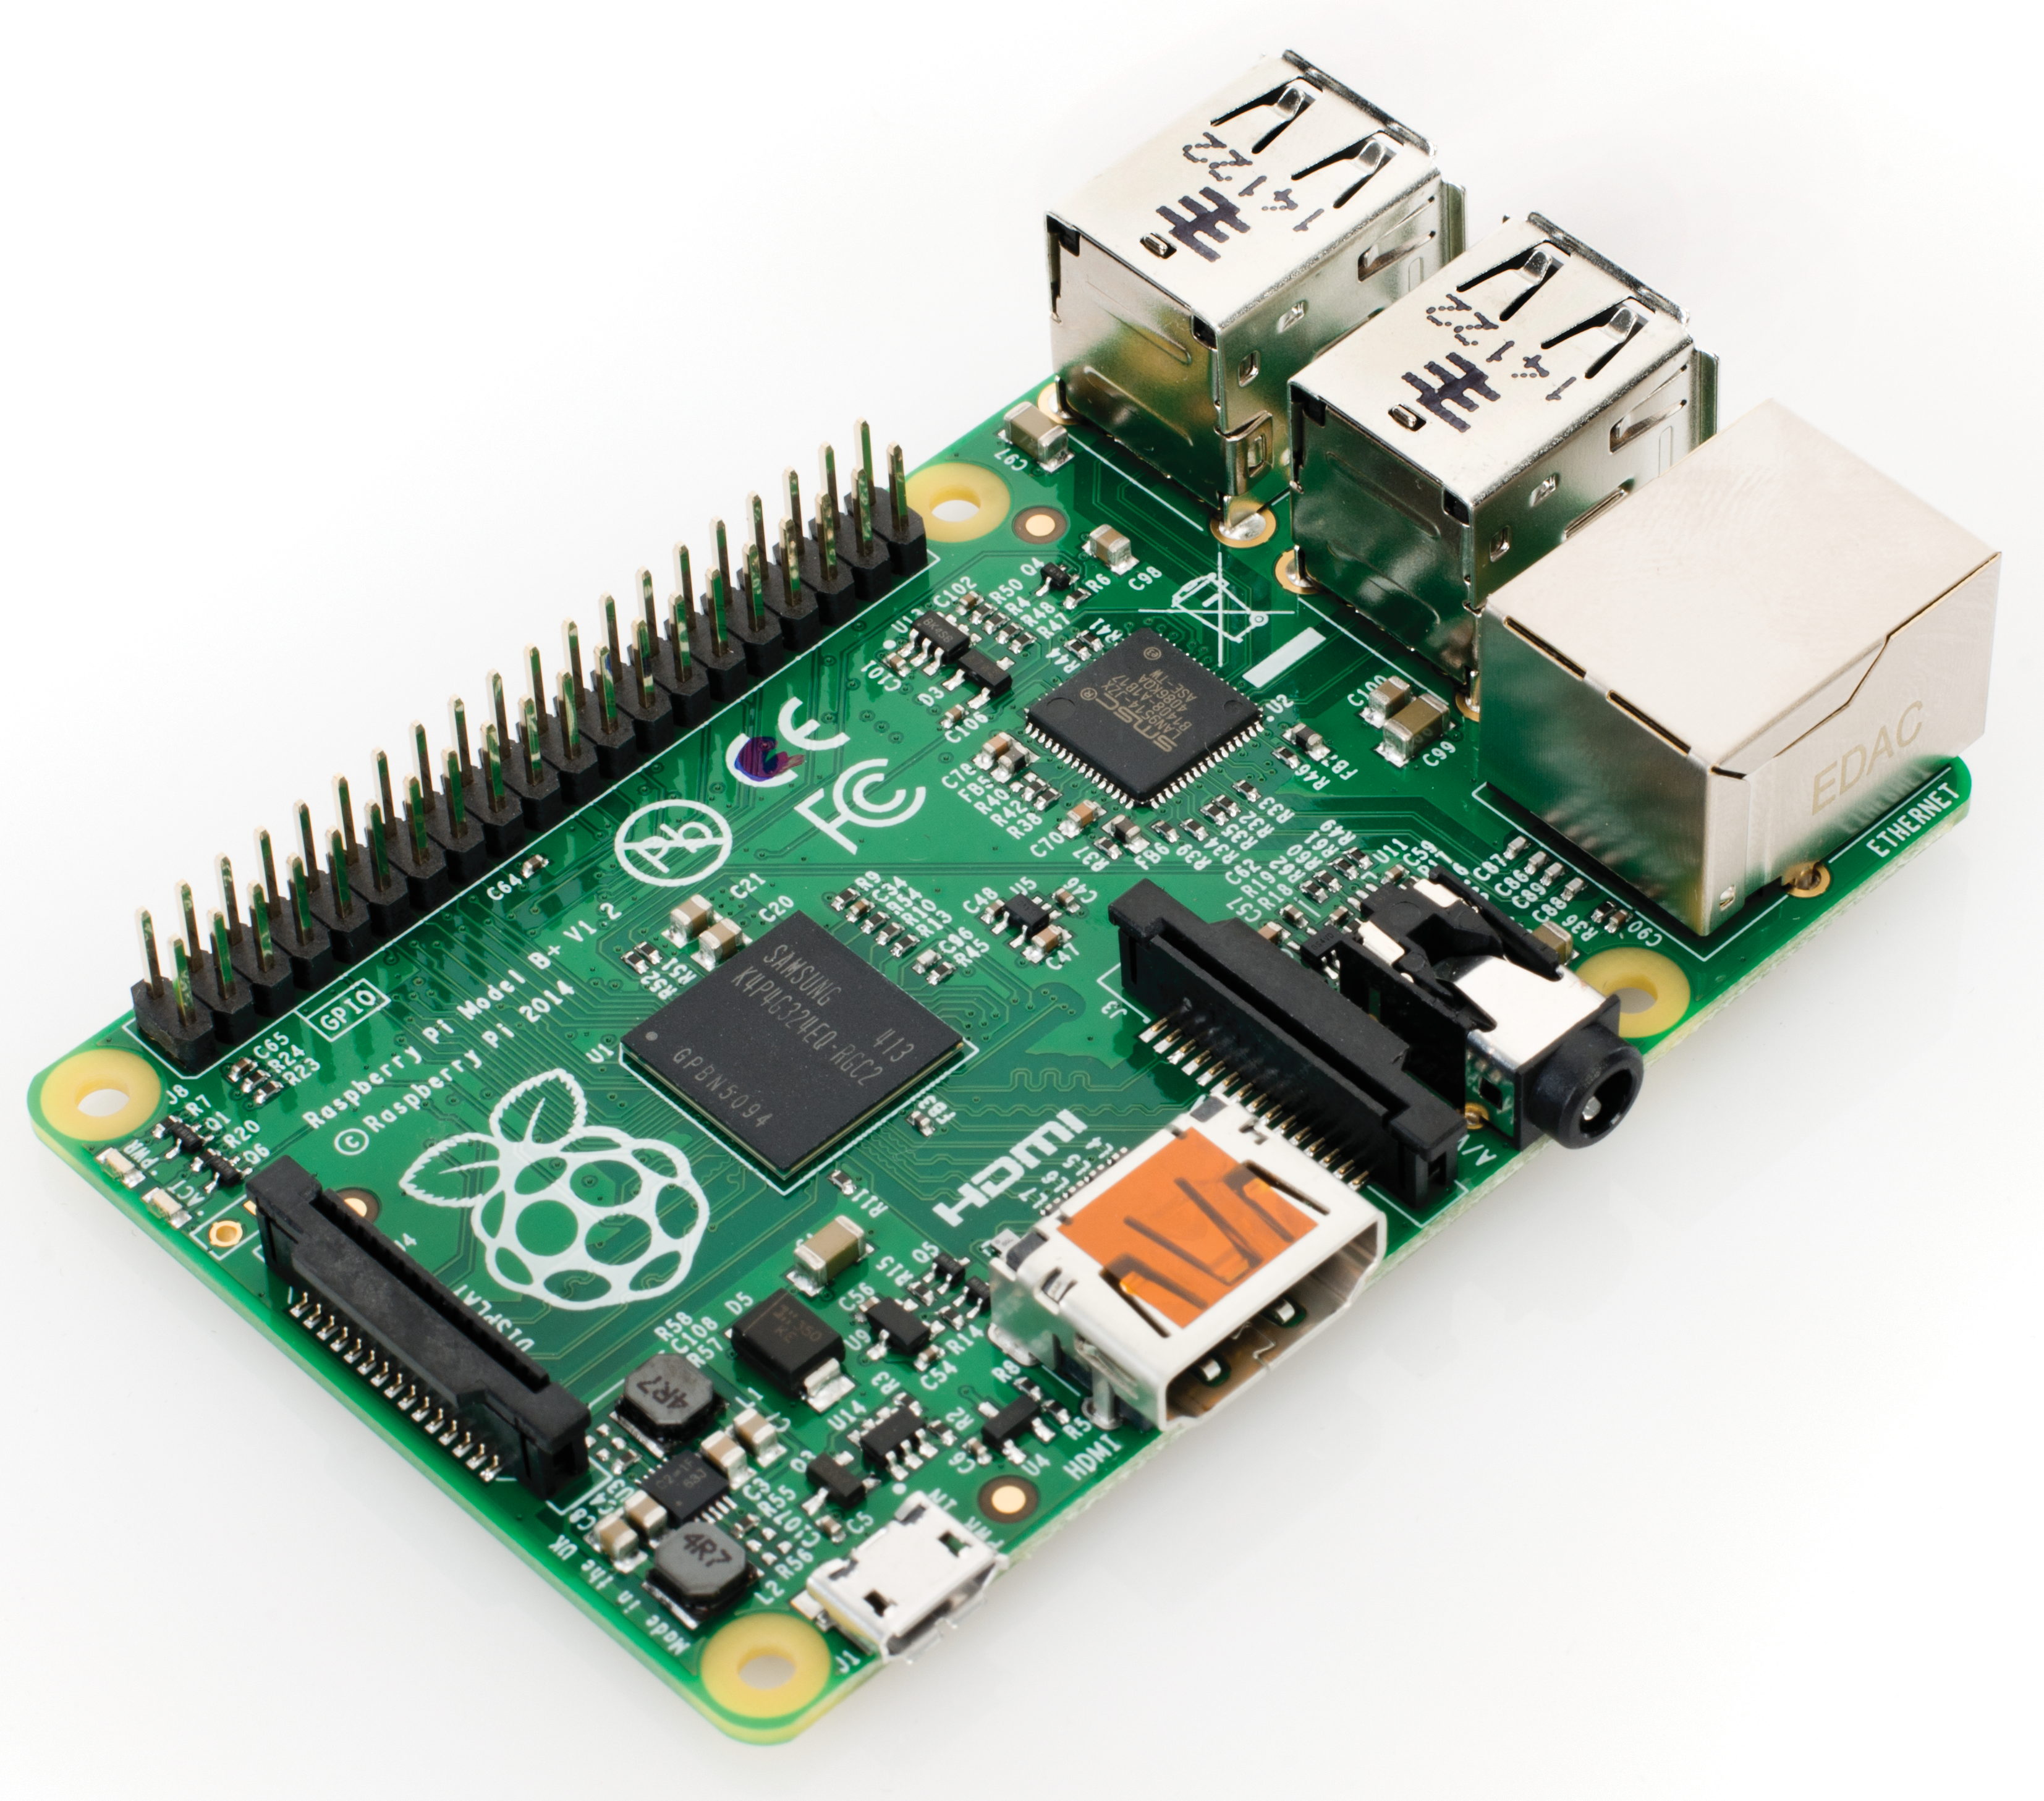
So, when I configured my raspberry 2 with OSMC and started to install Software, program crons, etc… I realized that is a tiny computer, capable enough. And then an idea came to me.
What if I can make this lightweight motherboard a wearable computer?.
And I started to play with this.
OS
I first needed an interesting enough OS, that I or my DevOps friends would like to use.
I choose Debian Jessie for Arm (armhf). Raspberry Pi 2 uses ARM v7 that is a very important improvement respect previous Raspberry models, not only in performance, but also in the floating point. That simplifies many things and much more Software packages are available (like Snappy Ubuntu Core or Windows 10).
Using Debian Jessie provided me with a very basic system that really uses few RAM memory. It uses only 65 MB RAM, with all the Wifi supported firmwares.
Then I installed X-Windows, with LXDE as Desktop Manager. Everything uses only 120 MB RAM.
I installed several packages, to highlight the epiphany web browser, Open Java Runtime Environment, and PHPStorm IDE.
I also use Ubuntu 15.04 Desktop for ARM.
Battery
Unless Raspberry pi first generation, Raspberry Pi 2 uses micro-USB standard 5V input, like most of the Android phones. So I decided to do some tests about sustained energy input with batteries.
First I calculated the energy consumption of the Pi 2, plus Ethernet and plus some USB devices I would like to attach.
I found that common power banks, those you use to charge your smartphone when battery is depleted and you’re on the run, bring a continuous energy signal that works perfectly well. I tested it by running the Raspberry Pi 2 for hours while reproducing video, doing live updates, flawlessly.
Then the first version of the Prototype C was born.
Costs:
- $40 Raspbery Pi 2
- $10 Powerbank 2000 mAh
- $15 USB Wifi-N card
It weights 160 grams/0.3527 pounds/5.64 ounces.
Some of the powerbanks are so cool that they allow you to charge them while at the same time they are providing energy to the output. So you can have the Prototype C continuously running, and if the battery is going to deplete you can just plug it to the energy plug of a bar, and the C will continue running non-stop, and the battery will charge, so in a while you can continue your walk without stopping the C.
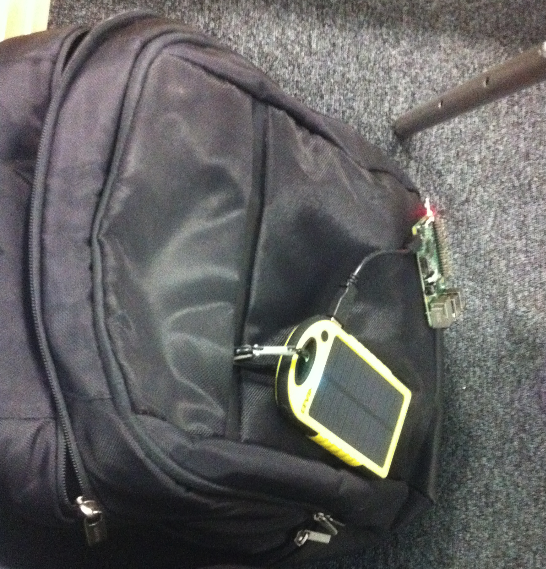
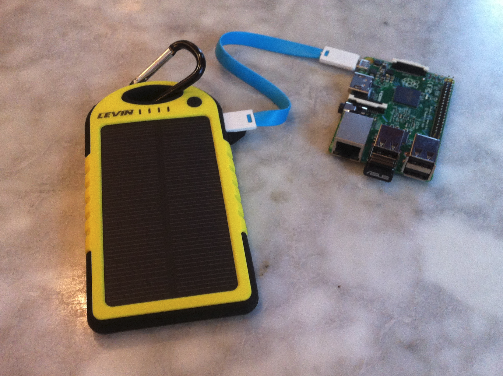 Later I bought a Levin solar powered battery, that is lightweight, protected to impacts and that has two outputs (1, 2 A) and charges while exposed to sun, so I can have the battery in the outside of my bag, and while I walk in the city it is being charged at a max rate of 200 mA. This is ideal for people hiking in the mountain or traveling in the world, so it can save lives if a problem comes and phone’s battery is depleted.
I think also in boys in Africa or poor countries where they children have to walk a long to the school. This walking could help charging the battery so they can study at the school and continue studying at home.
With the C a solar powered battery also allow to blog from everywhere. :)
You don’t even need a cable, just an small USB-micro-USB connector
Note: This Levin solar battery doesn’t accept to be charged and to bring energy to the device at the same time.
Note: you can also aliment it from the car lighter connector with and adapter.
Monitor
That part is not easy.
The monitors I was interested in were not sold to Catalonia. Finally I was able to find some of my interest in Amazon.es
Most of those monitors work for the Raspberry Pi, first gen, or for Arduino, Banana Pi, etc… but not for Raspberry Pi 2. So this is the first thing to be careful.
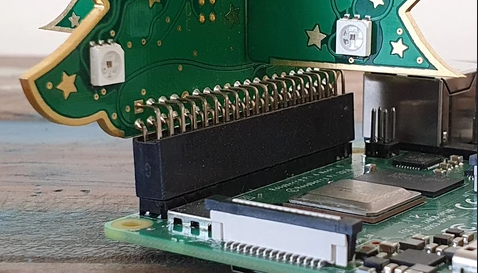
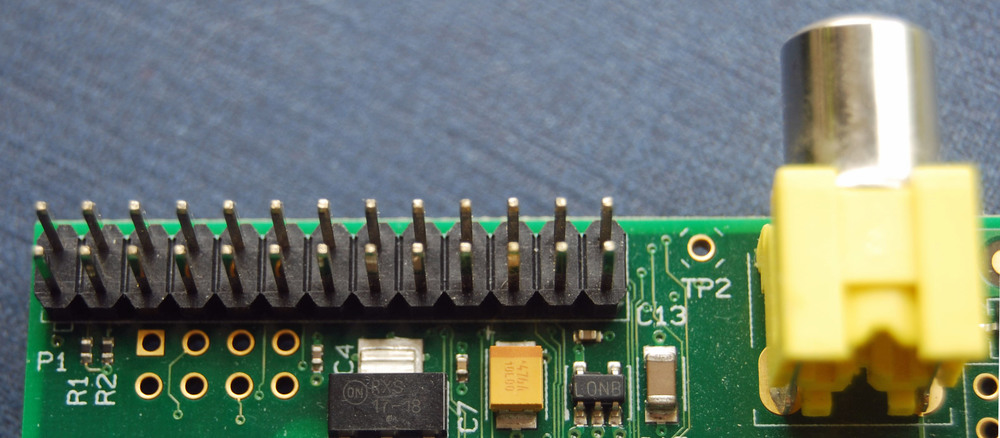
Other of those monitors get the signal from the Raspberry Pi GPIO, the General Purpose Input Output, from Raspberry. So they need some kernel patching, binaries, not Open Source code usually, and that also prevents from certain kind direct access to drawing in X not being displayed in the monitor attached via GPIO.
Other monitors require external power source, often 12 V, and so are very voluminous. So they are not a fit for our means.
Normally those monitors are touch screens, some take the power from the GPIO and also control the touching from there, but others require two USB: one for the energy and other for the touch controlling part.
You have also to consider if they have external button to power on, power off.
Also those monitors have extremely low resolution, 320×480 and like this. Only found a model supporting 800×600 and is a 5″.
And finally you have to take in consideration the power consumption.
I solved this by buying power banks that have a 2 or 2.5 A output.
Simple power banks provide a 1 A output, better ones provide two outputs: 1 A output for smartphones, and 2 A output, normally for tablets.
Part of the cool thing is the possibility to have the monitor in a place, and the Pi and the battery in another place, like for creating wearables and other cool stuff.
As I wanted to provide DIY for people, and an elegant cheap lightweight solution, the difficulty to find those monitors was a gap, so I explored several ways to use cheaper screens until I realized what is what every engineer (and common people) carries with him every day?. The smartphone.
USB Wifi
As I wanted to have Wifi I needed USB Wifi that can work with Raspberry Pi 2 and Debian Jessie.
I had some problems at the beginning (caused by a bug in wcid), but I managed to make everything work. I have made it work with two different Wifi card models flawlessly: TP-Link Nano, Asus Nano USB-N10.
Nothing stops you from adding two Wifi USB to the device. In fact is my preferred option, as I use one for being connected/controlled/display to the phone, and another for connecting to the Wifi of the place I am. That way I don’t use my mobile Data plan that much when I’m outside. In this case I recommend to use different cards (different supported chipsets) to save you headaches configuring and setting what does what (unless you like to fight with configurations until you master everything :).
Some USB Wifi devices also equip Bluetooth transmission, that is very interesting for future prototypes for controlling other devices (car radio, headsets, commands..).
Controlling the C from the smartphone
I started to test certain things to overcome the display difficulties and finally I had cool an idea and I found a very nice option.

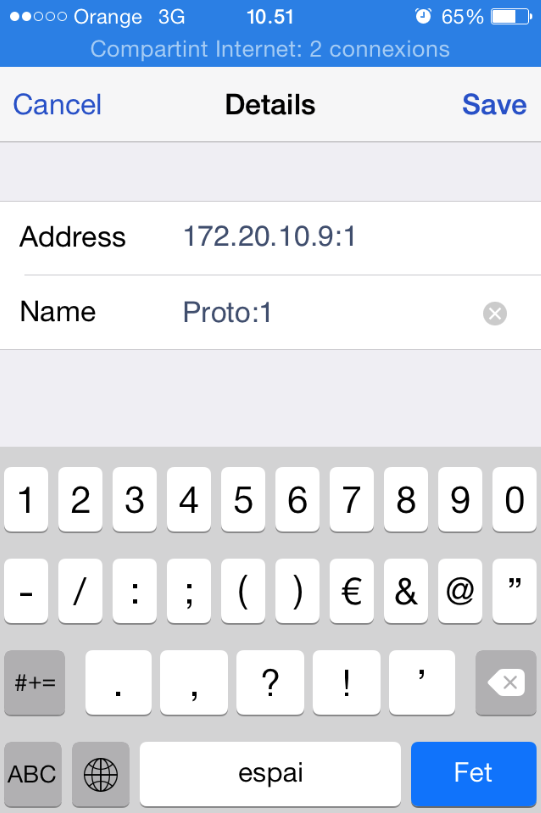
Here configuring the Vnc client to access to :1
Sharing the Internet from my iPhone creates an internal network of the type 172.20.10.x.
Sharing the Internet connection from the phone, and connecting the C automatically it creates a private network, with full network visibility between the devices.
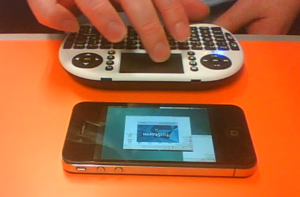
So with a ssh app for iPhone like Server Auditor I was able to connect through ssh to the C, and with a VNC Client, like Real Vnc Client, I was able to connect to the Desktop of the Prototype C, control it, send keystrokes, zoom in, zoom out. Both apps are free to download and to use.
For Android it works the same, for sharing the Internet connection it creates an internal network with another range and there are also free apps for the purpose.
The ip assigned is normally the same, 172.20.10.9 in my case.
The only required thing was to setup the C to auto-connect via Wifi to my phone’s Wifi shared connection, and then connect to the C device’s ip.
This is very easily done with Wcid from LXDE.

Mark Automatically connect to this Network
I configured vnc server so I can access to the same display than the HDMI, so I can switch from working with the smartphone to HDMI easily, and I also configured vnc server through other display at a 1024×768 resolutions. That was more comfortable to work only with the small screen of my iPhone 4. Although setting a lower resolution, like 800×600, makes it easier to work with tiny screens.
With the Vnc client you can zoom in, zoom out, with the classical gestures and use keyboard.
Not only this, I allowed several of my friends to have their own independent sessions to the same C. So with only one C several Engineers can Develop or do DevOps stuff.
Must say that with the Nexus and other smartphones with bigger screens, or tablets, the experience is amazing, much much better than with my tiny iPhone’s 4 screen.
And of course you can control the C also from a laptop.
Nailing it
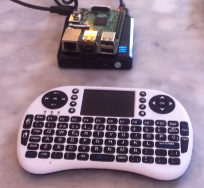
I added to the set an external bluetooth keyboard+touchpad.
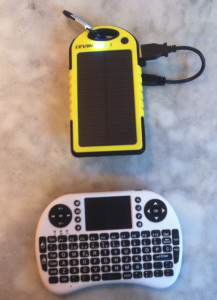
Prototype C with the bluetooth keyboard. The motherboard is hidden under the battery
If you use VNC on display :0 it’s perfect, obviously external keyboard won’t work if you use different displays (as key strokes are sent only to the device and not to the different X VNC sessions, of course).
With an external keyboard, the worries about spyware in the iPhone were mitigated, as all the keystrokes are on the physical external bluetooth keyboard and not on the iPhone’s screen.
The C with a smaller battery
I used a Rii mini i8, and a Logitech.
Some photos of real use examples
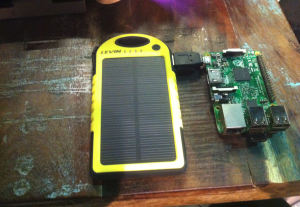
Sometimes I just connect the raw motherboard to the solar charger in the bag, and just use the smartphone over the table.
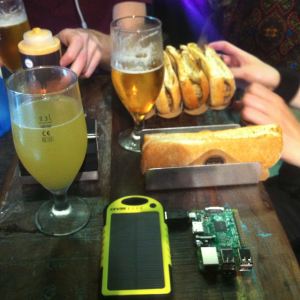
We were dinning and to the cinema with some IT Engineer friends when suddenly one of the SysAdmins got an alert and needed a Linux box
No space? Do you need a sand box and have no memory for a virtual one?

Opening PHPStorm at the bar. Under LXDE
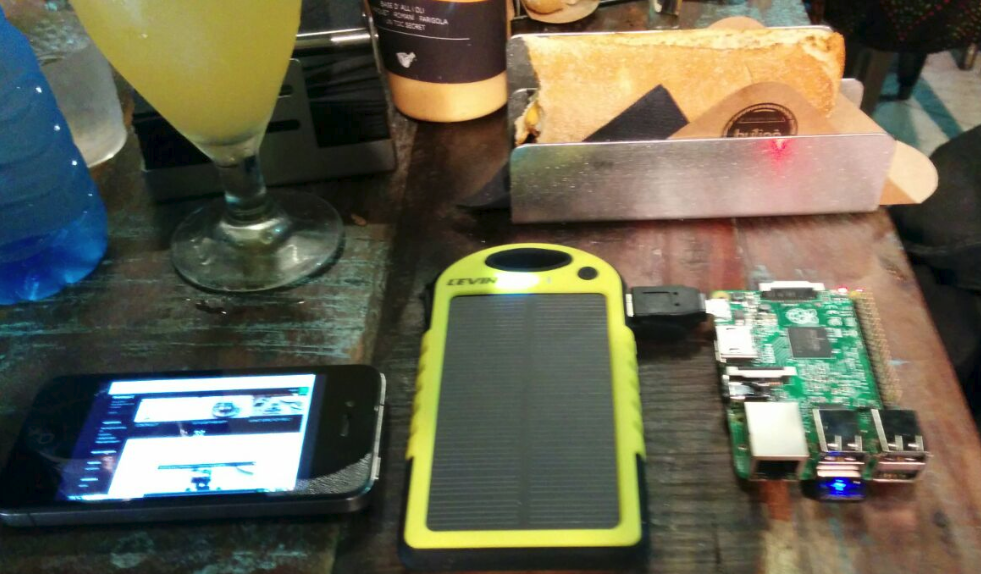
The C at the bar displaying epiphany web browser with the address http://www.prototypec.com

C over a jacket in a restaurant

Waiting time? Get C!
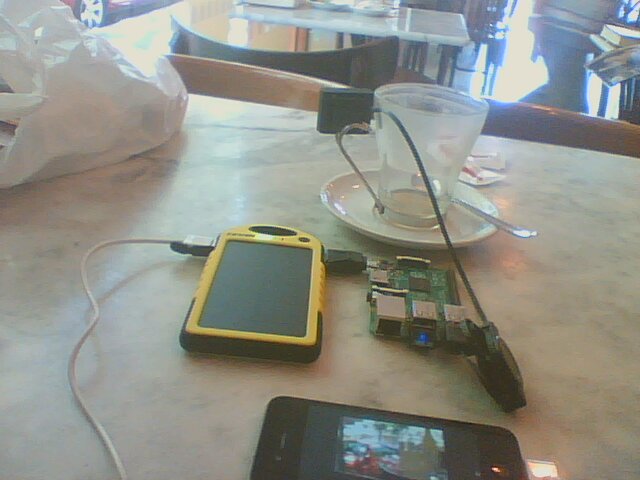
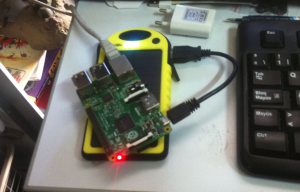
Mounting a USB mini webcam in a glass, while at a bar. The battery is charging the iPhone and powering the Prototype C
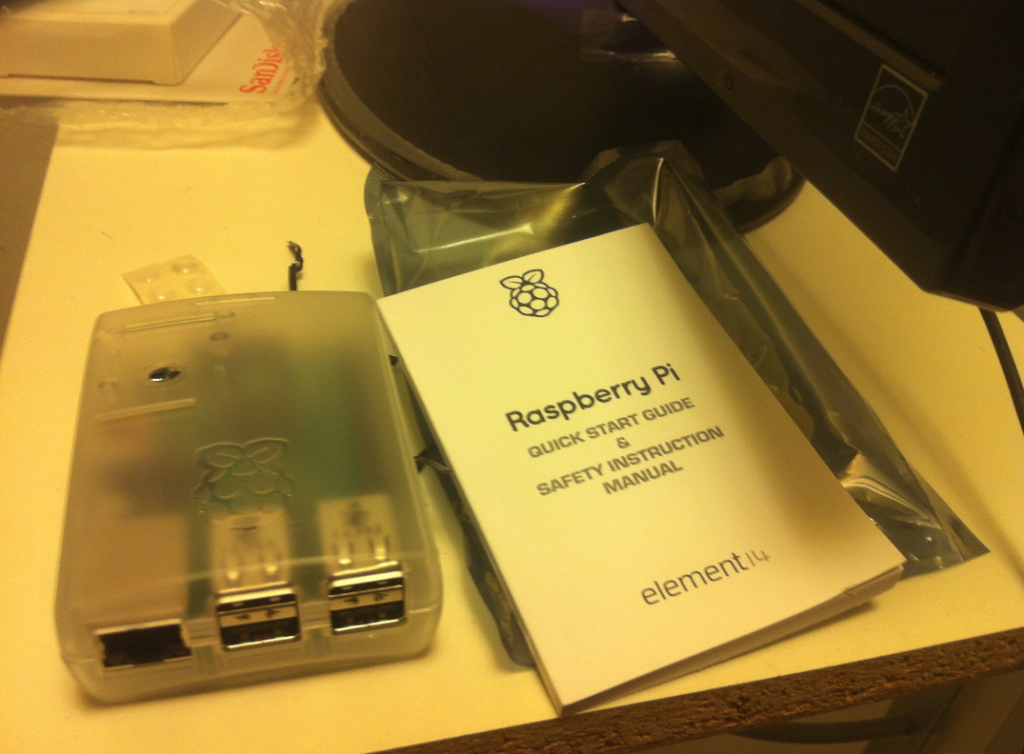
Honestly, I love to carry with me the raw Raspberry Pi 2 motherboard (in a cartoon box) and to connect it as is, but you can use a plastic box. It is also very useful to hang to walls, furniture, or the car.