This article is more an exercise, like a game, so you get to know certain things about Linux, and follow my mental process to uncover this. Is nothing mysterious for the Senior Engineers but Junior Sys Admins may enjoy this reading. :)
Ok, so the first thing is I wrote an script in order to completely backup my NVMe hard drive to a gziped file and then I will use this, as a motivation to go deep into investigations to understand.
Ok, so the first script would be like this:
#!/bin/bash
SOURCE_DRIVE="/dev/nvme0n1"
TARGET_PATH="/media/carles/Seagate\ Backup\ Plus\ Drive/BCK/"
TARGET_FILE="nvme.img"
sudo bash -c "dd if=${SOURCE_DRIVE} | gzip > ${TARGET_PATH}${TARGET_FILE}.gz"
So basically, we are going to restart the computer, boot with Linux Live USB Key, mount the Seagate Hard Drive, and run the script.
We are booting with a Live Linux Cd in order to have our partition unmounted and unmodified while we do the backup. This is in order to avoid corruption or data loss as a live Filesystem is getting modifications as we read it.
The problem with this first script is that it will generate a big gzip file.
By big I mean much more bigger than 2GB. Not all physical supports support files bigger than 2GB or 4GB, but even if they do, it’s a pain to transfer this over the Network, or in USB files, so we are going to do a slight modification.
#!/bin/bash
SOURCE_DRIVE="/dev/nvme0n1"
TARGET_PATH="/media/carles/Seagate\ Backup\ Plus\ Drive/BCK/"
TARGET_FILE="nvme.img"
sudo bash -c "dd if=${SOURCE_DRIVE} | gzip | split -b 1024MiB - ${TARGET_PATH}${TARGET_FILE}-split.gz_"
Ok, so we will use pipes and split in order to generate many files as big as 1GB.
If we ls we will get:
-rwxrwxrwx 1 carles carles 1073741824 May 24 14:57 nvme.img-split.gz_aa
-rwxrwxrwx 1 carles carles 1073741824 May 24 14:58 nvme.img-split.gz_ab
-rwxrwxrwx 1 carles carles 1073741824 May 24 14:59 nvme.img-split.gz_ac
Then one may say, Ok, this is working, but how I know the progress?.
For old versions of dd you can use pv which stands for Pipe Viewer and allows you to know the transference between processes using pipes.
For more recent versions of dd you can use status=progress.
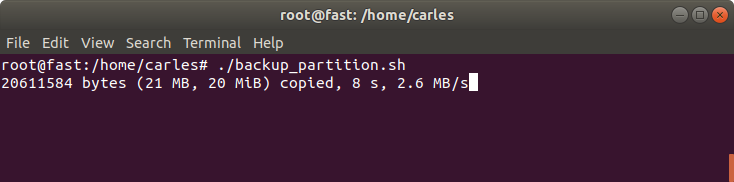
So the script updated with status=progress is:
#!/bin/bash
SOURCE_DRIVE="/dev/nvme0n1"
TARGET_PATH="/media/carles/Seagate\ Backup\ Plus\ Drive/BCK/"
TARGET_FILE="nvme.img"
sudo bash -c "dd if=${SOURCE_DRIVE} status=progress | gzip | split -b 1024MiB - ${TARGET_PATH}${TARGET_FILE}-split.gz_"
You can also download the code from:
Then one may ask himself, wait, if pipes use STDOUT and STDIN and dd is displaying into the screen, then will our gz file get corrupted?.
I like when people question things, and investigate, so let’s answer this question.
If it was a young member of my Team I would ask:
- Ok, try,it. Check the output file to see if is corrupted.
So they can do zcat or zless to inspect the file, see if it has errors, and to make sure:
gzip -v -t nvme.img.gz
nvme.img.gz:        OK
Ok, so what happened?, because we were seeing output in the screen.
Assuming the young Engineer does not know the answer I would had told:
- Ok, so you know that if dd would print to STDOUT, then you won’t see it, cause it would be sent to the pipe, so there is something more you’re missing. Let’s check the source code of dd to see what status=progress does
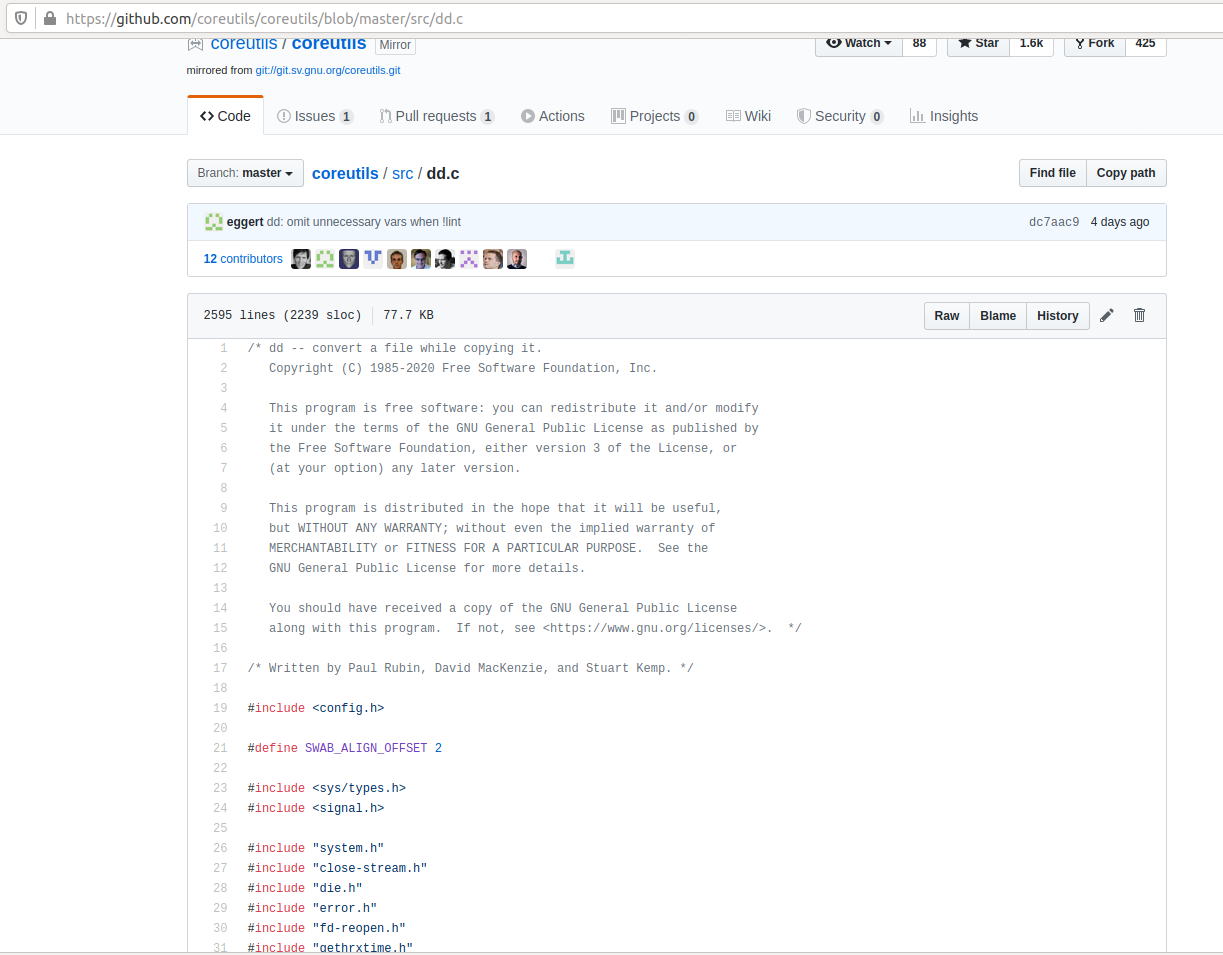
And then look for “progress”.
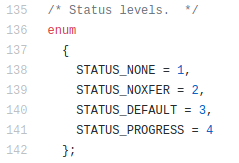
Soon you’ll find things like everywhere:
  if (progress_time)
    fputc ('\r', stderr);
Ok, pay attention to where is the data written: stderr. So basically the answer is: dd status=progress does not corrupt STDOUT and prints into the screen because it uses STDERR.
Other funny ways to get the progress would be to use:
watch -n10 "ls -alh /BCK/ | grep nvme | wc --lines"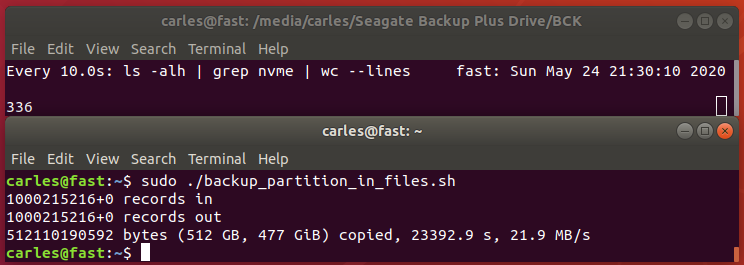
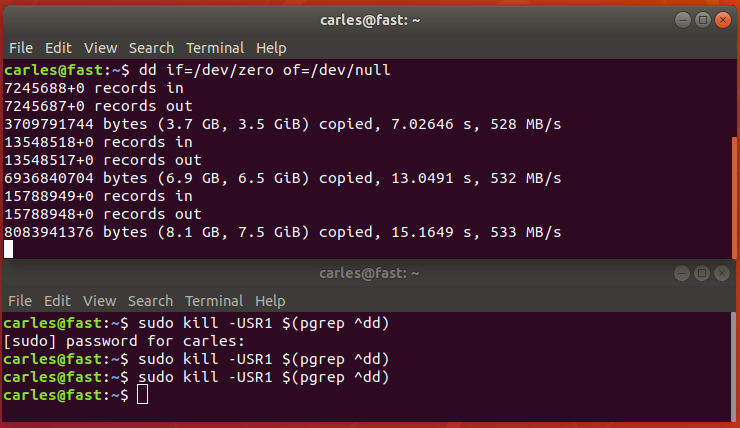
Another funny way would had been sending USR1 signal to the dd process:
Hope you enjoyed this little exercise about the importance of going deep, to the end, to understand what’s going on on the system. :)
Instead of gzip you can use bzip2 or pixz. pixz is very handy if you want to just compress a file, as it uses multiple processors in parallel for the tasks.
xz or lrzip are other compressors. lrzip aims to compress very large files, specially source code.