Tag Archives: pytest

News from the blog 2021-10-21

  • I made a Donation to The Document Foundation, which makes the OpenOffice.

I use OpenOffice suite for writing my books and other documents, so I think it’s fair to contribute with their operating costs.

  • I’ve installed a plugin to add Code Highlighting

It also allows me to add blocks of Code, like this:

if CodeHighlighting.b_is_installed == True:
    return VisualImprovement.update_to(10), "It's easy to read"
else:
    return VisualImprovement.get_still_the_same_difficult_to_read(), "The blog lives in the medieval age"

Or Inline Code like print(self.awareness) which is also great

  • I’ve improved a bit, visually, the blog

I modified a bit my template. The changes consist into adding an id attribute to the table for the Quick Selection of the articles, and modifying my template: the styles in the file css/blocks.css and modifying the version in functions.php to reflect the new timestamp.

I also made that when the mouse goes over a link it is displayed in blue, and the already visited in a slightly darker blue.

#articles_selection a:hover {color: #2222FF;}

In the images below you can see the before, the intermediate, and the final.

I’ve also added a button to hide or show the Quick Selection

If you have a WordPress and jQuery does not work for you, with error:

TypeError: $ is not a function

$(document).ready(function(){

This is because for compatibility reasons you have to do different in WordPress:

jQuery(document).ready(function($){
  • I created several videos of 5 minutes to learn Unit Testing in Python 3 with pytest

I also use my package carleslibs to execute the command from shell.
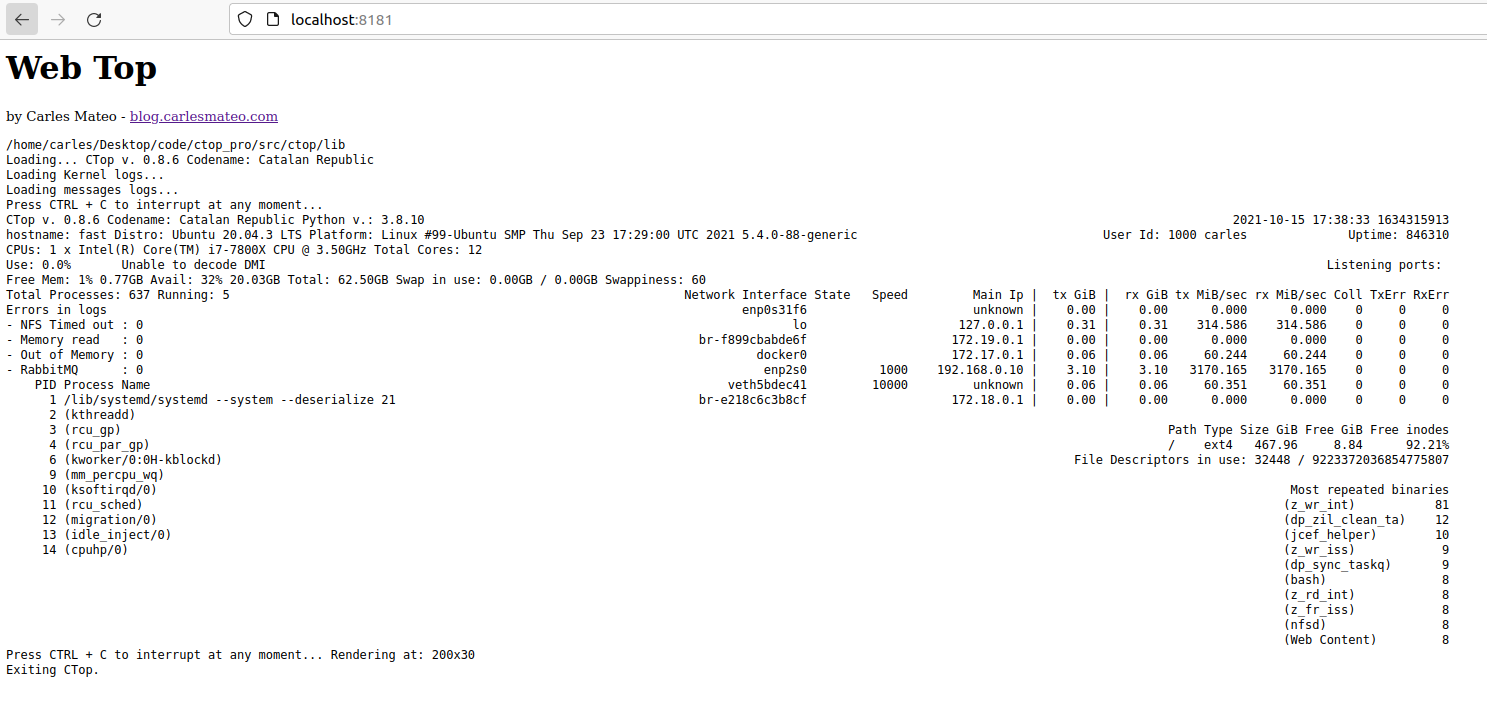
Web CTOP in this case :)

As I did this I discovered a bug (bug #47) in CTOP for setting the number of rows.

  • I fixed the bug #47 and the bug #48 in CTOP and started version 0.8.7 (available in Master).

The changelog.txt file details all the changes for each version.
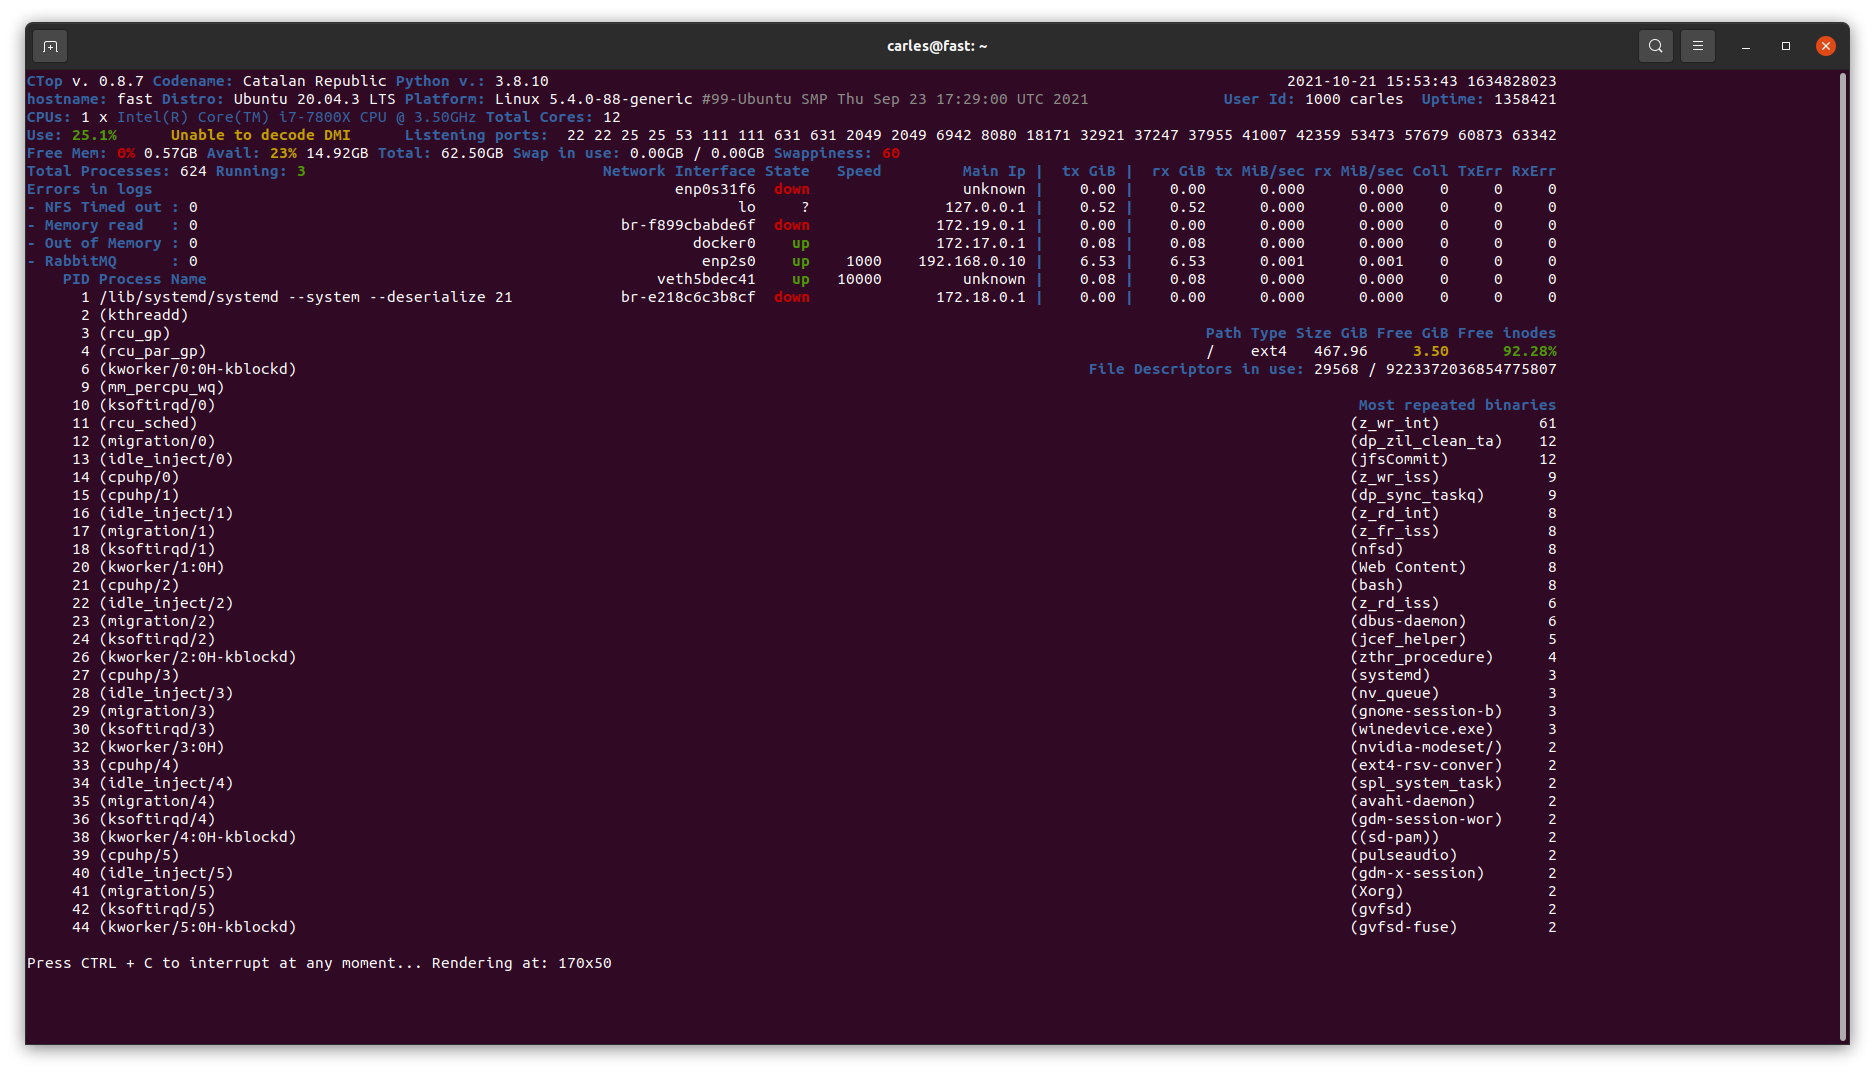
Here CTOP is displayed with a fixed width and height as by launching with:
ctop.py –rows=50 –columns=170
  • The new PSU arrived and I replaced it on Saturday 16th
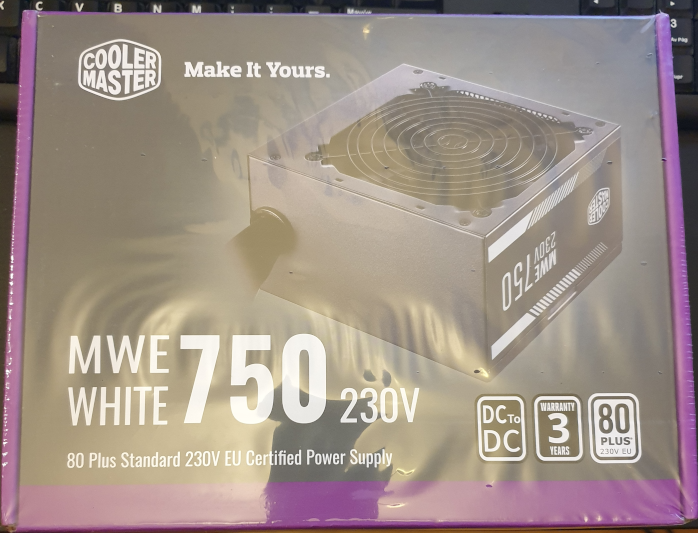
After 5 days working nonstop, with no problems, it seems clear that the failing item was the expensive, 850W, Corsair PSU. Sometimes it happens that a new component comes defective, but I paid overprice expecting quality, and it seems that the PSU was defective. Since the beginning the computer powered off every few hours max, so I have to finally assume that effectively it was the PSU. Disappointed with Corsair.

  • Firewall. This month I’ve blocked around 2,000 visitors that were mainly bots searching for exploits

I review the logs several times every day.

Actually I’ve blocked many more Ip’s in the firewall, as when I identify a company source of bots, I block all their range (Imagine, as I block entire class C addresses, there are 256 Ips each class C /24). This has translated into 2,000 visitors less per month to the blog, that were offenders.

  • I added some rules / guidelines to the Leave a Reply section

I moderate all the comments to keep the blog an useful and healthy place.

And I don’t publish Spam, or Marketing messages.

Abusive comments are blocked. Competent Engineers and nice human beings share their points and doubts with data, with technical arguments, with education, in a respectful and polite way. People that cannot observe a minimum decoration are not welcome.

A base Dockerfile for my Jenkins deployments

Update: I’ve created a video and article about how to install jenkins in Docker with docker CLI and Blue Ocean plugins following the official Documentation. You may prefer to follow that one.

Update: Second part of this article: Creating Jenkins configurations for your projects

So I share with you my base Jenkins Dockerfile, so you can spawn a new Jenkins for your projects.

The Dockerfile installs Ubuntu 20.04 LTS as base image and add the required packages to run jenkins but also Development and Testing tools to use inside the Container to run Unit Testing on your code, for example. So you don’t need external Servers, for instance.

You will need 3 files:

  • Dockerfile
  • docker_run_jenkins.sh
  • requirements.txt

The requirements.txt file contains your PIP3 dependencies. In my case I only have pytest version 4.6.9 which is the default installed with Ubuntu 20.04, however, this way, I enforce that this and not any posterior version will be installed.

File requirements.txt:

pytest==4.6.9

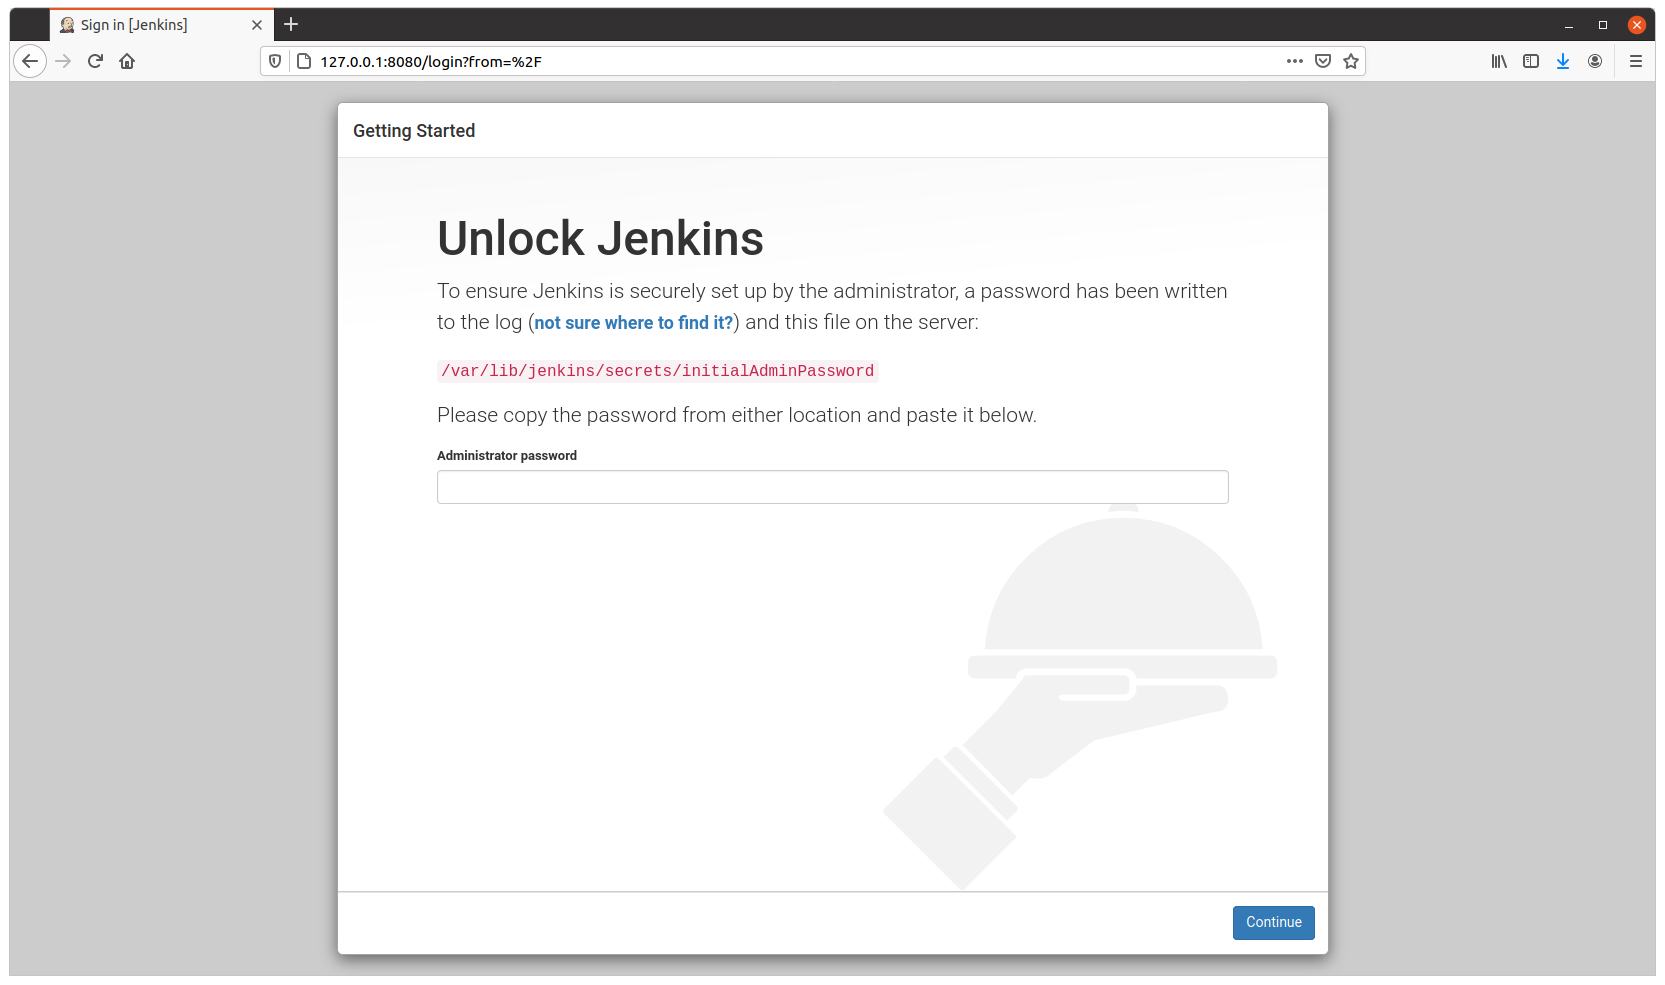
The file docker_run_jenkins.txt start Jenkins when the Container is run and it will wait until the initial Admin password is generated and then it will display it.

File docker_run_jenkins.sh:

#!/bin/bash

echo "Starting Jenkins..."

service jenkins start

echo "Configure jenkins in http://127.0.0.1:8080"

s_JENKINS_PASSWORD_FILE="/var/lib/jenkins/secrets/initialAdminPassword"

i_PASSWORD_PRINTED=0

while [ true ];
do
    sleep 1
    if [ $i_PASSWORD_PRINTED -eq 1 ];
    then
        # We are nice with multitasking
        sleep 60
        continue
    fi

    if [ ! -f "$s_JENKINS_PASSWORD_FILE" ];
    then
        echo "File $s_FILE_ORIGIN does not exist"
    else
        echo "Password for Admin is:"
        cat $s_JENKINS_PASSWORD_FILE
        i_PASSWORD_PRINTED=1
    fi
done

That file has the objective to show you the default admin password, but you don’t need to do that, you can just start a shell into the Container and check manually by yourself.

However I added it to make it easier for you.

And finally you have the Dockerfile:

FROM ubuntu:20.04

LABEL Author="Carles Mateo" \
      Email="jenkins@carlesmateo.com" \
      MAINTAINER="Carles Mateo"

# Build this file with:
# sudo docker build -f Dockerfile -t jenkins:base .
# Run detached:
# sudo docker run --name jenkins_base -d -p 8080:8080 jenkins:base
# Run seeing the password:
# sudo docker run --name jenkins_base -p 8080:8080 -i -t jenkins:base
# After you CTRL + C you will continue with:
# sudo docker start
# To debug:
# sudo docker run --name jenkins_base -p 8080:8080 -i -t jenkins:base /bin/bash

ARG DEBIAN_FRONTEND=noninteractive

ENV SERVICE jenkins

RUN set -ex

RUN echo "Creating directories and copying code" \
    && mkdir -p /opt/${SERVICE}

COPY requirements.txt \
    docker_run_jenkins.sh \
    /opt/${SERVICE}/

# Java with Ubuntu 20.04 LST is 11, which is compatible with Jenkins.
RUN apt update \
    && apt install -y default-jdk \
    && apt install -y wget curl gnupg2 \
    && apt install -y git \
    && apt install -y python3 python3.8-venv python3-pip \
    && apt install -y python3-dev libsasl2-dev libldap2-dev libssl-dev \
    && apt install -y python3-venv \
    && apt install -y python3-pytest \
    && apt install -y sshpass \
    && wget -qO - https://pkg.jenkins.io/debian-stable/jenkins.io.key | apt-key add - \
    && echo "deb http://pkg.jenkins.io/debian-stable binary/" > /etc/apt/sources.list.d/jenkins.list \
    && apt update \
    && apt -y install jenkins \
    && apt-get clean

RUN echo "Setting work directory and listening port"
WORKDIR /opt/${SERVICE}

RUN chmod +x docker_run_jenkins.sh

RUN pip3 install --upgrade pip \
    && pip3 install -r requirements.txt


EXPOSE 8080


ENTRYPOINT ["./docker_run_jenkins.sh"]

Build the Container

docker build -f Dockerfile -t jenkins:base .

Run the Container displaying the password

sudo docker run --name jenkins_base -p 8080:8080 -i -t jenkins:base

You need this password for starting the configuration process through the web.

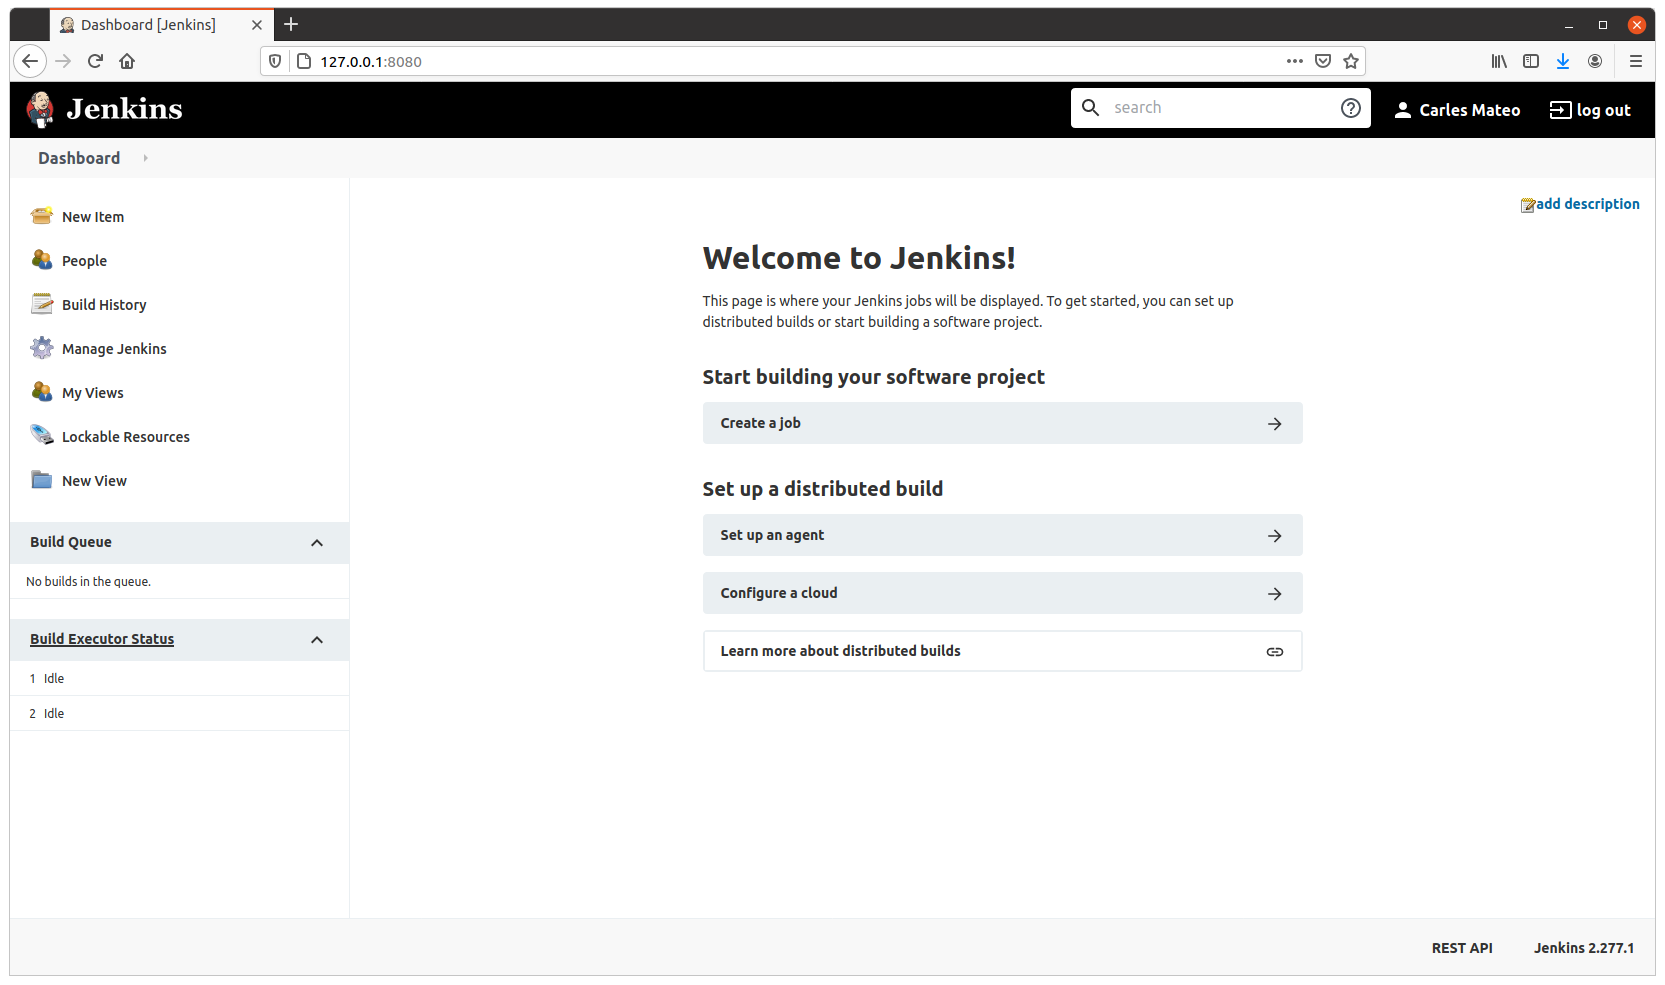
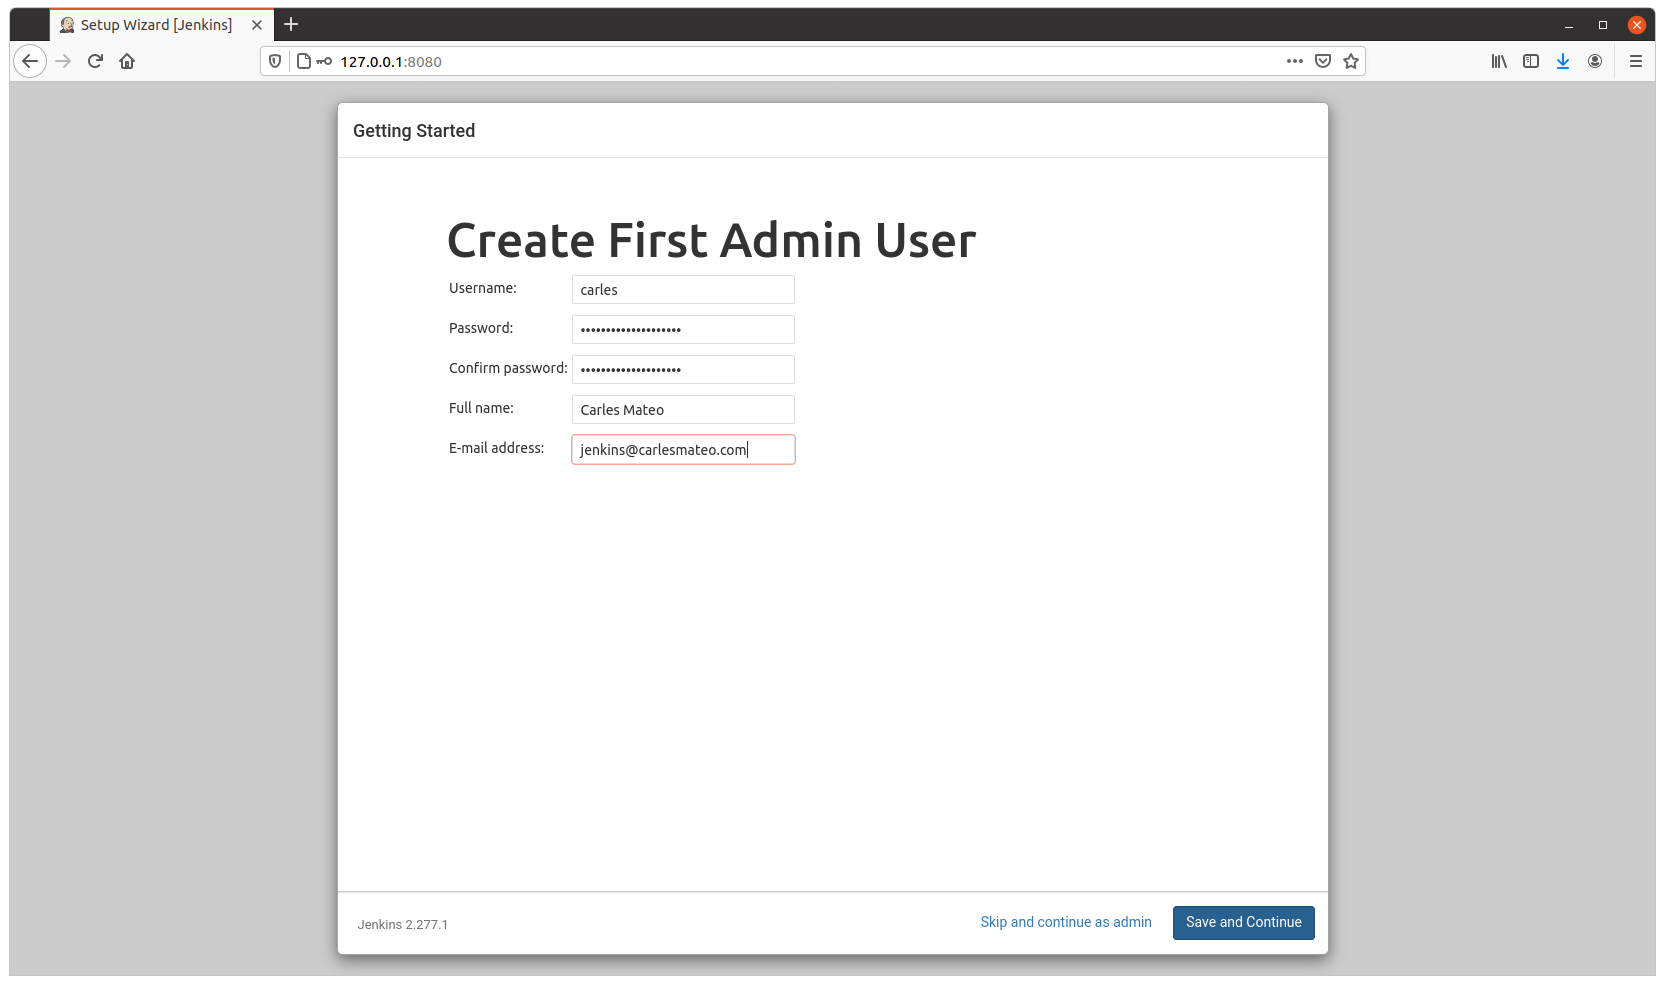
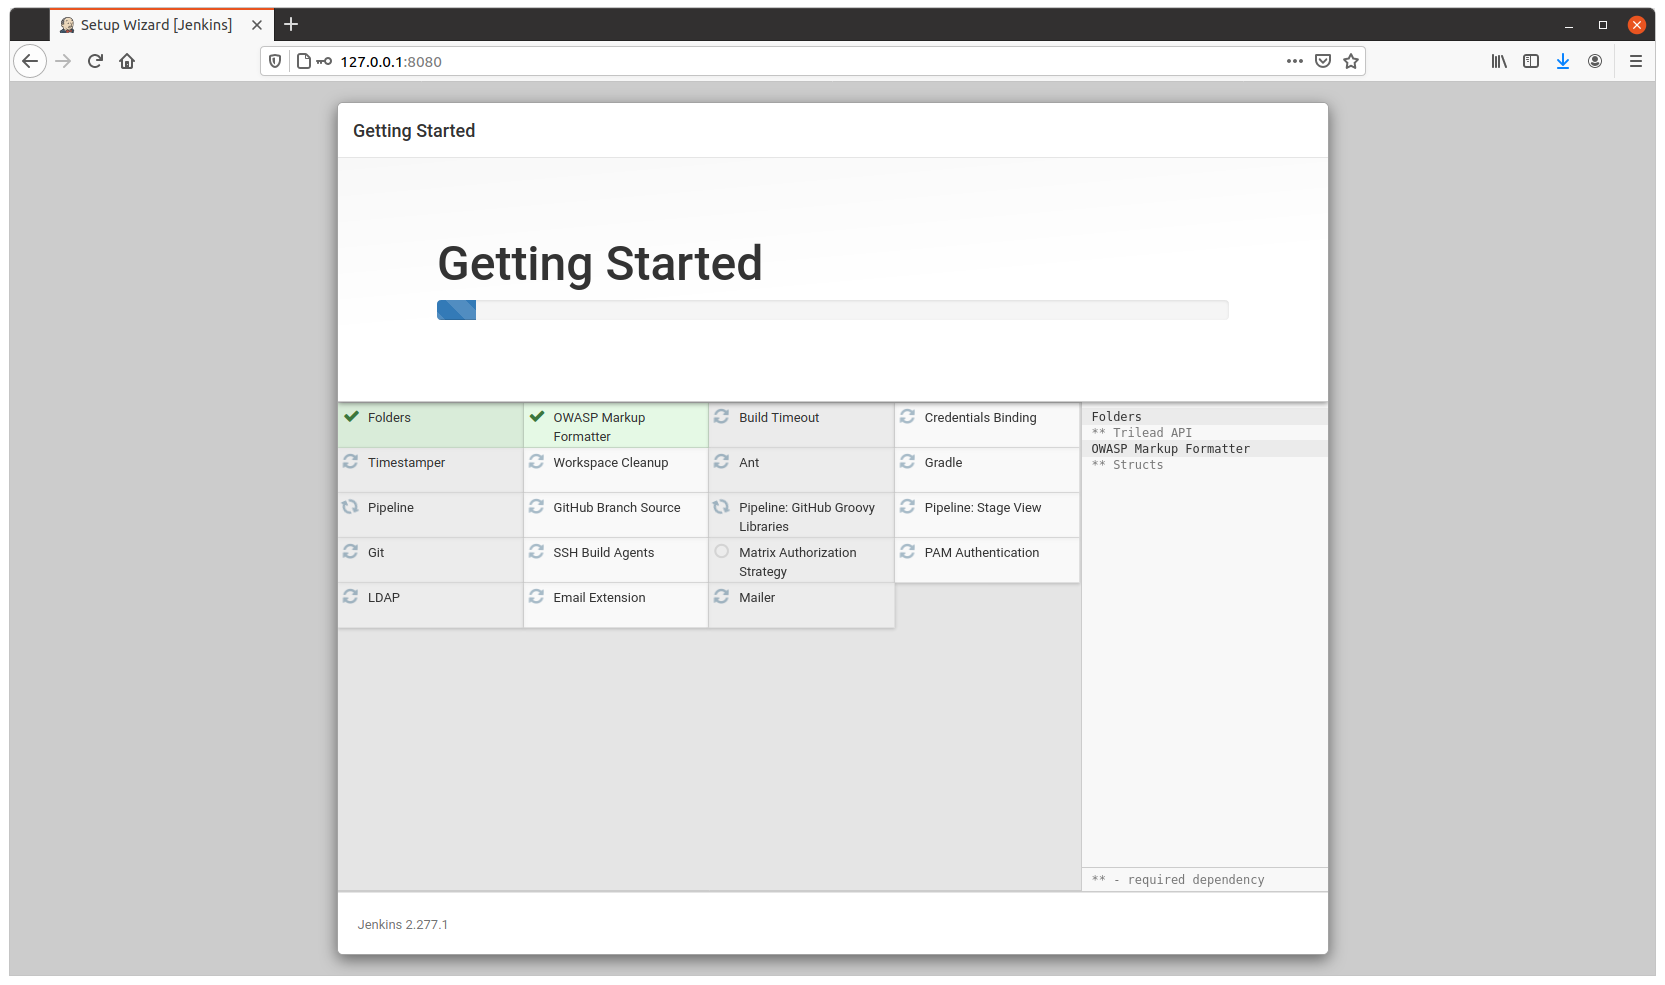
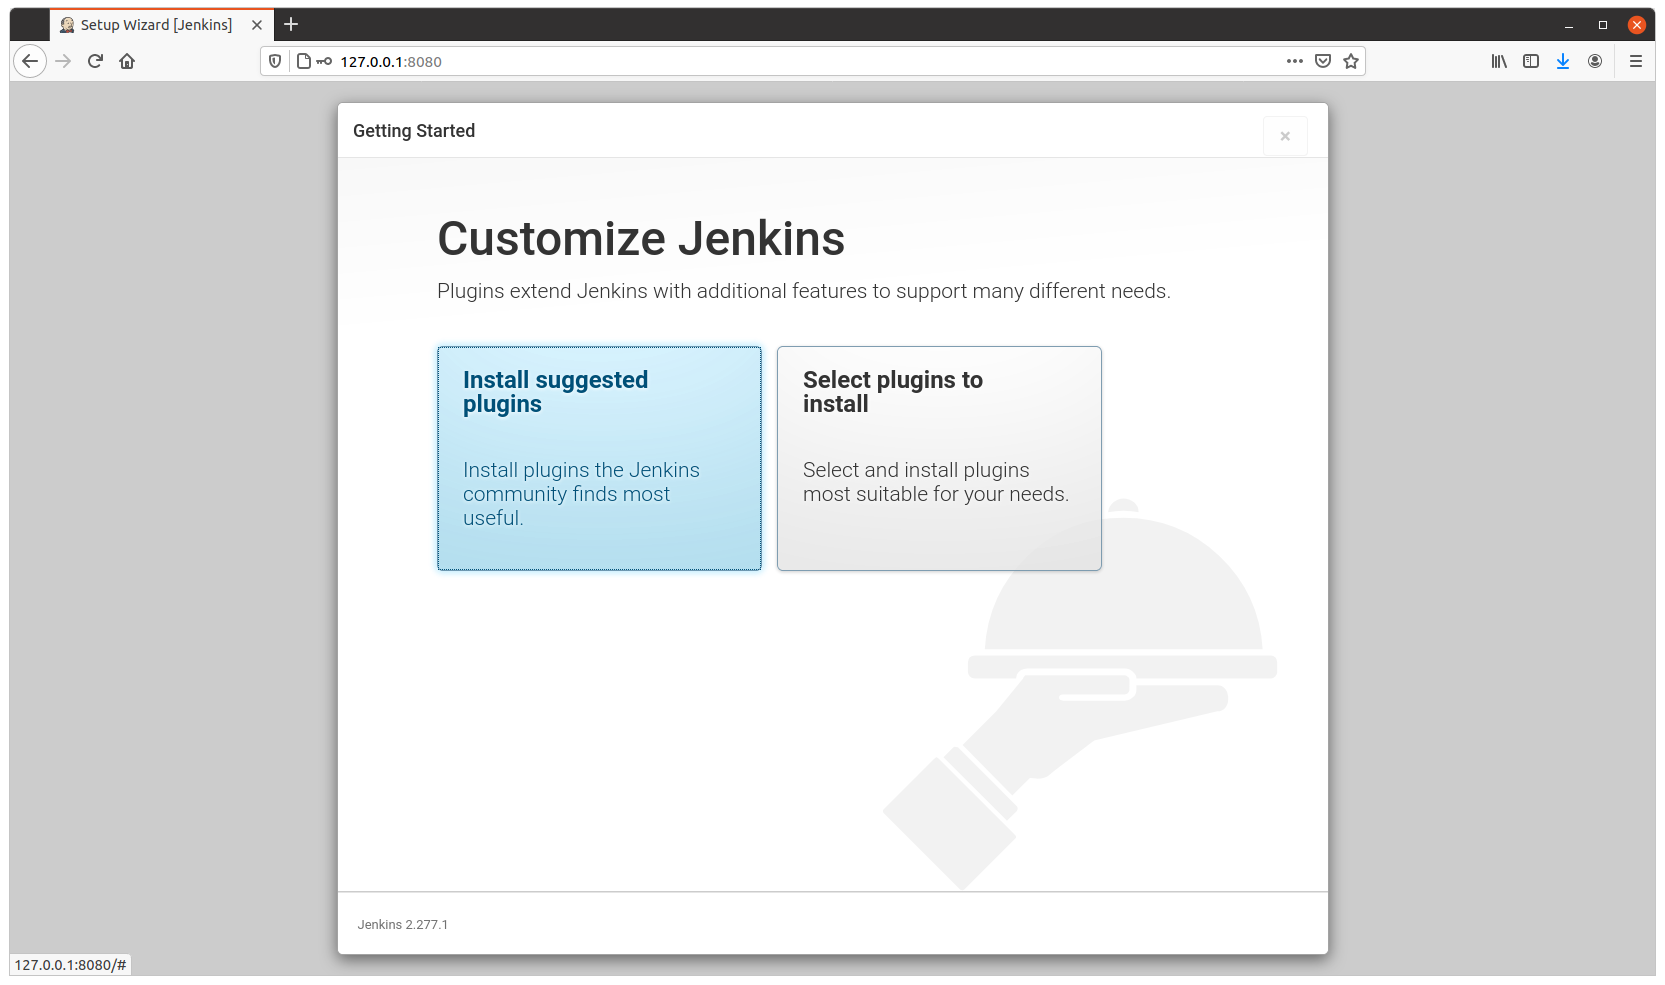
Visit http://127.0.0.1:8080 to configure Jenkins.

Configure as usual

Resuming after CTRL + C

After you configured it, on the terminal, press CTRL + C.

And continue, detached, by running:

sudo docker start jenkins_base

The image is 1.2GB in size, and will allow you to run Python3, Virtual Environments, Unit Testing with pytest and has Java 11 (not all versions of Java are compatible with Jenkins), use sshpass to access other Servers via SSH with Username and Password…

A live session refactoring and adding Unit Testing to my Python3 project cmemgzip

I refactor and add unit testing to my actual project cmemgzip while I comment every step so you can learn the whys and the reasoning.

Open video in full screen with max 1080 quality, in order to see the code clearly.

Update 2021-03-03: I added a third part. I’m tired but still is worth watching.