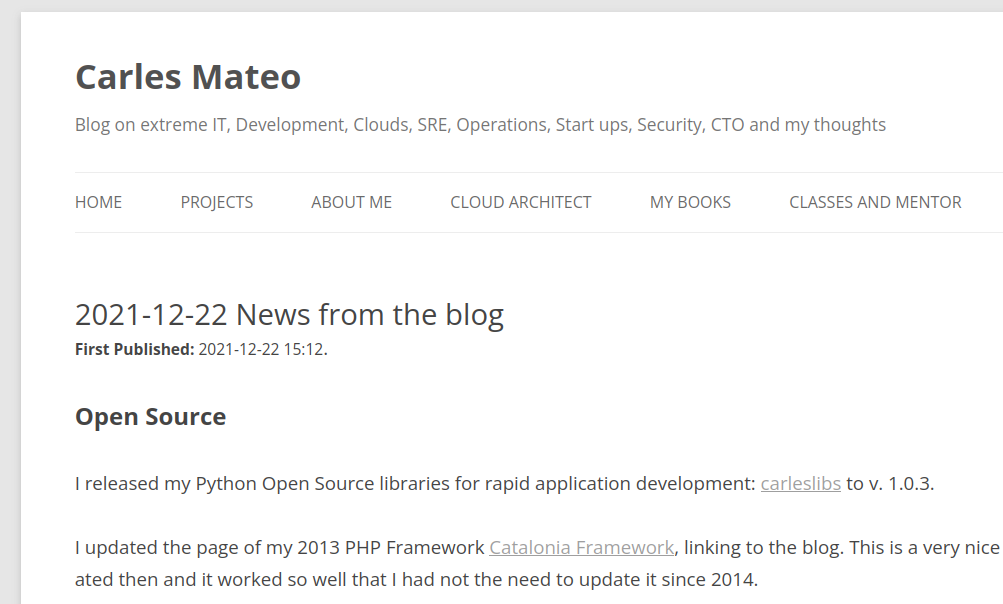
News for the Blog
It has been 9 years since I created the blog, and some articles have old content that still get many visitors. To make sure they get the clear picture and not obsolete information, all the articles of the taxonomy POST, will include the Date and Time when the article was first published.
I also removed the annoying link “Leave a comment” on top. I think it influences some people to leave comments before actually having read the article.
It is still possible to add comments, but they are on the bottom of the page. I believe it makes more sense this way. This is the way.
Technically that involved modifying the files of my template:
- functions.php
- content.php
My Books
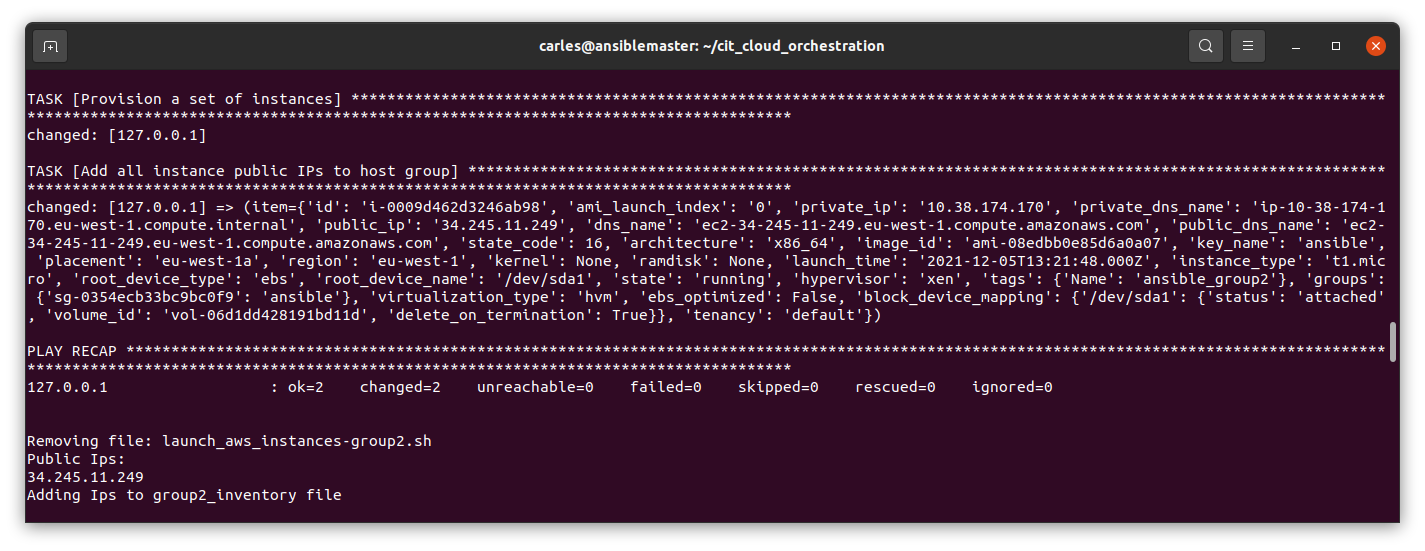
Automating and Provisioning to Amazon AWS using boto3 Amazon’s SDK for Python 3
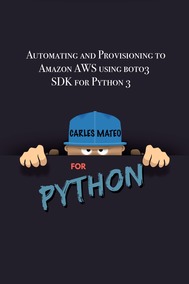
I finished my book about Automating and Provisioning to Amazon AWS using boto3 Amazon’s SDK for Python 3.
It’s 128 pages in Full size DIN-A4 DRM-Free, and comes with a link to code samples of a real project CLI Menu based.
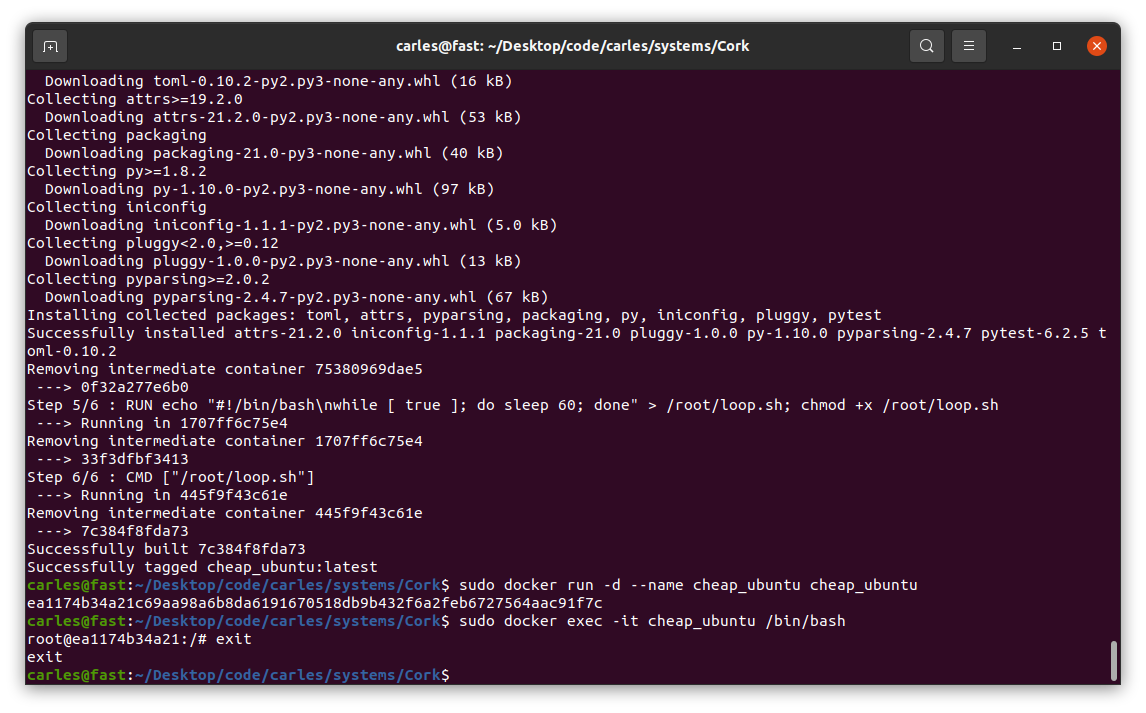
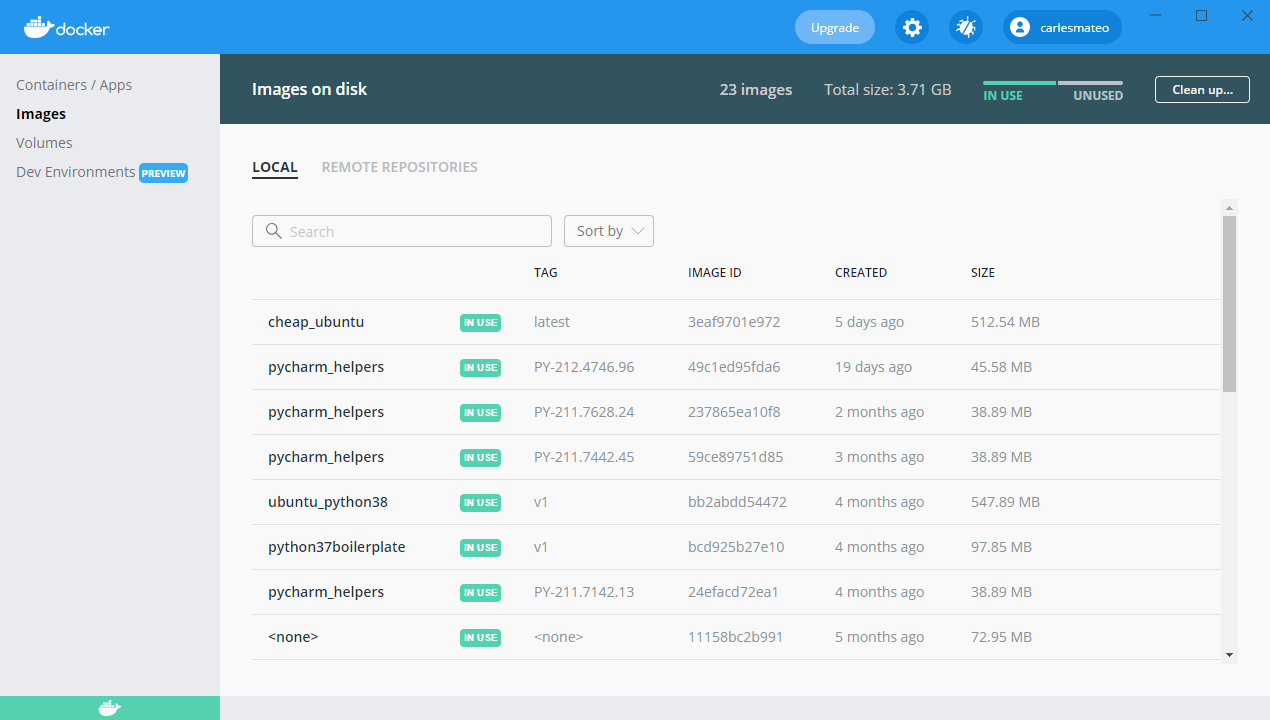
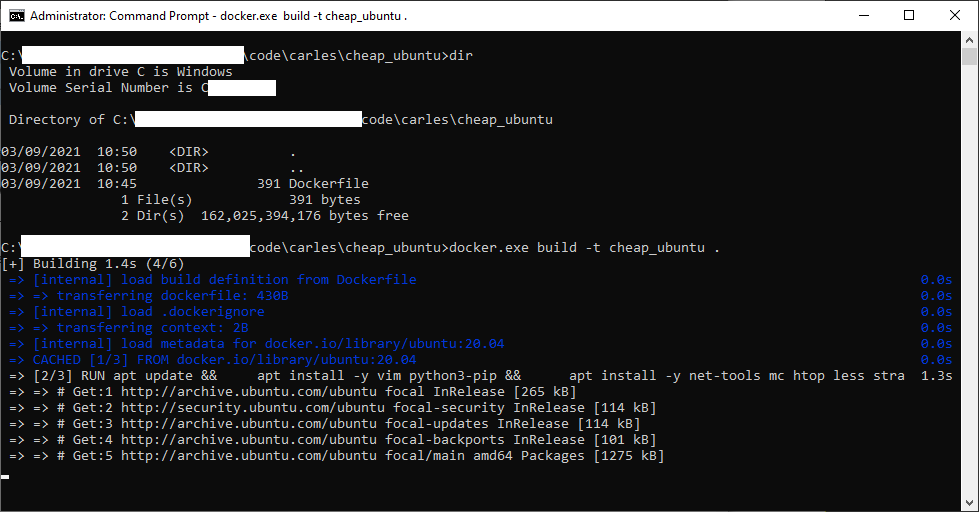
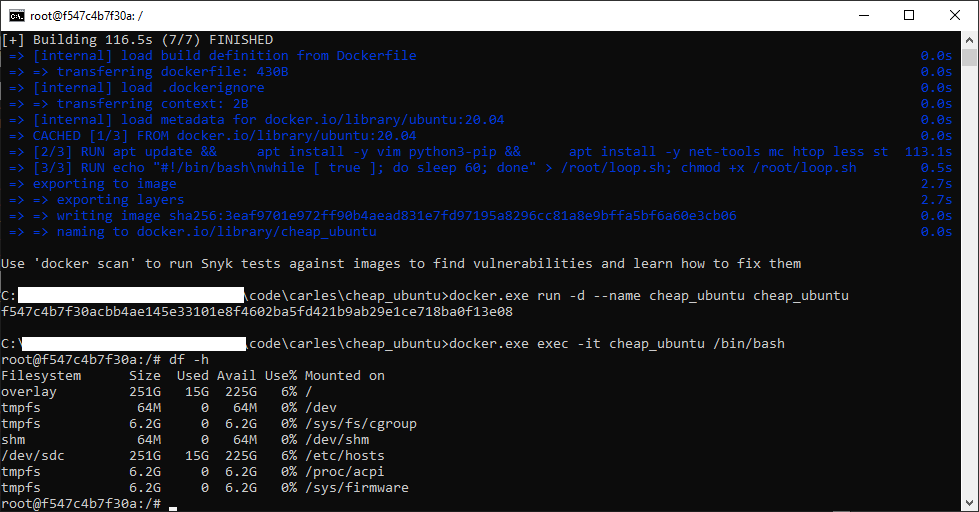
Docker Combat Guide
I have updated my book Docker Combat Guide and I added a completely new section, including source code, to work with Docker’s Python SDK.
I show the Docker SDK by showing the code of an actual CLI program I wrote in Python 3.
Here you can see a video that demonstrates how I launched a project with three Docker Containers via Docker compose. The Containers have Python, Flask webserver, and redis as bridge between the two Python Containers.
All the source code are downloadable with the book.
My Classes
In January I resumed the coding classes. I have new students, and few spots free in my agenda, as some of my students graduated and others have been hired as Software Developers. I can not be more proud. :)
Free Training
Symfony is one of the most popular PHP Frameworks.
You can learn it with these free videos:
https://symfonycasts.com/screencast/symfony/
Software Licenses I Purchased
Before leaving 2021, I registered WinRAR for Windows.
WinRAR is a compressing Software that has been with us for 19 years.
I’m pretty sure I registered it in the past, but these holidays I was out only with two Window laptops and I had to do some work for the university and WinRAR came it handy, so I decided to register it again.
I create Software and Books, and I earn my life with this, so it makes a lot of sense to pay others for their good work crafting Software.
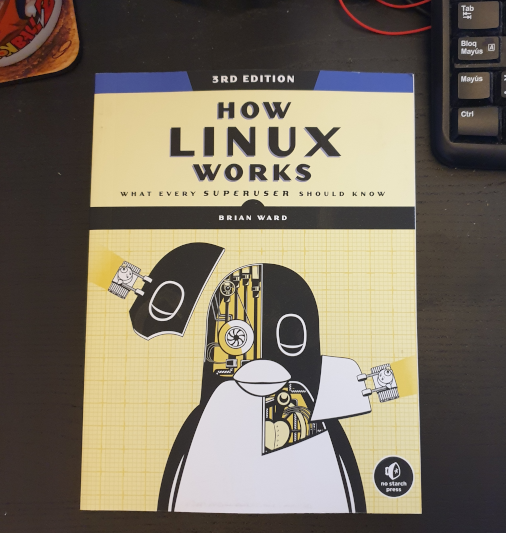
Books I Purchased
I bought this book and by the moment is really good. I wanted to buy some updated books as all my Linux books have some years already. Also I keep my skills sharp by reading reading reading.
Hardware I purchased
So I bought a cheap car power inverter.
The ones I saw in Amazon were €120+ and they were not very good rated, so I opted to buy a cheap one in the supermarket and keep it on the car just in case one day I need it. (My new Asus Zenbook laptop has 18 hours of autonomy and I don’t charge it for days, but you never know)
For those that don’t know, a power inverter allows you to get a 220V (120V in US) plug, from the connection of the lighter from your car. Also you can get the energy from an external car battery. This comes in really handy to charge the laptop, cameras, your drone… if you are in the nature and you don’t have any plug near.
I bought one years ago to power up Raspberry Pi’s when I was doing Research for a project I was studying to launch.


Fun
Many friends are using Starlink as a substitute of fiber for their rural homes, and they are super happy with it.
One of them send me a very fun article.
It is in Italian, but you can google translate it.
https://leganerd.com/2022/01/10/starlink-ha-un-piccolo-e-adorabile-problema-con-i-gatti/
Anyways you can get the idea of what’s going on in the picture :)
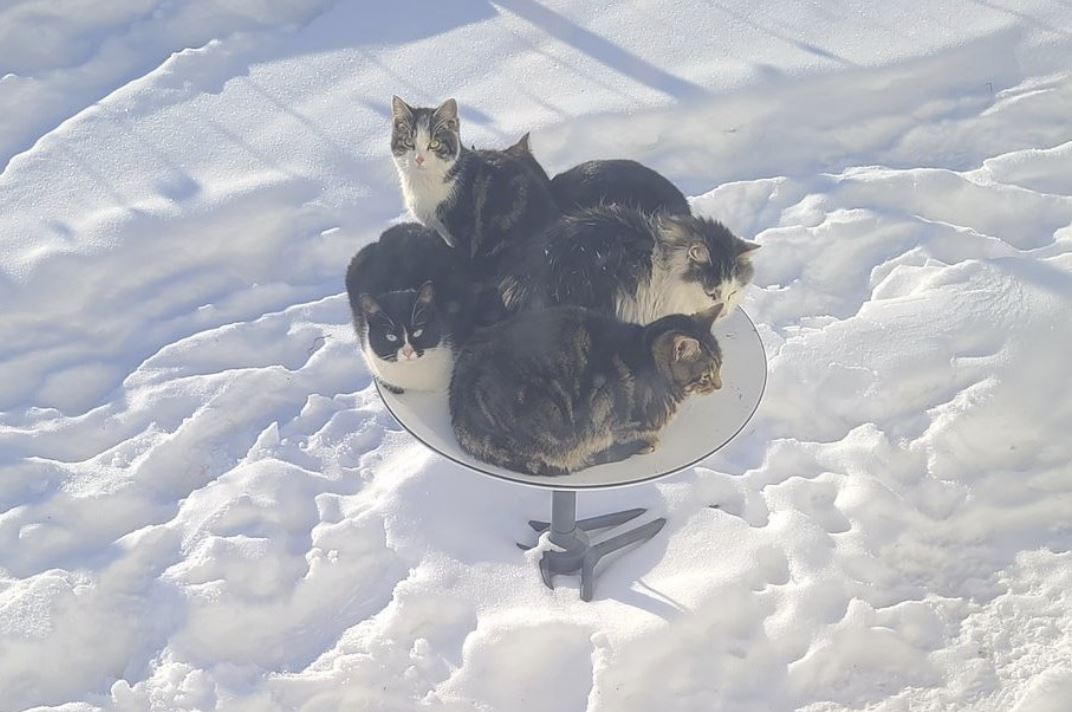
So tell me… so your speed with Starlink drops 80% in winter uh… aha…
Random news about Software
I tried the voice recognition in Slack huddle, and it works pretty well. Also Zoom has this feature and they are great. Specially when you are in a group call, or in a class.
My health
I was experimenting some problems, so I scheduled an appointment to get blood analysis and to be checked. Just in case.
TL;TR I could have died.
The doctors saw my analysis and sent me to the hospital urgently, where they found something that was going to be lethal. For hours they were checking me and doing several more analysis and tests to discard false positives, etc… and they precisely found the issue and provided urgent treatment and confirmed that I could have died at any moment.
Basically I dodged a bullet.
I was doing certain healthy things that helped me in a situation that could have been deadly or extremely dangerous to my health.
With the treatment and my strict discipline, I reverted the situation really quick and now I have more health and more energy than before. I feel rejuvenated.
I’m feeling lucky that with my work, the classes, the books I wrote, etc… I didn’t have to worry about the expensive medicines, the transport, etc… It was a bad moment, during Christmas, with so many people on holidays, pharmacies and GPs closed, so I had to spend more time looking for, traveling, and to pay more than it would had been strictly necessary. Despite all the time I used to my health, I managed to finish my university duties on time, and I didn’t miss my duties at work after the hospital, neither I had to cancel any programming classes or mentoring sessions. Nobody out of my closest circle knew what was going on, with the exception of my boss, which I kept informed in real time, just in case there was any problem, as I didn’t want to let down the company and have my duties at work to be unattended if something major happened.
I was not afraid to die. Unfortunately I’ve lost very significant people since I was a child. Relatives, very appreciated bosses and colleagues which I considered my friends, and great friends of different circles. Illnesses, accidents, and a friend of mine committed suicide years ago, and some of my partners attempted it (before we know each other). When you see people that are so good leaving, this brings a sadness that cannot be explained with words. I have had a tough life.
We have a limited time, and he have freedom to make choices. Some people choose to be miserable, to mistreat others, to lie, to cheat, to be unfaithful, to lack ethic and integrity. Those are their choices. Their wasted time will not come back.
Some of my friends are doctors. I admire them. They save lives and improve the quality of life of people with health problems.
I like being an Engineer cause I can create things, I can build instead of destroy, I can help to improve the world, and I can help users to have a good time and to avoid the frustration of services being down. I chose to do a positive work. So many times I’ve been offered much bigger salaries to do something I didn’t like, or by companies that I don’t admire, and I refused. Cause I wanted to make a better world. I know many people don’t think like that, and they only take take take. They are even unable to understand my choices, even to believe that I’m like that. But it’s enough that I know what I’m doing, and that it makes sense for me, and that I know that I’m doing well. And then, one day, you realize, that doing well, being fair and nice even if other people stabbed you in the back, you got to know fantastic people like you, and people that adore you and love to have you in their life, in their companies… So I’m really fortunate. To all the good-hearted people around, that give without expect anything in return, that try to make the world a better place, thank you.