When you see this error for the first time it can be pretty ugly to detect why it happens.
At personal level I use only Linux for my computers, with an exception of a windows laptop that I keep for specific tasks. But my employers often provide me laptops with windows.
I suffered this error for first time when I inherited a project, in a company I joined time ago. And I suffered some time later, by the same reason, so I decided to explain it easily.
In the project I inherited the build process was broken, so I had to fix it, and when this was done I got the mentioned error when trying to run the Container:
standard_init_linux.go:190: exec user process caused "no such file or directory"
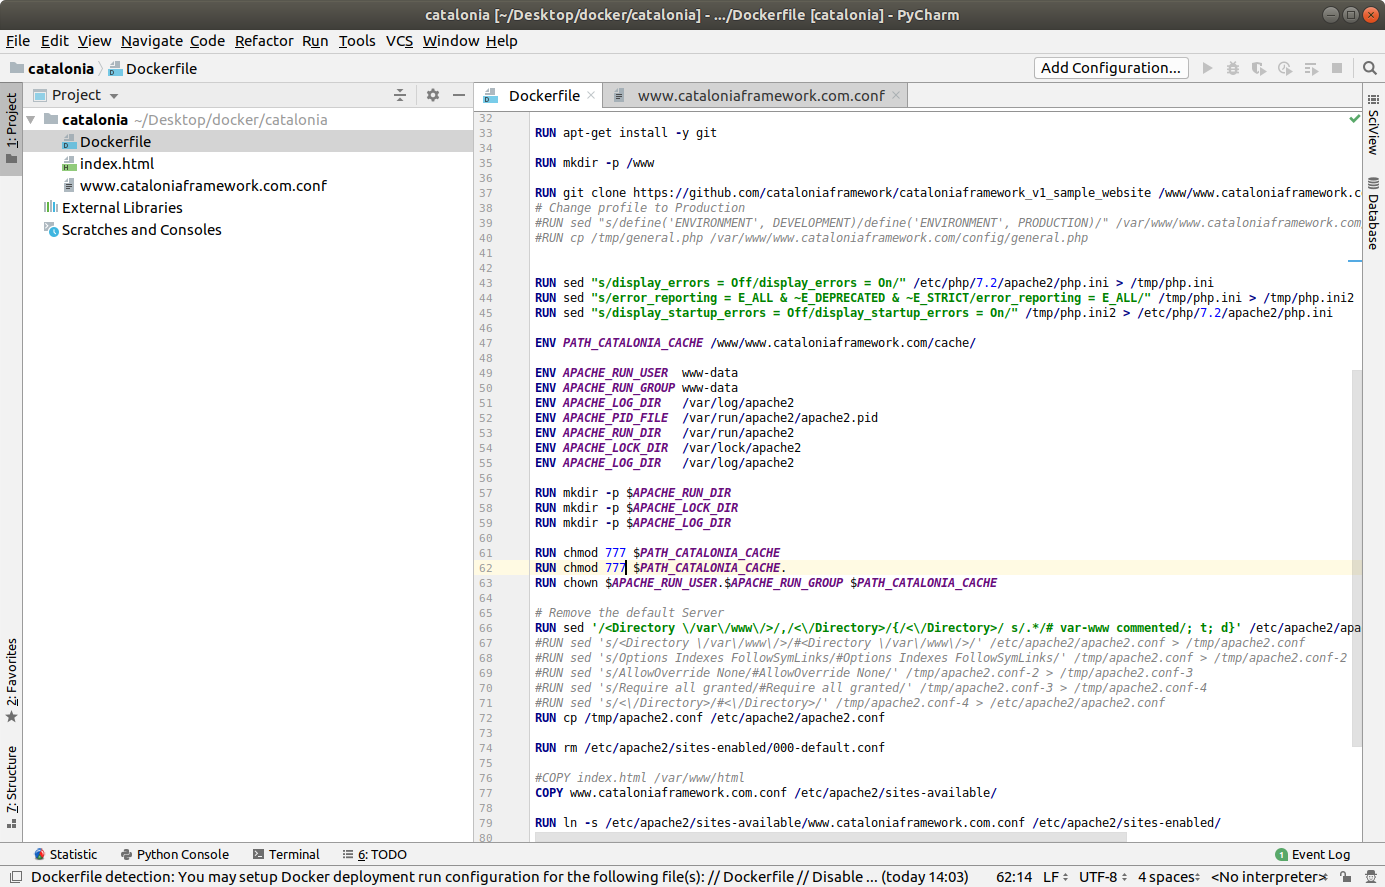
The Dockerfile was something like this:
FROM docker-io.battle.net/alpine:3.10.0

LABEL Author="Carles Mateo" \
      Email="docker@carlesmateo.com" \
      MAINTAINER="Carles Mateo"

ENV SERVICE cservice

RUN set -ex

RUN echo "Creating directories and copying code" \
    && mkdir -p /opt/${SERVICE}

COPY config.prod \
    config.dev \
    config.st \
    requirements.txt \
    utils.py \
    cservice.py \
    tests/test_cservice.py \
    run_cservice.sh \
    /opt/${SERVICE}/

RUN echo "Setting work directory and listening port"
WORKDIR /opt/${SERVICE}
EXPOSE 7000

RUN echo "Installing dependencies" \
    && apk add build-base openldap-dev python3-dev py-pip \
    && pip3 install --upgrade pip \
    && pip3 install -r requirements.txt \
    && pip3 install pytest

ENTRYPOINT ["./run_cservice.sh"]
So the project was executing a Bash script run_cservice.sh, via Dockerfile ENTRYPOINT.
That script would do the necessary amends depending if the Container is launched with prod, dev, or staging parameter.
I debugged until I saw that the Container never executed this in the expected way.
A echo “Debug” on top of the Bash Script would be enough to know that very basic call was never executed. The error was first.
After much troubleshooting the Container I found that the problem was that the Bash script, that was copied to the container with COPY in the Dockerfile, from a Windows Machines, contained CRLF Windows carriage return. While for Linux and Mac OS X carriage return is just a character, LF.
In that company we all use Windows. And trying to build the Container worked after removing the CRLF, but the Bash script with CRLF was causing that problem.
When I replace the CRLF by Unix type LF, and rebuild the image, and ran the container, it worked lovely.
A very easy, manual way, to do this in Windows, is opening your file with Notepad++ and setting LF as carriage return. Save the file, rebuild, and you’ll see your Container working.
Please note that in the Dockerfile provided I install pytest Framework and a file calles tests/test_cservice.py. That was not in the original Dockerfile, but I wanted to share with you that I provide Unit Testing that can be ran from a Linux Container, for all my projects. What normally I do is to have two Dockerfiles. One for the Production version to be deployed, another for running Unit Testing, and some time functional testing as well, from inside the Docker Container. So strictly speaking for the production version, I would not copy the tests/test_cservice.py and install pytest. A different question are internal Automation Tools, where it may be interested providing a All-in-One image, that can run the Unit Testing before start the service. It is interesting to provide some debugging tools in out Internal Automation Tools, so we can troubleshoot what’s going on in case of problems. Take a look at my previous article about Python version for Docker and Automation tools, for more considerations.