Analyzing the needs
I start with a VM, to learn about the providers and the migration project as I go.
My VM has been running in Amazon AWS for years.
It has 3.5GB of RAM and 1 Core. However is uses only 580MB of RAM. I’m paying around $85/month for this with Amazon.
I need to migrate:
- DNS Server
- Web
- Database
For the DNS Server I don’t need it anymore, each Domain provider has included DNS Service for free, so I do not longer to have my two DNS.
For the email I find myself in the same scenario, most providers offer 3 email accounts for your domain, and some alias, for free.
I’ll start the Service as Docker in the new CSP, so I will make it work in my computer first, locally, and so I can move easily in the future.
Note: exporting big images is not the idea I have to make backups.
I locate a Digital Ocean droplet with 1GB of RAM and 1 core and SSD disks for $5, for $6 I can have a NVMe version. That I choose.
Disk Space for the Statics
The first thing I do is to analyze the disk space needs of the service.
In this old AWS CentOS based image I have:
[root@ip-10-xxx-yyy-zzz ec2-user]# df -h
Filesystem      Size  Used Avail Use% Mounted on
/dev/xvda1       79G   11G   69G  14% /
devtmpfs        1.8G   12K  1.8G   1% /dev
tmpfs           1.8G     0  1.8G   0% /dev/shm
Ok, so if I keep the same I have I need 11GB.
I have plenty of space on this server so I do a zip of all the contents of the blog:
cd /var/www/wordpress
zip -r /home/ec2-user/wp_sizeZ.zip wp_siteZ
Database dump
I need a dump of the databases I want to migrate.
I check what databases are in this Server.
mysql -u root -p

mysql> show databases;
I do a dump of the databases that I want:
sudo mysqldump --password='XXXXXXXX' --databases wp_mysiteZ > wp_mysiteZ.sql
I get an error, meaning MySQL needs repair:
mysqldump: Got error: 145: Table './wp_mysiteZ/wp_visitor_maps_wo' is marked as crashed and should be repaired when using LOCK TABLES
So I launch a repair:
sudo mysqlcheck --password='XXXXXXXX' --repair --all-databases
And after the dump works.
My dump takes 88MB, not much, but I compress it with gzip.
gzip wp_mysiteZ.sql
It takes only 15MB compressed.
Do not forget the parameter –databases even if only one database is exported, otherwise the CREATE DATABASE and USE `wp_mysiteZ`; will not be added to your dump.
I will need to take some data form the mysql database, referring to the user used for accessing the blog’s database.
I always keep the CREATE USER and the GRANT permissions, if you don’t check the wp-config.php file. Note that the SQL format to create users and grant permissions may be different from a SQL version to another.
I create a file named mysql.sql with this part and I compress with gzip.
Checking PHP version
php -v
PHP 7.3.23 (cli) (built: Oct 21 2020 20:24:49) ( NTS )
Copyright (c) 1997-2018 The PHP Group
Zend Engine v3.3.23, Copyright (c) 1998-2018 Zend Technologies
WordPress is updated, and PHP is not that old.
The new Ubuntu 20.04 LTS comes with PHP 7.4. It will work:
php -v
PHP 7.4.3 (cli) (built: Jul  5 2021 15:13:35) ( NTS )
Copyright (c) The PHP Group
Zend Engine v3.4.0, Copyright (c) Zend Technologies
    with Zend OPcache v7.4.3, Copyright (c), by Zend Technologies
The Dockerfile
FROM ubuntu:20.04
MAINTAINER Carles Mateo
ARG DEBIAN_FRONTEND=noninteractive
# RUN echo "nameserver 8.8.8.8" > /etc/resolv.conf
RUN echo "Europe/Ireland" | tee /etc/timezone
# Note: You should install everything in a single line concatenated with
# && and finalizing with
# apt autoremove && apt clean
# In order to use the less space possible, as every command
# is a layer
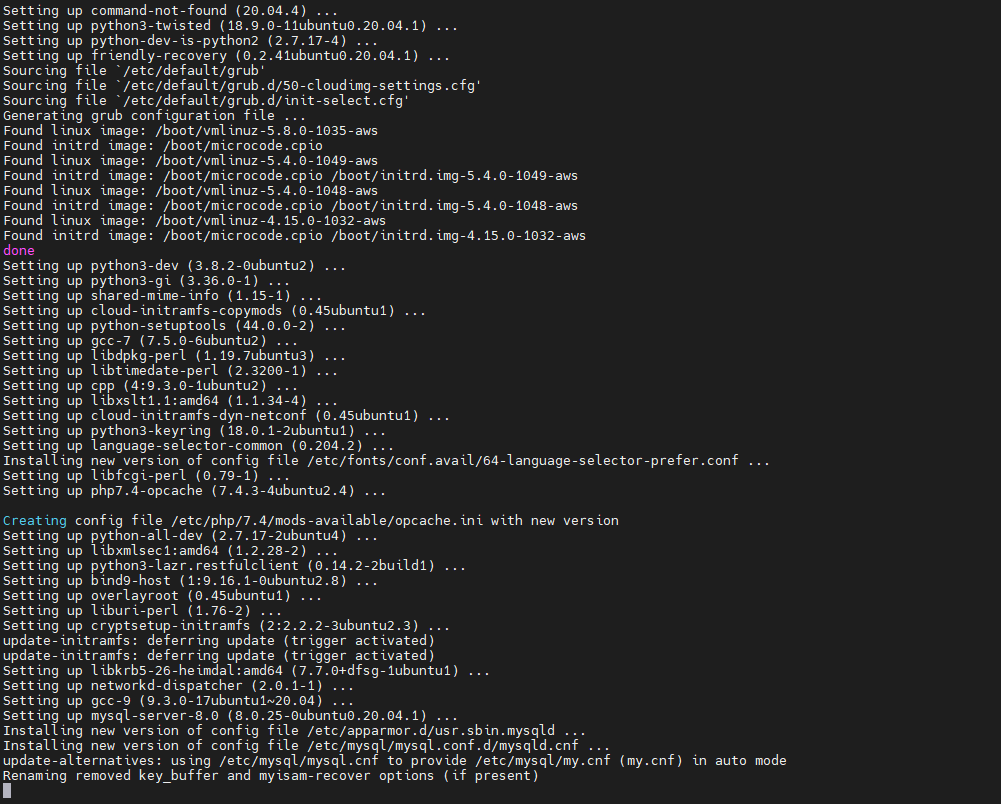
RUN apt update && apt install -y apache2 ntpdate libapache2-mod-php7.4 mysql-server php7.4-mysql php-dev libmcrypt-dev php-pear git mysql-server less zip vim mc && apt autoremove && apt clean
RUN a2enmod rewrite
RUN mkdir -p /www
# If you want to activate Debug
# RUN sed -i "s/display_errors = Off/display_errors = On/" /etc/php/7.2/apache2/php.ini
# RUN sed -i "s/error_reporting = E_ALL & ~E_DEPRECATED & ~E_STRICT/error_reporting = E_ALL/" /etc/php/7.2/apache2/php.ini
# RUN sed -i "s/display_startup_errors = Off/display_startup_errors = On/" /etc/php/7.2/apache2/php.ini
# To Debug remember to change:
# config/{production.php|preproduction.php|devel.php|docker.php}
# in order to avoid Error Reporting being set to 0.
ENV PATH_WP_MYSITEZ /var/www/wordpress/wp_mysitez/
ENV PATH_WORDPRESS_SITES /var/www/wordpress/
ENV APACHE_RUN_USER www-data
ENV APACHE_RUN_GROUP www-data
ENV APACHE_LOG_DIR /var/log/apache2
ENV APACHE_PID_FILE /var/run/apache2/apache2.pid
ENV APACHE_RUN_DIR /var/run/apache2
ENV APACHE_LOCK_DIR /var/lock/apache2
ENV APACHE_LOG_DIR /var/log/apache2
RUN mkdir -p $APACHE_RUN_DIR
RUN mkdir -p $APACHE_LOCK_DIR
RUN mkdir -p $APACHE_LOG_DIR
RUN mkdir -p $PATH_WP_MYSITEZ
# Remove the default Server
RUN sed -i '/<Directory \/var\/www\/>/,/<\/Directory>/{/<\/Directory>/ s/.*/# var-www commented/; t; d}' /etc/apache2/apache2.conf
RUN rm /etc/apache2/sites-enabled/000-default.conf
COPY wp_mysitez.conf /etc/apache2/sites-available/
RUN chown --recursive $APACHE_RUN_USER.$APACHE_RUN_GROUP $PATH_WP_MYSITEZ
RUN ln -s /etc/apache2/sites-available/wp_mysitez.conf /etc/apache2/sites-enabled/
# Please note: It would be better to git clone from another location and
# gunzip and delete temporary files in the same line,
# to save space in the layer.
COPY *.sql.gz /tmp/
RUN gunzip /tmp/*.sql.gz; echo "Starting MySQL"; service mysql start && mysql -u root < /tmp/wp_mysitez.sql && mysql -u root < /tmp/mysql.sql; rm -f /tmp/*.sql; rm -f /tmp/*.gz
# After this root will have password assigned
COPY *.zip /tmp/
COPY services_up.sh $PATH_WORDPRESS_SITES
RUN echo "Unzipping..."; cd /var/www/wordpress/; unzip /tmp/*.zip; rm /tmp/*.zip
RUN chown --recursive $APACHE_RUN_USER.$APACHE_RUN_GROUP $PATH_WP_MYSITEZ
EXPOSE 80
CMD ["/var/www/wordpress/services_up.sh"]
Services up
For starting MySQL and Apache I relay in services_up.sh script.
#!/bin/bash
echo "Starting MySql"
service mysql start

echo "Starting Apache"
service apache2 start
# /usr/sbin/apache2 -D FOREGROUND

while [ true ];
do
    ps ax | grep mysql | grep -v "grep "
    if [ $? -gt 0 ];
    then
        service mysql start
    fi
    sleep 10
done
You see that instead of launching apache2 as FOREGROUND, what keeps the loop, not exiting from my Container is a while [ true ]; that will keep looping and checking if MySQL is up, and restarting otherwise.
MySQL shutting down
Some of my sites receive DoS attacks. More than trying to shutdown my sites, are spammers trying to publish comment announcing fake glasses, or medicines for impotence, etc… also some try to hack into the Server to gain control of it with dictionary attacks or trying to explode vulnerabilities.
The downside of those attacks is that some times the Database is under pressure, and uses more and more memory until it crashes.
More memory alleviate the problem and buys time, but I decided not to invest more than $6 USD per month on this old site. I’m just keeping the contents alive and even this site still receives many visits. A restart of the MySQL if it dies is enough for me.
As you have seen in my Dockerfile I only have one Docker Container that runs both Apache and MySQL. One of the advantages of doing like that is that if MySQL dies, the container does not exit. However I could have had two containers with both scripts with the while [ true ];
When planning I decided to have just one single Container, all-in-one, as when I export the image for a Backup, I’ll be dealing only with a single image, not two.
Building and Running the Container
I created a Bash script named build_docker.sh that does the build for me, stopping and cleaning previous Containers:
#!/bin/bash

# Execute with sudo

s_DOCKER_IMAGE_NAME="wp_sitez"

printf "Stopping old image %s\n" "${s_DOCKER_IMAGE_NAME}"
sudo docker stop "${s_DOCKER_IMAGE_NAME}"

printf "Removing old image %s\n" "${s_DOCKER_IMAGE_NAME}"
sudo docker rm "${s_DOCKER_IMAGE_NAME}"

printf "Creating Docker Image %s\n" "${s_DOCKER_IMAGE_NAME}"
# sudo docker build -t ${s_DOCKER_IMAGE_NAME} . --no-cache
sudo docker build -t ${s_DOCKER_IMAGE_NAME} .

i_EXIT_CODE=$?
if [ $i_EXIT_CODE -ne 0 ]; then
    printf "Error. Exit code %s\n" ${i_EXIT_CODE}
    exit
fi

echo "Ready to run ${s_DOCKER_IMAGE_NAME} Docker Container"
echo "To run type: sudo docker run -d -p 80:80 --name ${s_DOCKER_IMAGE_NAME} ${s_DOCKER_IMAGE_NAME}"
echo "or just use run_in_docker.sh"
echo
echo "Debug running Docker:"
echo "docker exec -it ${s_DOCKER_IMAGE_NAME} /bin/bash"
echo
I assign to the image and the Running Container the same name.
Running in Production
Once it works in local, I set the Firewall rules and I deploy the Droplet (VM) with Digital Ocean, I upload the files via SFTP, and then I just run my script build_docker.sh
And assuming everything went well, I run it:
sudo docker run -d -p 80:80 --name wp_mysitez wp_mysitez
I check that the page works, and here we go.
Some improvements
This could also have been put in a private Git repository. You only have to care about not storing the passwords in it. (Like the MySQL grants)
It may be interesting for you to disable directory browsing.
The build from the Git repository can be validated with a Jenkins. Here you have an article about setup a Jenkins for yourself.