First you have to understand that Python, Java and PHP are worlds completely different.
In Python you’ll probably use Flask, and listen to the port you want, inside Docker Container.
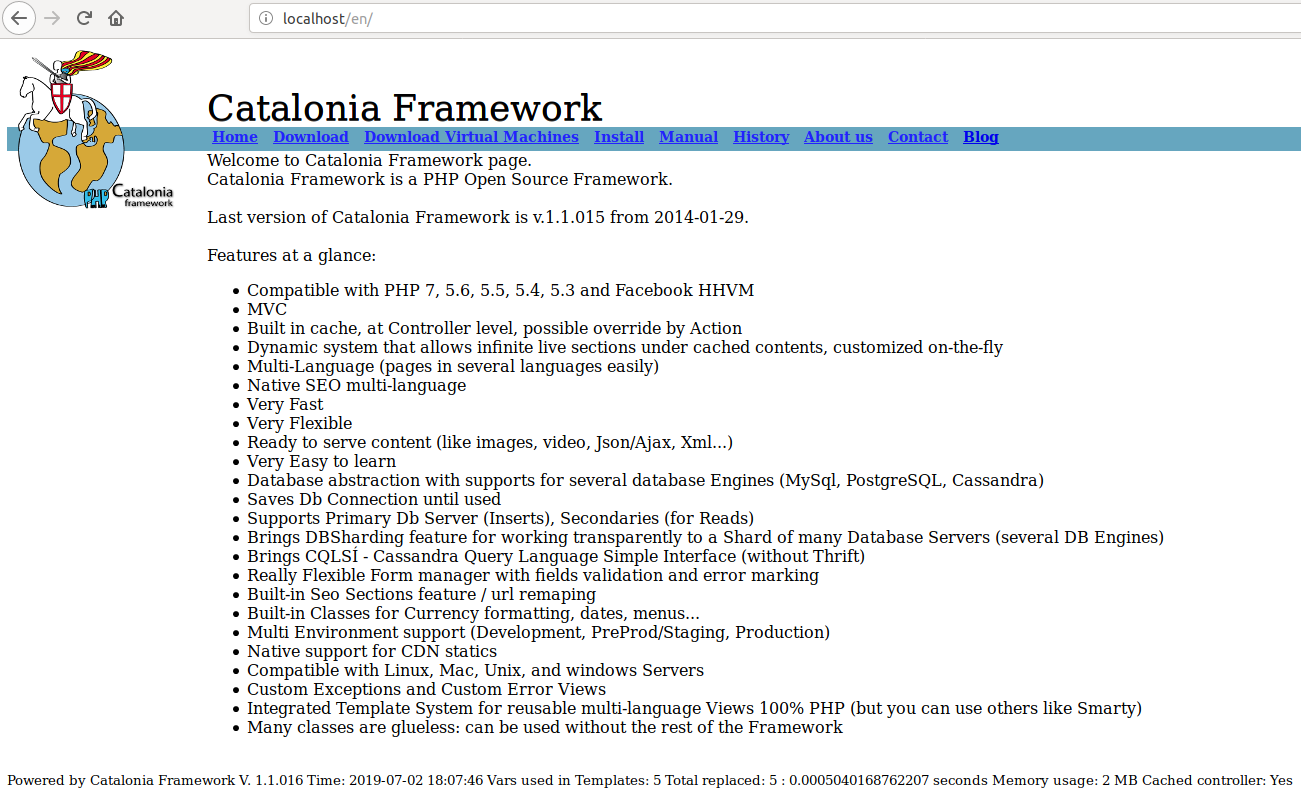
In PHP you’ll use a Frameworks like Laravel, or Symfony, or Catalonia Framework (my Framework) :) and a repo or many (as the idea is that the change in one microservice cannot break another it is recommended to have one git repo per Service) and split the requests with the API Gateway and Filters (so /billing/ goes to the right path in the right Server, is like rewriting URLs). You’ll rely in Software to split your microservices. Usually you’ll use Docker, but you have to add a Web Server and any other tools, as the source code is not packet with a Web Server and other Dependencies like it is in Java Spring Boot.
In Java you’ll use Spring Cloud and Spring Boot, and every Service will be auto-contained in its own JAR file, that includes Apache Tomcat and all other Dependencies and normally running inside a Docker. Tcp/Ip listening port will be set at start via command line, or through environment. You’ll have many git repositories, one per each Service.
Using many repos, one per Service, also allows to deploy only that repository and to have better security, with independent deployment tokens.
It is not unlikely that you’ll use one language for some of your Services and another for other, as well as a Database or another, as each Service is owner of their data.
In any case, you will be using CI/CD and your pipeline will be something like this:
- Pull the latest code for the Service from the git repository
- Compile the code (if needed)
- Run the Unit and Integration Tests
- Compile the service to an executable artifact (f.e. Java JAR with Tomcat server and other dependencies)
- Generate a Machine image with your JAR deployed (for Java. Look at Spotify Docker Plugin to Docker build from Maven), or with Apache, PHP, other dependencies, and the code. Normally will be a Docker image. This image will be immutable. You will probably use Dockerhub.
- Machine image will be started. Platform test are run.
- If platform tests pass, the service is promoted to the next environment (for example Dev -> Test -> PreProd -> Prod), the exact same machine is started in the next environment and platform tests are repeated.
- Before deploying to Production the new Service, I recommend running special Application Tests / Behavior-driven. By this I mean, to conduct tests that really test the functionality of everything, using a real browser and emulating the acts of a user (for example with BeHat, Cucumber or with JMeter).
I recommend this specially because Microservices are end-points, independent of the implementation, but normally they are API that serve to a whole application. In an Application there are several components, often a change in the Front End can break the application. Imagine a change in Javascript Front End, that results in a call a bit different, for example, with an space before a name. Imagine that the Unit Tests for the Service do not test that, and that was not causing a problem in the old version of the Service and so it will crash when the new Service is deployed. Or another example, imagine that our Service for paying with Visa cards generates IDs for the Payment Gateway, and as a result of the new implementation the IDs generated are returned. With the mocked objects everything works, but when we deploy for real is when we are going to use the actual Bank Payment. This is also why is a good idea to have a PreProduction environment, with PreProduction versions of the actual Services we use (all banks or the GDS for flights/hotel reservation like Galileo or Amadeus have a Test, exactly like Production, Gateway)
If you work with Microsoft .NET, you’ll probably use Azure DevOps.
We IT Engineers, CTOs and Architects, serve the Business. We have to develop the most flexible approaches and enabling the business to release as fast as their need.
Take in count that Microservices is a tool, a pattern. We will use it to bring more flexibility and speed developing, resilience of the services, and speed and independence deploying. However this comes at a cost of complexity.
Microservices is more related to giving flexibility to the Business, and developing according to the Business Domains. Normally oriented to suite an API. If you have an API that is consumed by third party you will have things like independence of Services (if one is down the others will still function), gradual degradation, being able to scale the Services that have more load only, being able to deploy a new version of a Service which is independent of the rest of the Services, etc… the complexity in the technical solution comes from all this resilience, and flexibility.
If your Dev Team is up to 10 Developers or you are writing just a CRUD Web Application, a PoC, or you are an Startup with a critical Time to Market you probably you will not want to use Microservices approach. Is like killing flies with laser cannons. You can use typical Web services approach, do everything in one single Https request, have transactions, a single Database, etc…
But if your team is 100 Developer, like a big eCommerce, you’ll have multiple Teams between 5 and 10 Developers per Business Domain, and you need independence of each Service, having less interdependence. Each Service will own their own Data. That is normally around 5 to 7 tables. Each Service will serve a Business Domain. You’ll benefit from having different technologies for the different needs, however be careful to avoid having Teams with different knowledge that can have hardly rotation and difficult to continue projects when the only 2 or 3 Devs that know that technology leave. Typical benefit scenarios can be having MySql for the Billing Services, but having NoSQL Database for the image catalog, or to store logs of account activity. With Microservices, some services will be calling other Services, often asynchronously, using Queues or Streams, you’ll have Callbacks, Databases for reading, you’ll probably want to have gradual and gracefully failure of your applications, client load balancing, caches and read only databases/in-memory databases… This complexity is in order to protect one Service from the failure of others and to bring it the necessary speed under heavy load.
Here you can find a PDF Document of the typical resources I use for Microservice Projects.
You can also download it from my github repository:
https://github.com/carlesmateo/awesome-microservices
Do you use other solutions that are not listed?. Leave a message. I’ll investigate them and update the Document, to share with the Community.
Update 2020-03-06: I found this very nice article explaining the same. Microservices are not for everybody and not the default option: https://www.theregister.co.uk/AMP/2020/03/04/microservices_last_resort/
Update 2020-03-11: Qcom with 1,600 microservices says that microservices architecture is the las resort: https://www.theregister.co.uk/AMP/2020/03/09/monzo_microservices/