Please note: Even if I tried to make it easy, probably there are too many concepts for a non-programmer. Will try to deliver more basic previous knowledge and foundations, so people with zero knowledge don’t feel overwhelmed.
Start by installing Python 3.8 or 3.9 in your computer, and the IDE PyCharm. Install also Git, and create an account in GitLab so you can share code with other people and understand how Git works.
Here you can read the basic steps for setup PyCharm and GitLab.
Ok, so you can take a look at my video, and hopefully it makes spark your motivation to learn by yourself. :)
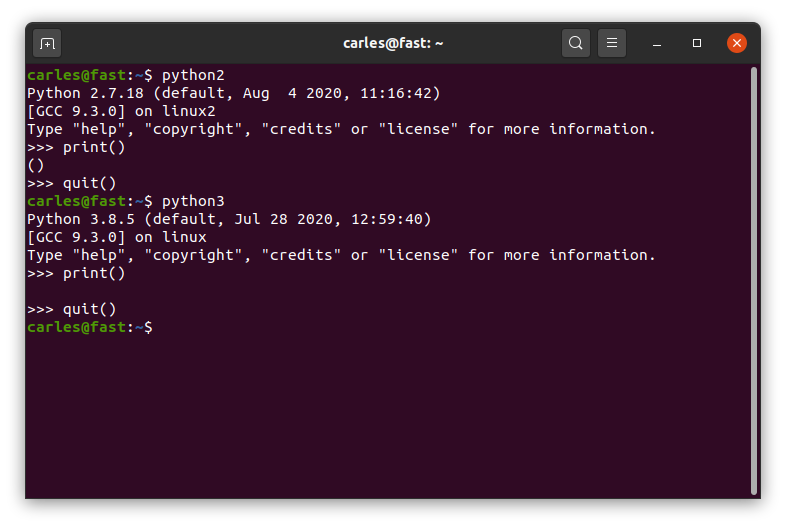
I’ve been asked why I used print(“”) instead of print().
Is a good question. The reason is, when we programmed in Python 2.x the native way was to print without parenthesis, like:
print "Hello World!"Python 3.x was incompatible with that and requires to use parenthesis, like:
print("Hello World!")Fortunately Python 2.x accepts also to print using parenthesis. In order to have compatibility within Python 2.x and Python 3.x or for future compatibility we were using always print(“Whatever”) in Python2.
However, there is one difference.
If you user print() or print(“”) in Python3 that will generate an empty line.
In Python 2 print(“”) will generate too an empty line, nevertheless print() in Python2 will print two parenthesis. We don’t want that.
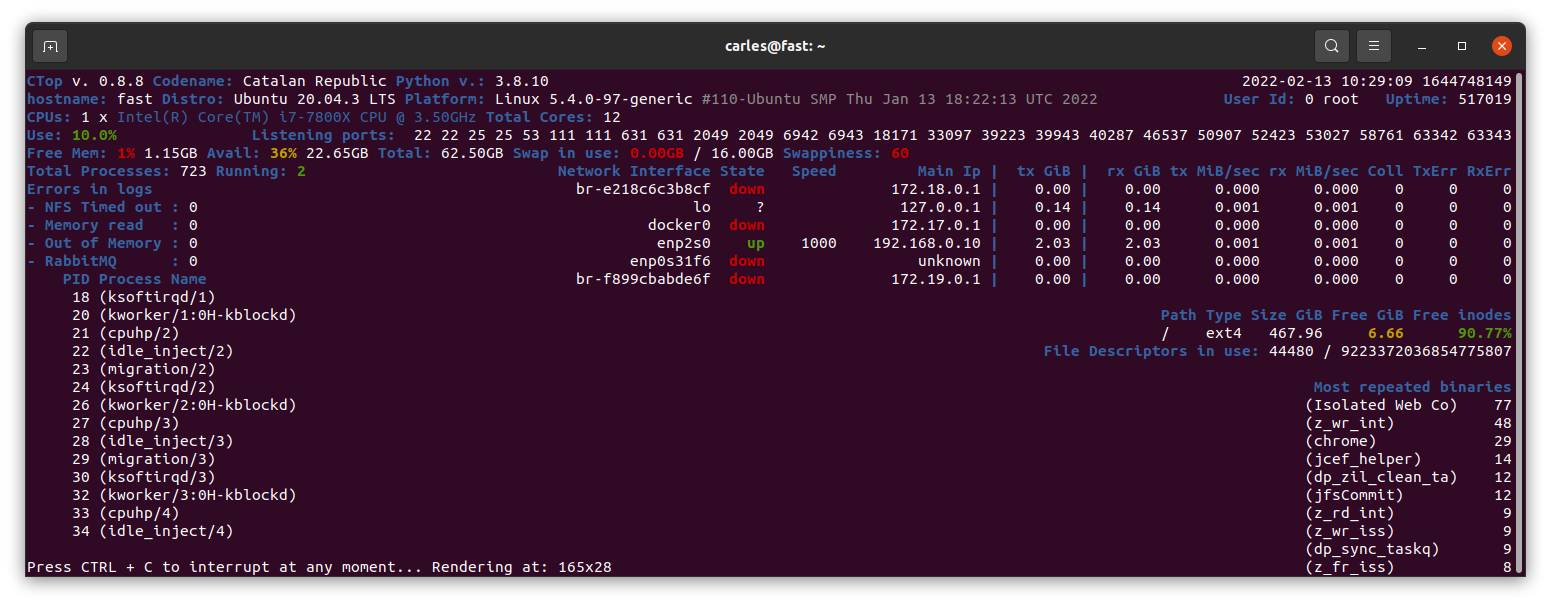
This is illustrated in this screenshot:
So all the people that are at home, closed down for coronavirus, you have a chance now to start learning Python and from there get a live as programmer.
You can download the code for this lesson 0, from:
https://gitlab.com/carles.mateo/teach-unit-testing/-/blob/master/lesson0/tree.py
Capturing data from keyboard
In order to be able to do more samples, and then being a bit interesting an dynamic, I will introduce here how to get data inputted by the Keyboard.
print("Please enter your name:")
s_name = input()
This will add whatever we type, without the final Enter, to the String variable s_name.
Capturing numbers from Keyboard
How we do to capture a number, like how old are you, in years?.
The same way, and then we convert this to an Integer value. An Integer is a data type which is basically a number, not decimal. Like: 1, 2, 7, 1000 o -5.
print("Please enter your name:")
s_name = input()

print("Please enter your age:")
s_age = input()
# With int() we convert a String to an Integer, as long as it is possible.
# Wit str() we convert a Integer to a String, as long as it is possible.
i_age = int(s_age)
If you enter a number incorrectly and so that cannot be converted, you will get an Exception Error. That is something that happened in a way that was not expected. These error can be trapped, and we will see this later, in the future.

You know:
- How to capture data from the keyboard with input()
- How to convert data entered as String to Integer with int()
- How to sum two numbers, like 2 + 3
- How to subtract two numbers, like 2 – 3
- How to multiply, like 2 * 3
So know, you should be able to solve a basic arithmetic exercise in Hacker Rank:
https://www.hackerrank.com/challenges/python-arithmetic-operators/problem
More sources with explanations
I’m teaching Unit Testing, Refactors, Quality Code and moving from Procedural to OOP to some colleagues, you can find source code for our classes here (please, be aware that there are some error made on purpose to show why and why not do things and hot to apply proper unit testing)
https://gitlab.com/carles.mateo/teach-unit-testing/-/tree/master
More resources
There are many free useful resources to learn Python:
- A free course from Google in
several languagesEnglish - Hackerrank has exercicis and you can test, and teach you, and give you point for each exercise that you do well.