Obviously for companies is a must, but if you work in your own projects, it will be super great that you configure Jenkins, so you have continuous feedback about if something breaks.
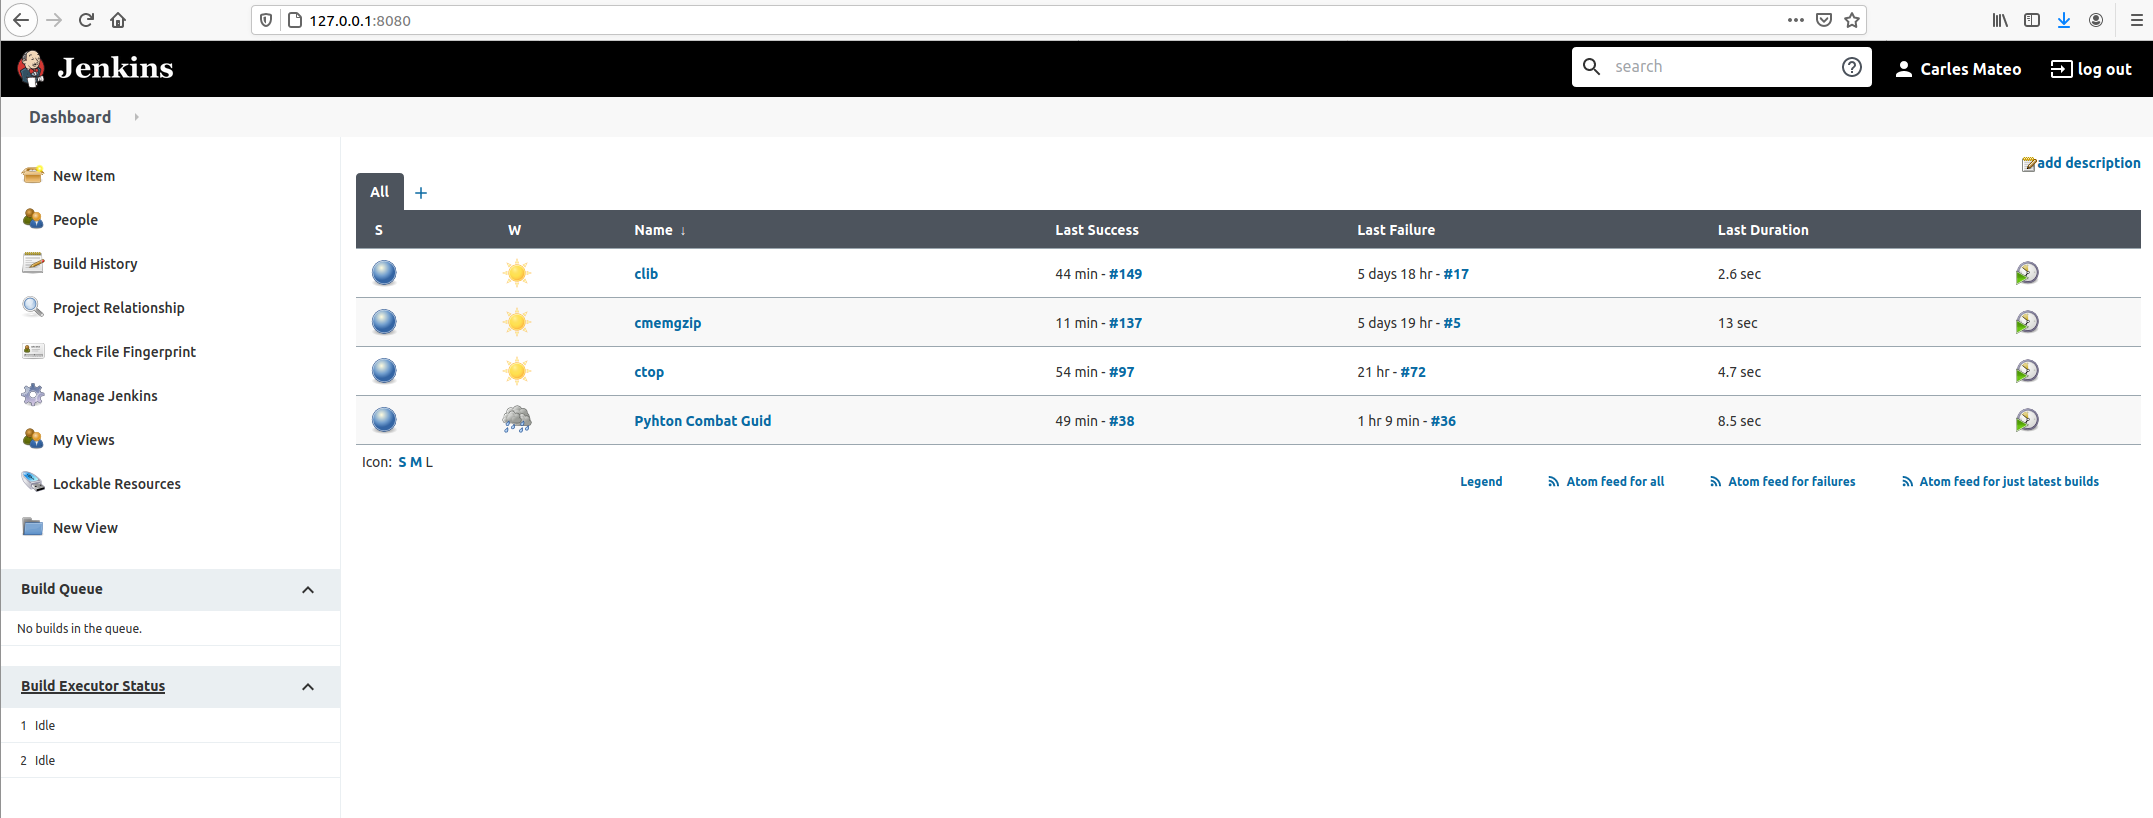
I’ll show you how to configure Jenkins for several projects using only your main computer/laptop.
Check my past article about setting up Jenkins in Docker.
Adding a new Freestyle project
Click on top left: New item.
Then give it an appropriate name and choose Freestyle Project.
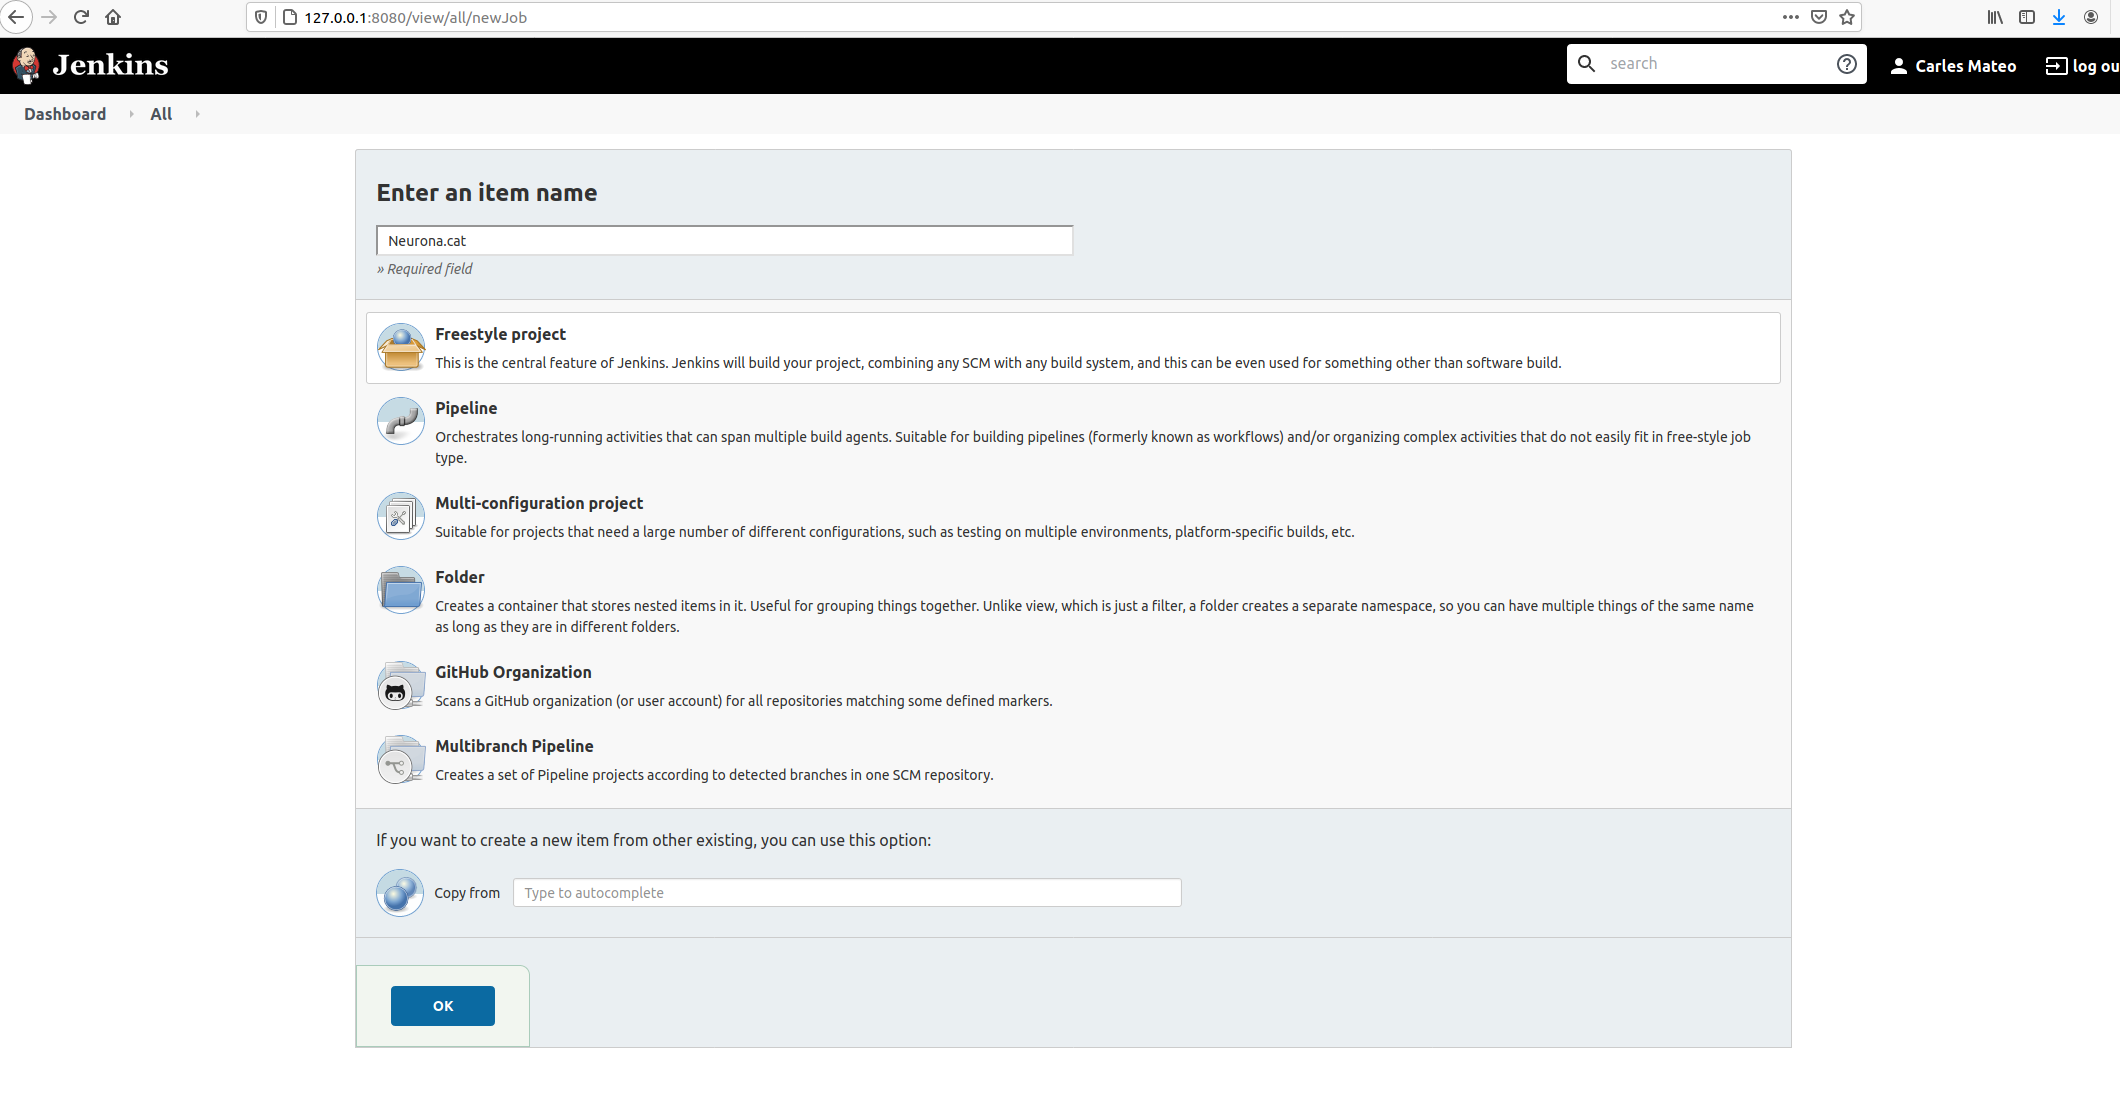
Take in count that the name given will be used as the name of the workspace, so you may want to avoid special characters.
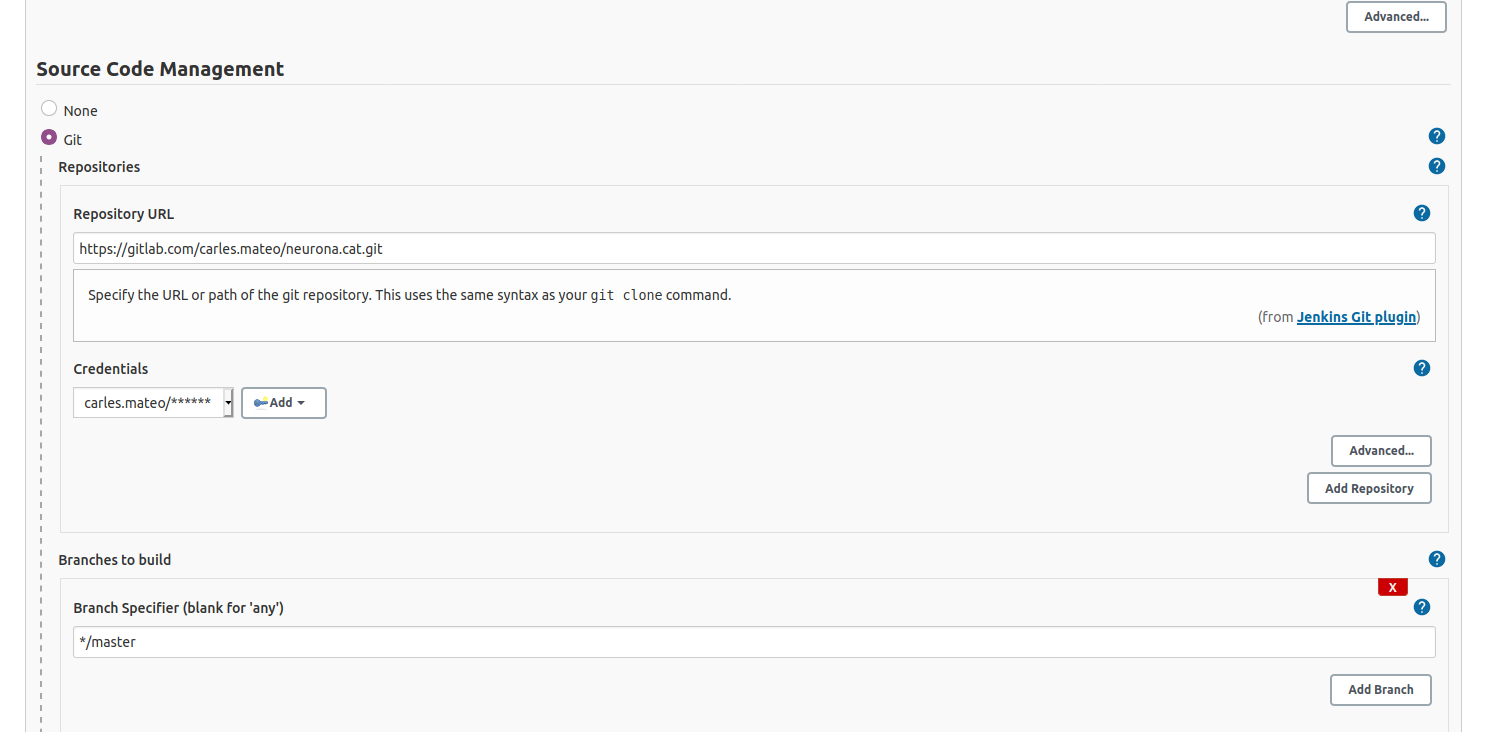
It is very convenient to let Jenkins deal with your repository changes instead of using shell commands. So I’m going to fill this section.
I also provided credentials, so Jenkins can log to my Gitlab.
This kind of project is the most simple and we will use the same Docker Container where Jenkins resides, to run the Unit Testing of our code.
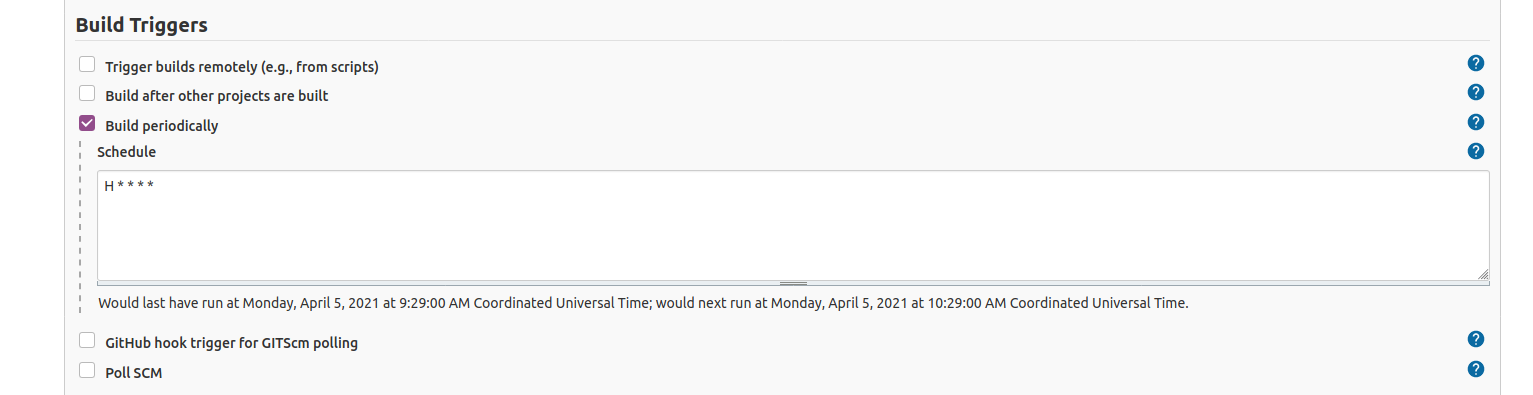
We are going to select to Build periodically.
If your Server is in Internet, you can active the Web Hooks so your Jenkins is noticed via a web connection from GitLab, GitHub or your CVS provider. As I’m strictly running this at home, Jenkins will be periodically check for changes in the repository and do nothing if there are no changes.
I’ll set H * * * * so Jenkins will try every hour.
Go down and select Add Build Step:
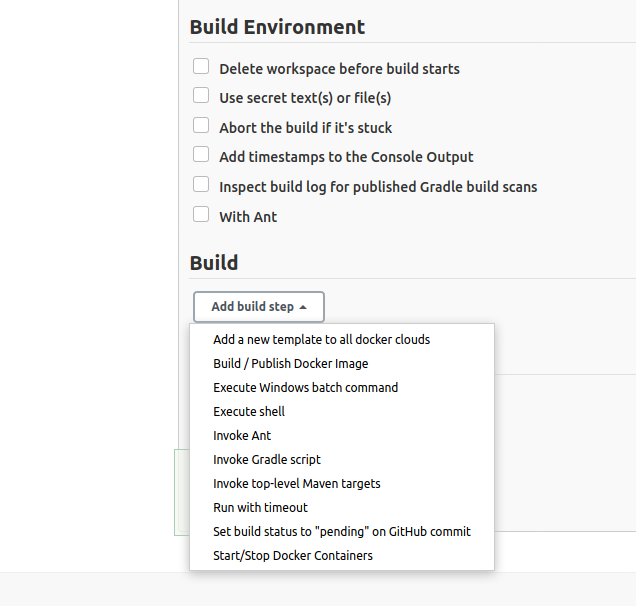
Select Execute shell.
Then add a basic echo command to print in the Console Output, and ls command so you see what is in the default’s directory your shell script is executing in.
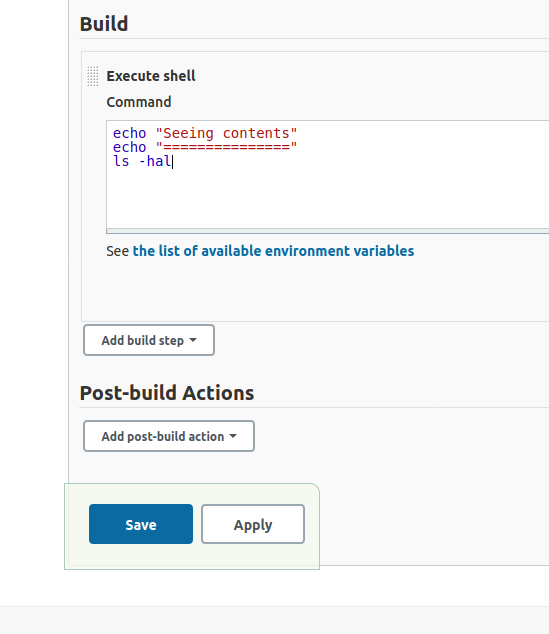
Now save your project.
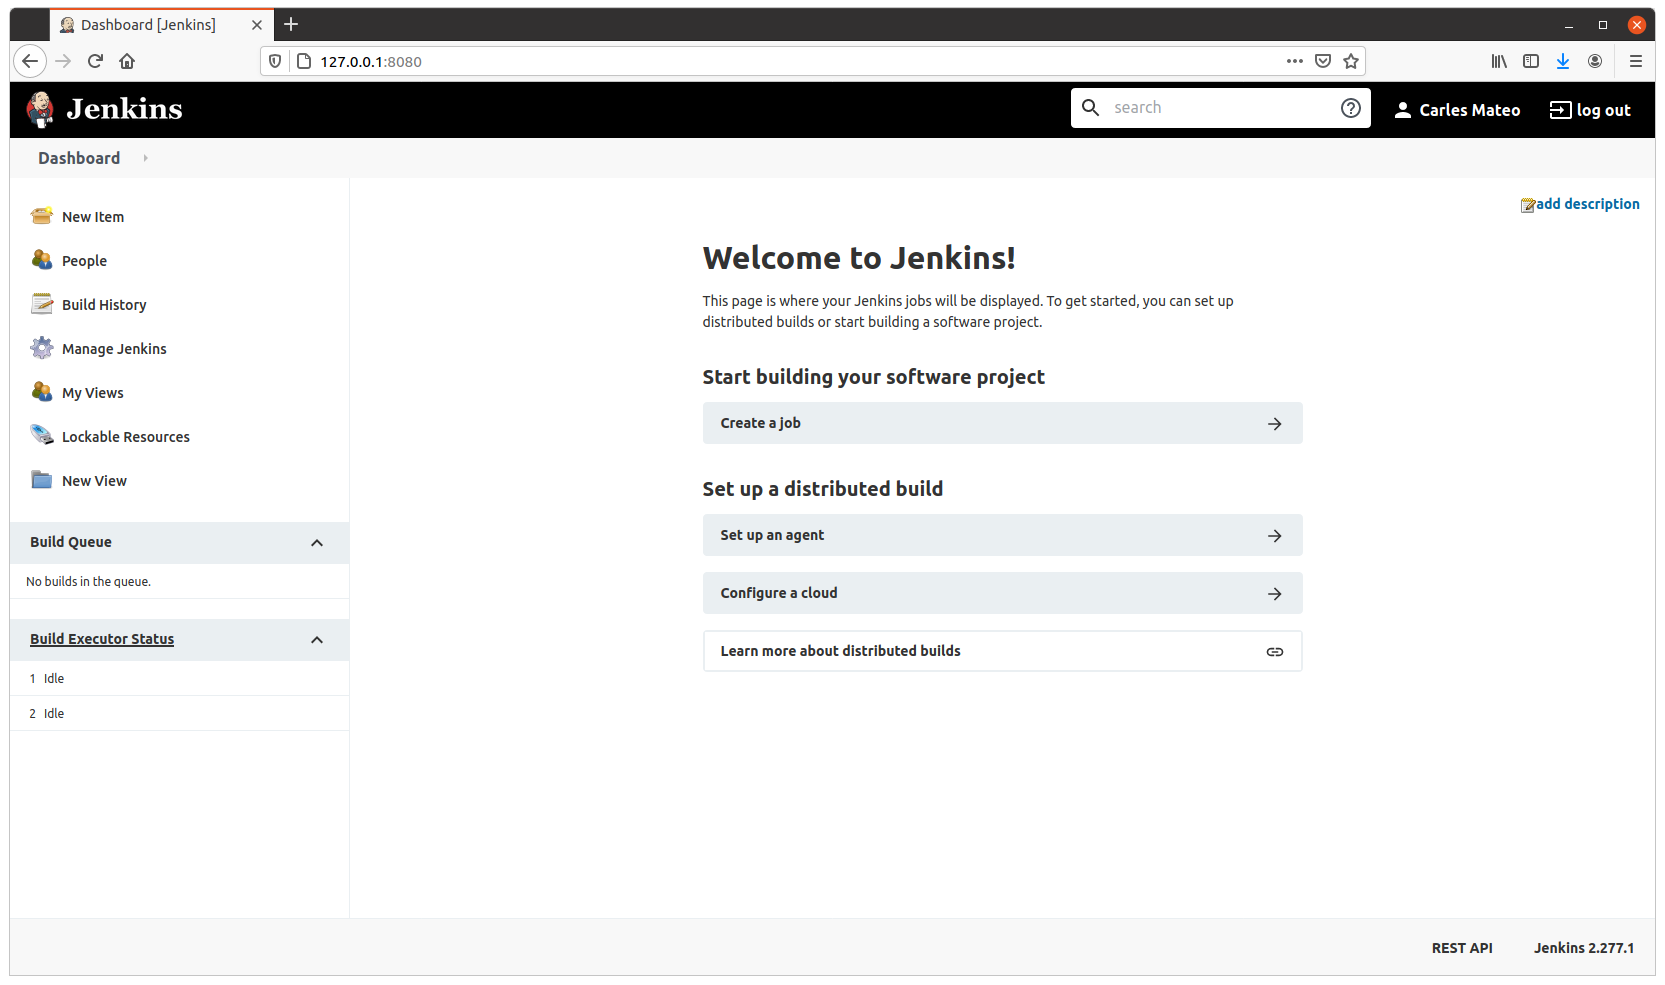
And go back to Dashboard.
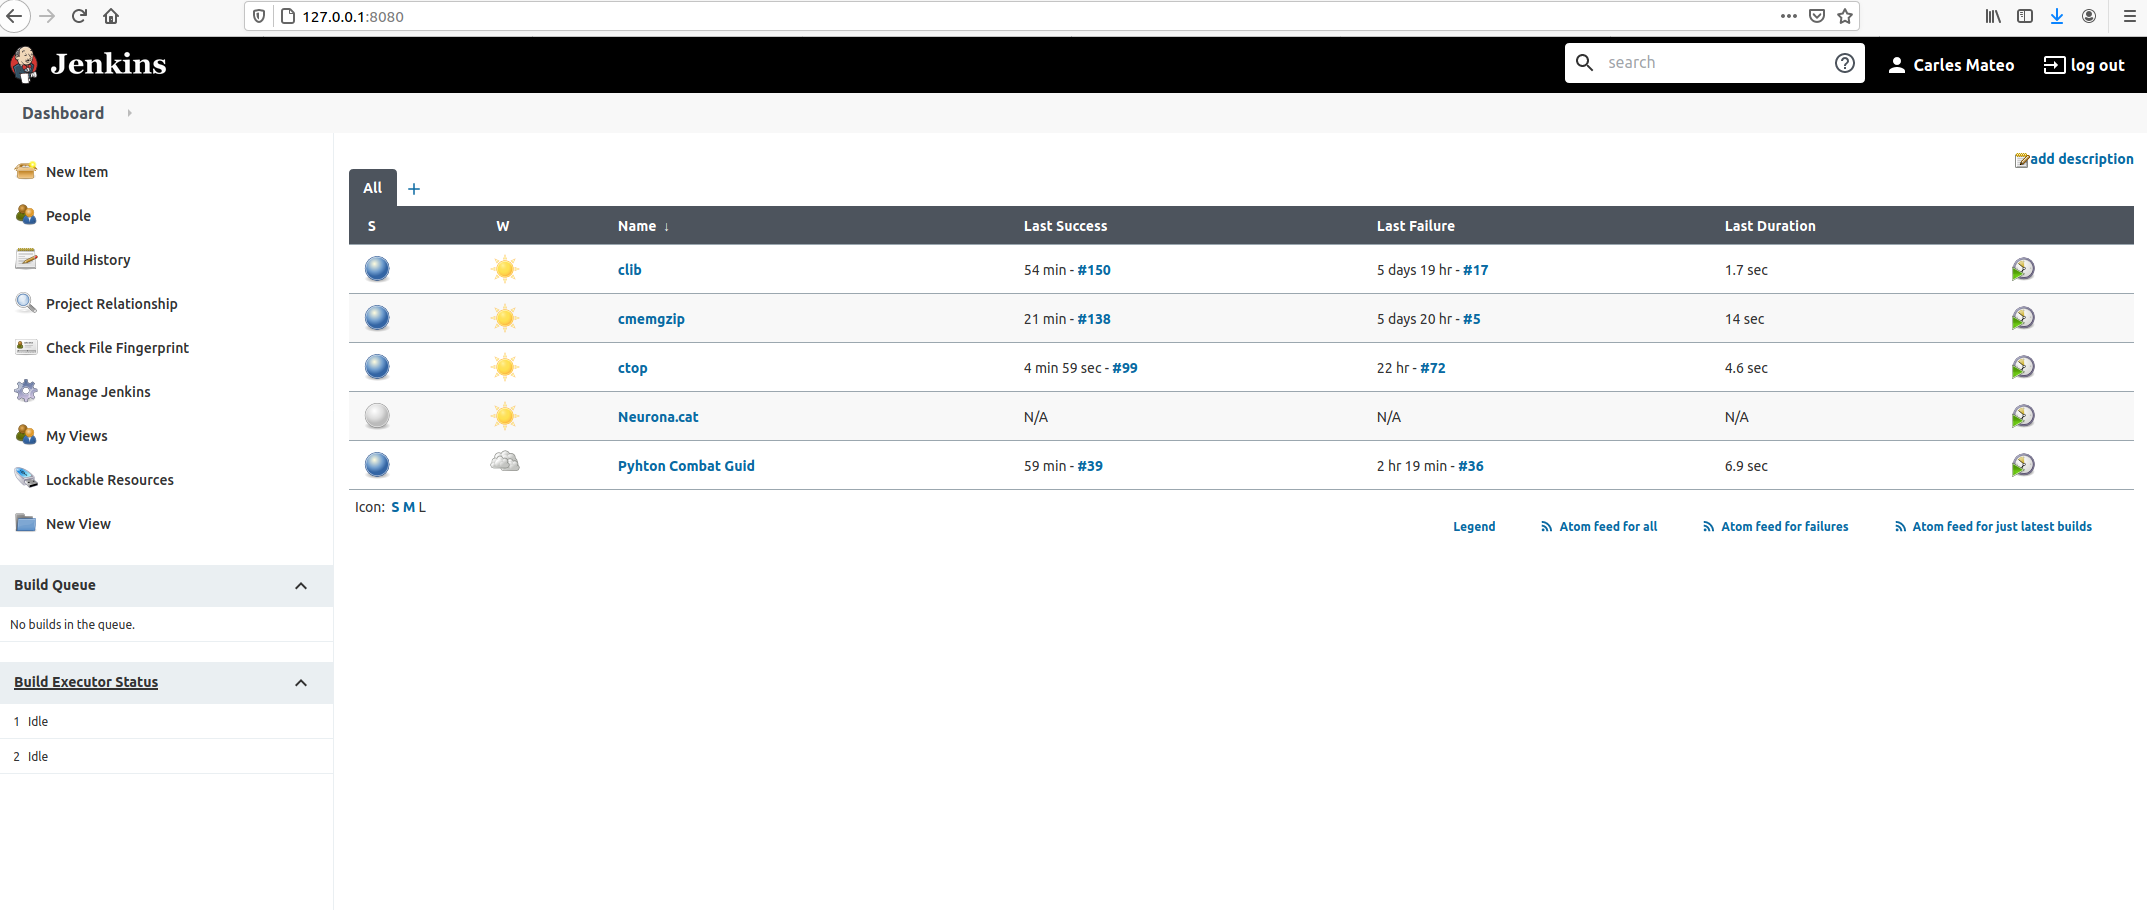
Click inside of Neurona.cat to view Project’s Dashboard.
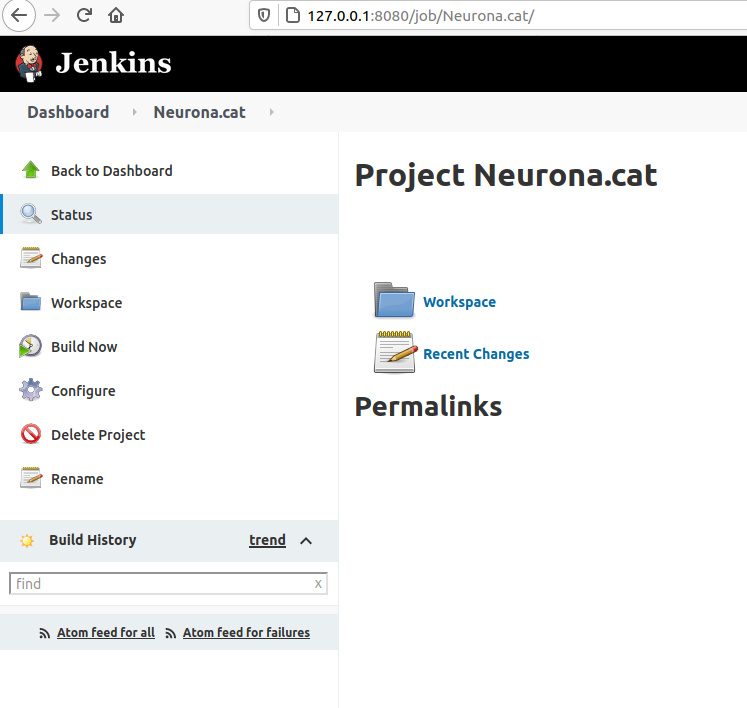
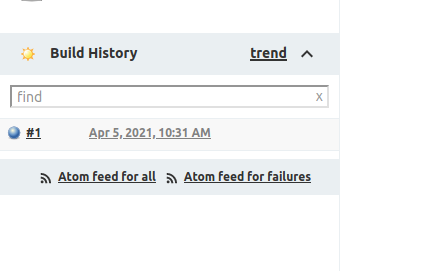
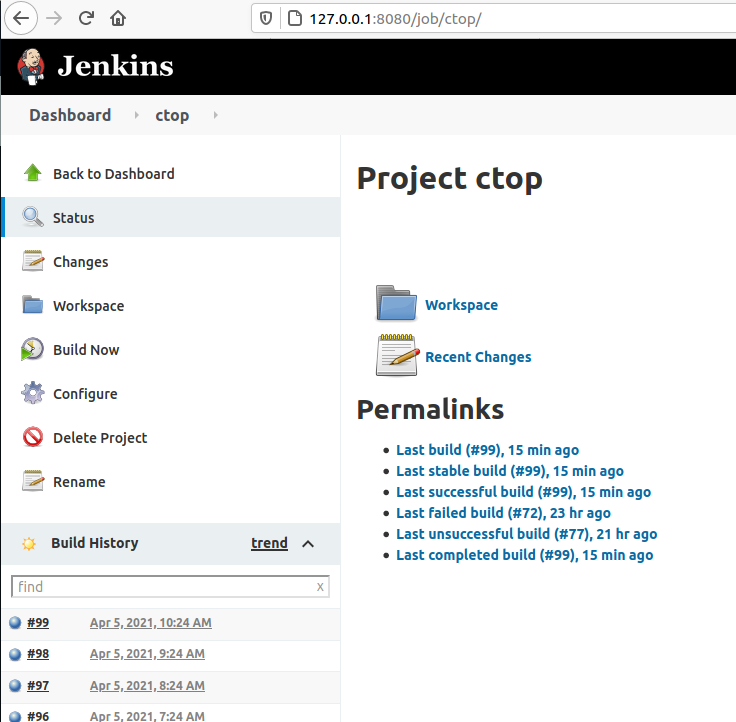
Click: Build Now. And then click on the Build task (Apr 5, 2021, 10:31 AM)
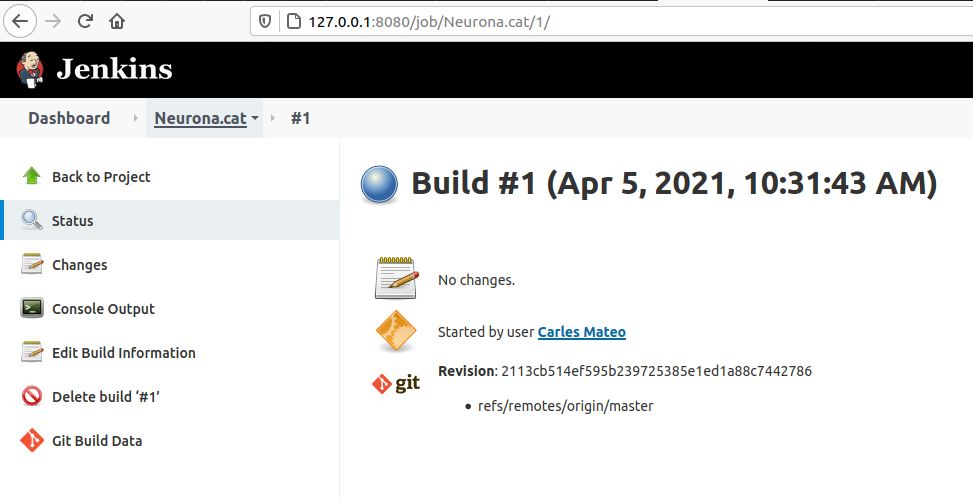
Click on Console Output.
You’ll see a verbose log of everything that happened.
You’ll see for example that Jenkins has put the script on the path of the git project folder that we instructed before to clone/pull.
This example doesn’t have test. Let’s see one with Unit Test.
Running Unit Testing with pytest
If we enter the project CTOP and then select Configure you’ll see the steps I did for making it do the Unite Testing.
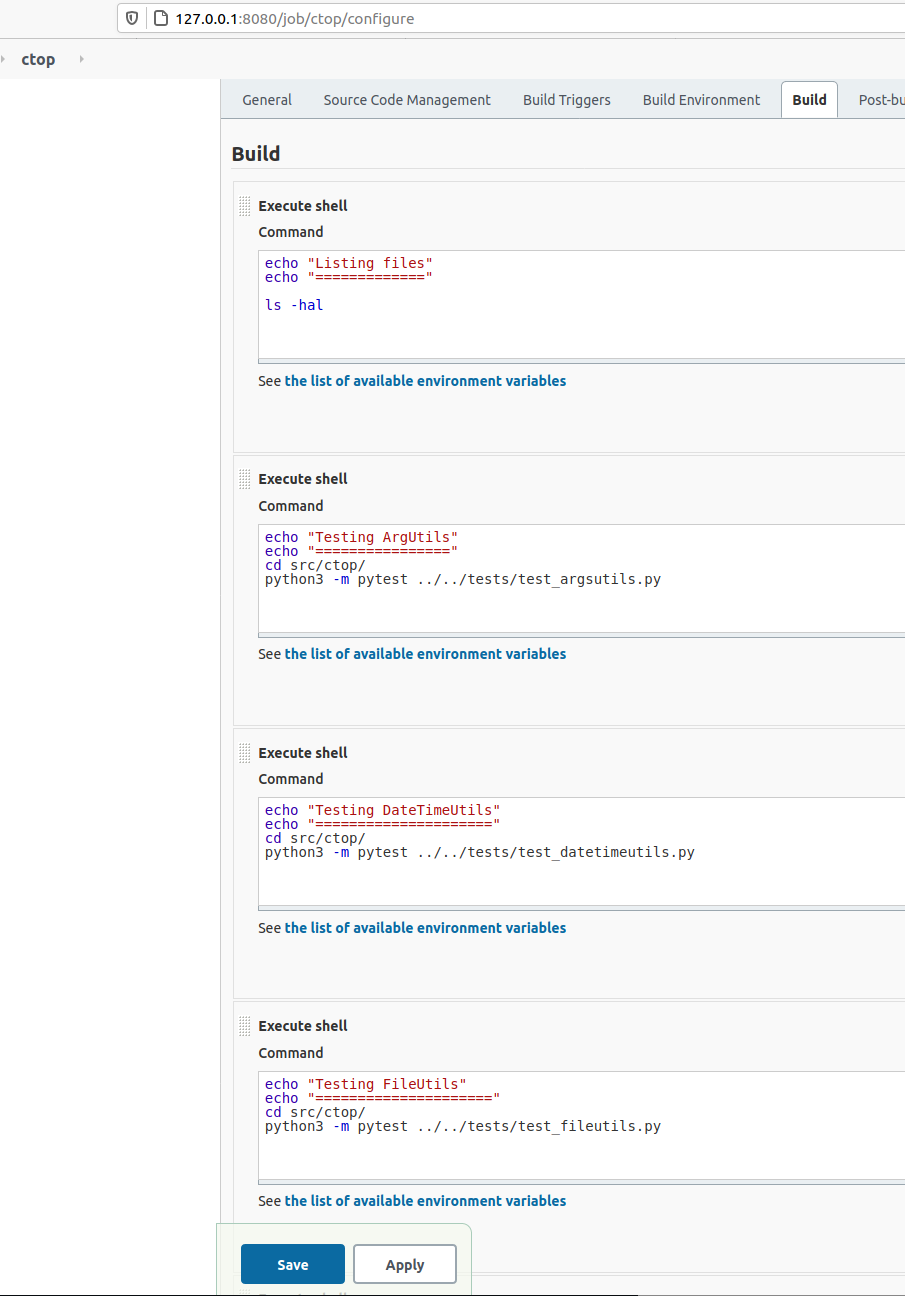
In my case I wanted to have several steps, one per each Unit Test file.
If each one of them I’ve to enter the right directory before launching any test.
If you open the last successful build and and select Console Output you’ll see all the tests, going well.
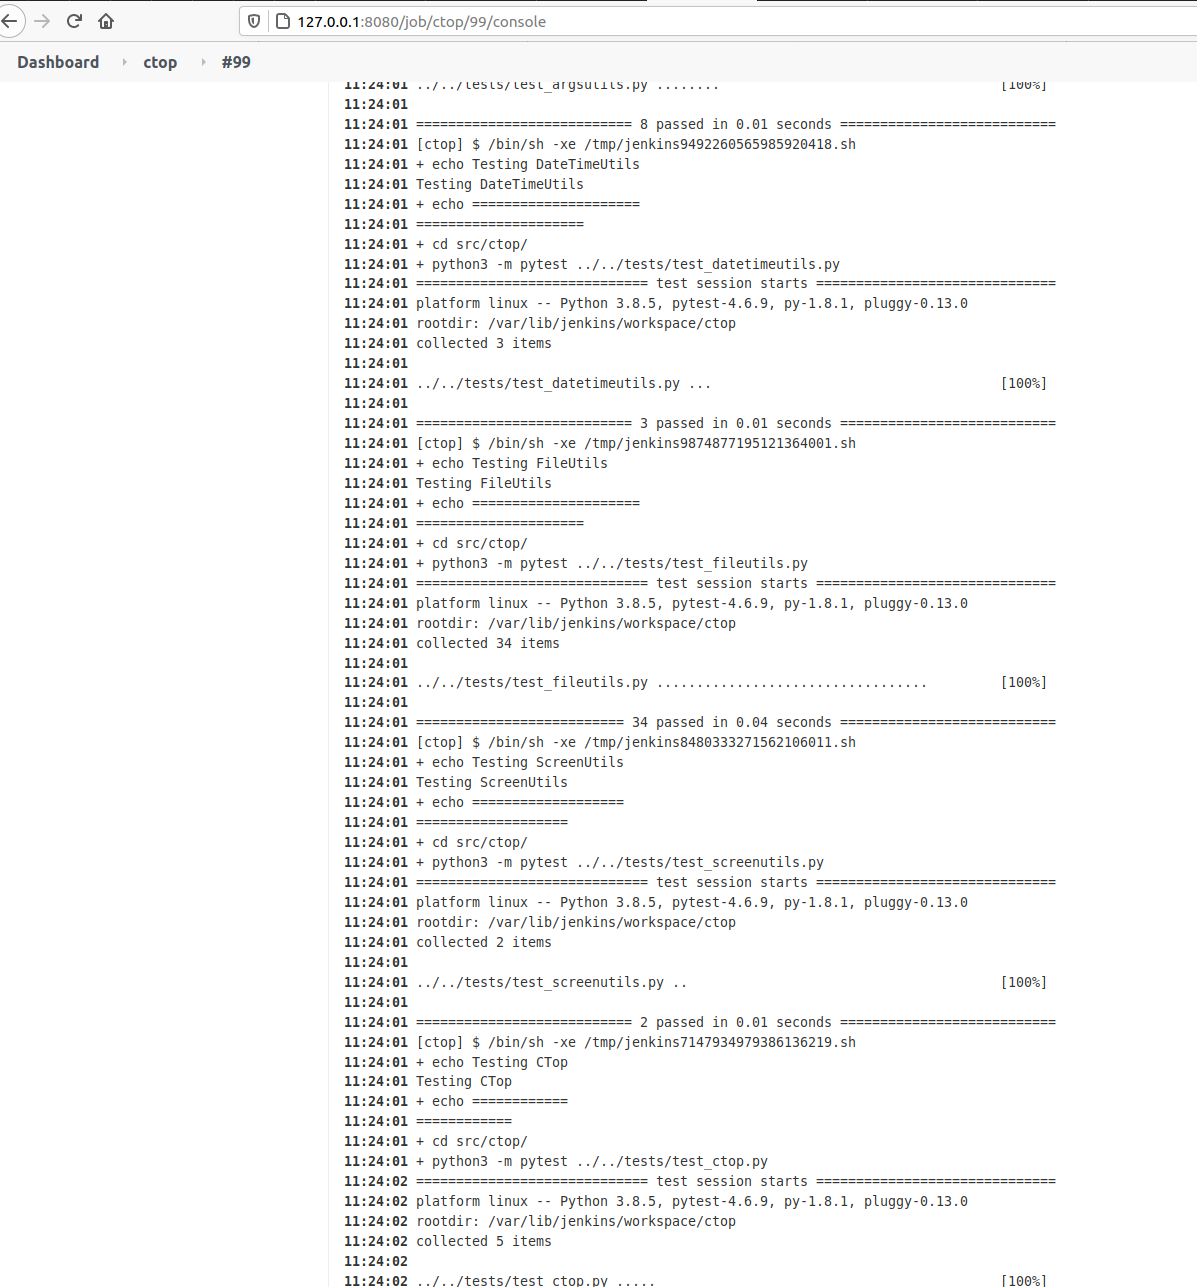
If a test will go wrong, pytest will exit with Exit Code different of 0, and so Jenkins will detect it and show that the Build Fails.
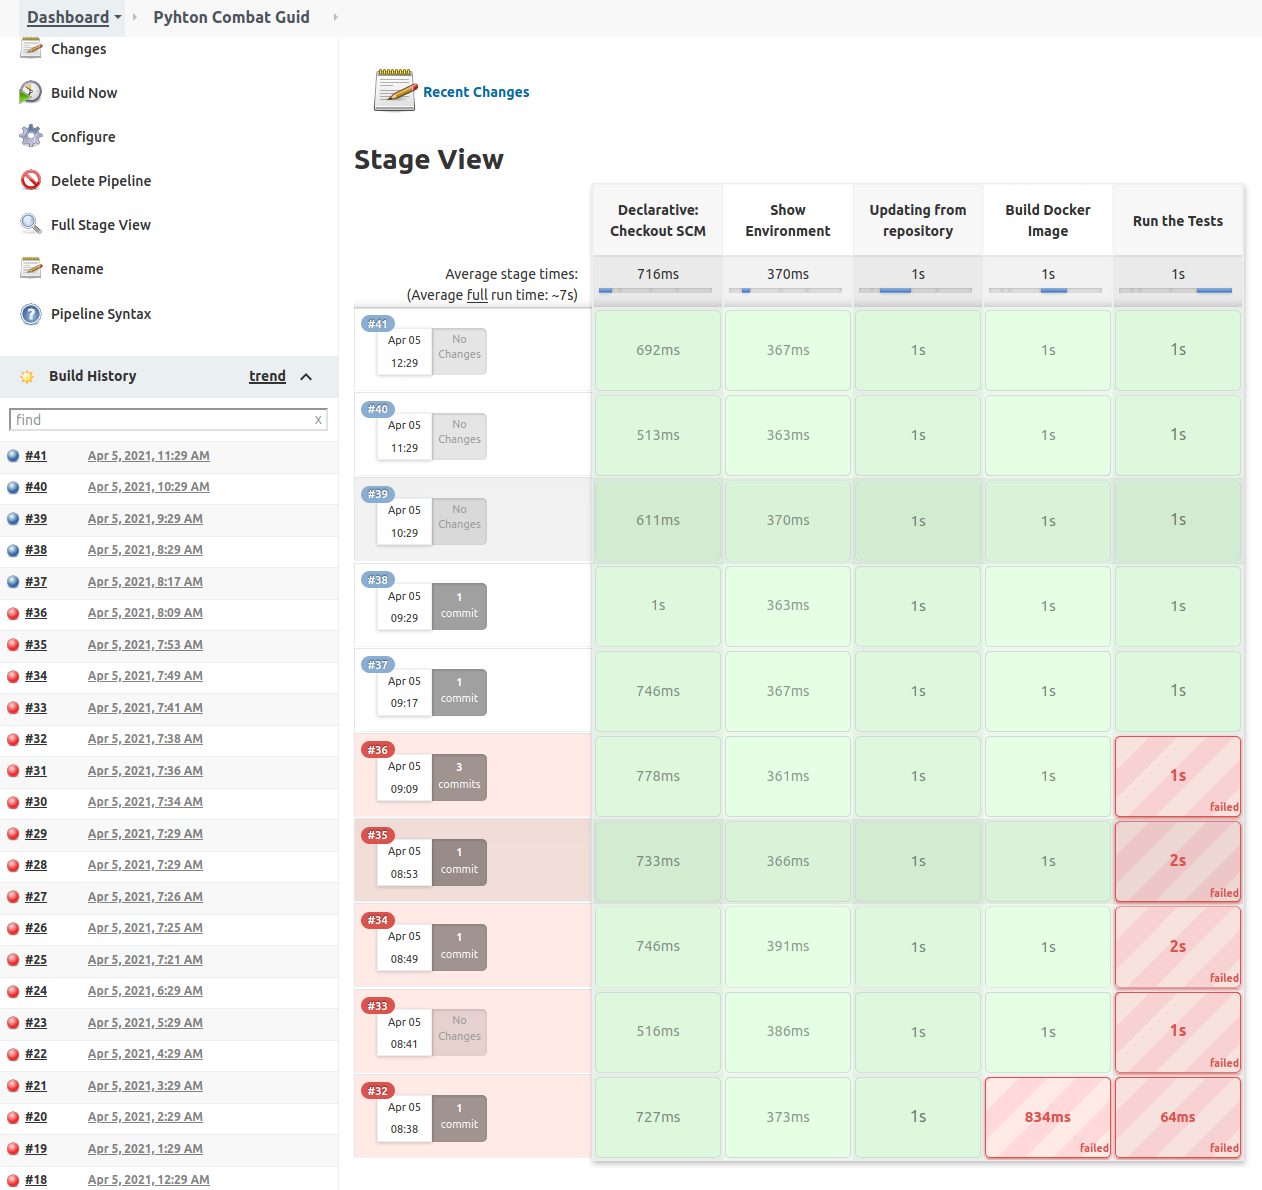
Building a Project from Pipeline
Pipeline is the set of plugins that allow us to do Continuous Deployment.
Inform the information about your git project.
Then in your gitlab or github project create a file named Jenkinsfile.
Jenkins will look for it when it clones your repo, to build the Pipeline.
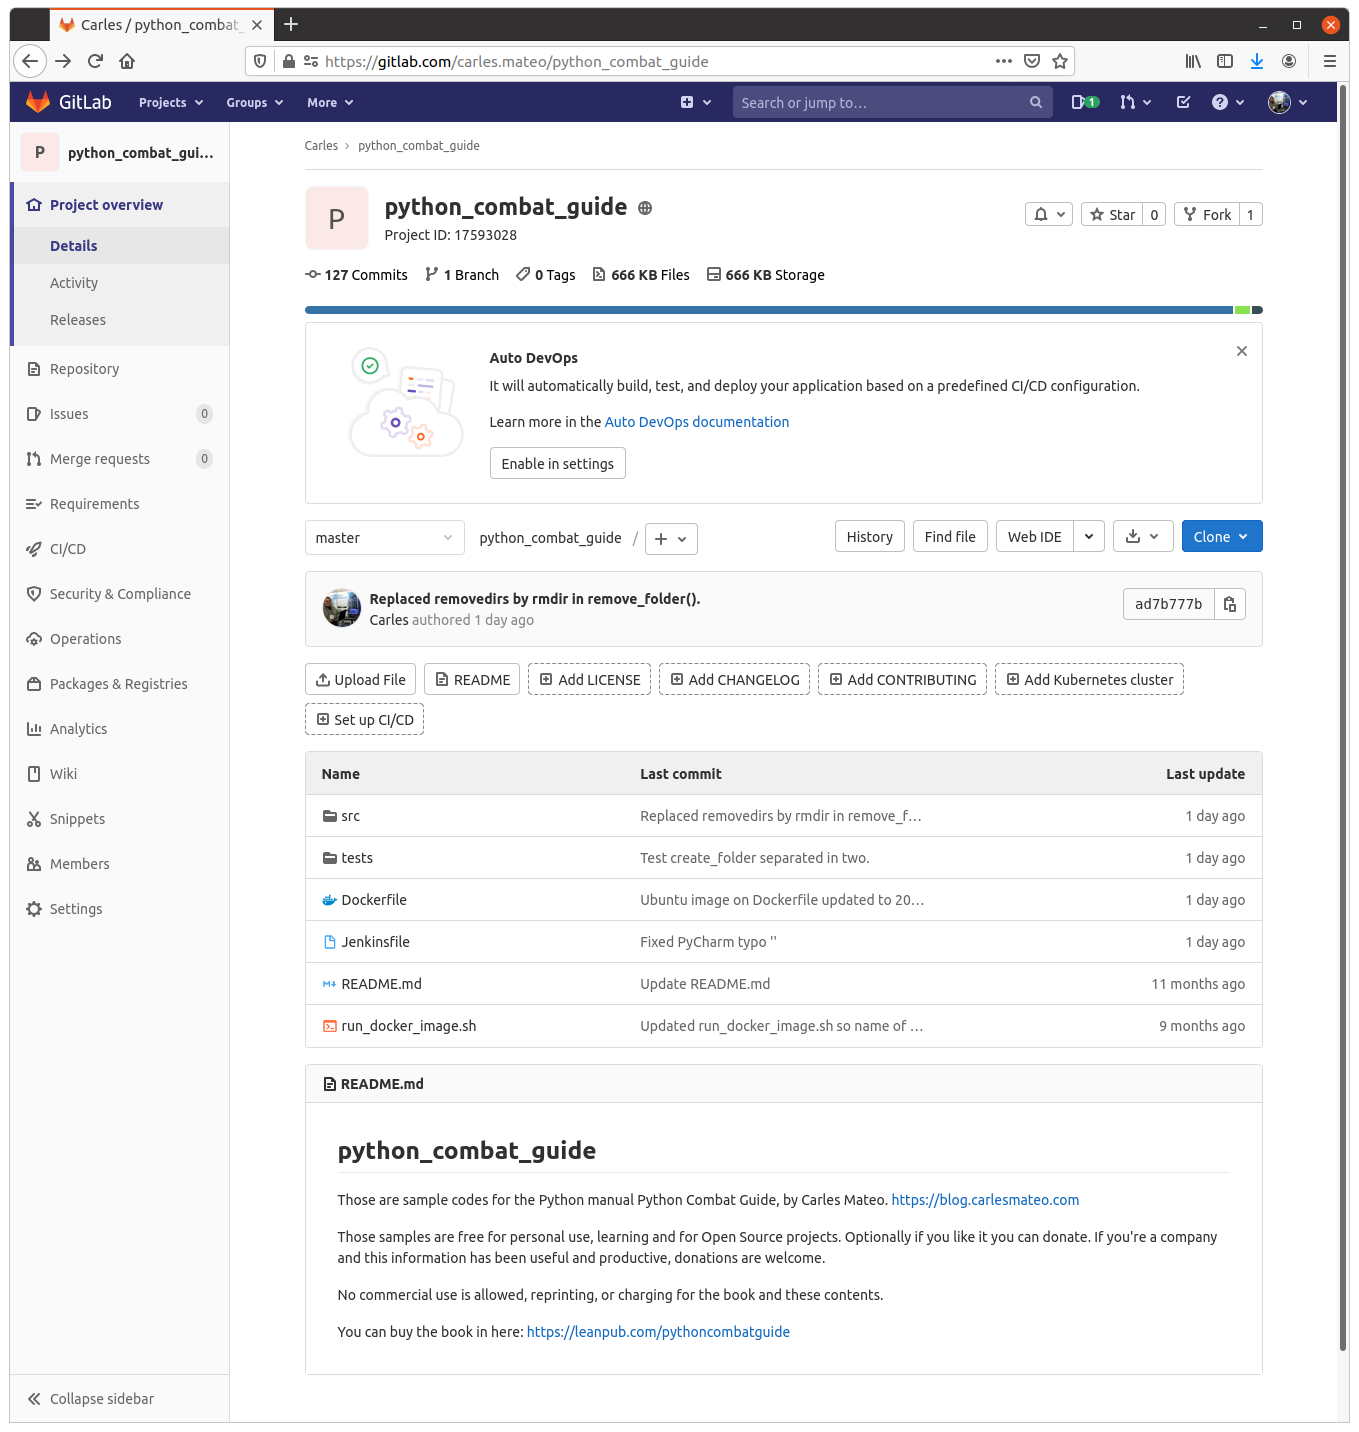
Here is my Jenkinsfile in https://gitlab.com/carles.mateo/python_combat_guide/-/blob/master/Jenkinsfile
pipeline {
    agent any
    stages {
        stage('Show Environment') {
            steps {
                echo 'Showing the environment'
                sh 'ls -hal'
            }
        }
        stage('Updating from repository') {
            steps {
                echo 'Grabbing from repository'
                withCredentials([usernamePassword(credentialsId: 'ssh-fast', usernameVariable: 'USERNAME', passwordVariable: 'USERPASS')]) {
                    script {
                        sh "sshpass -p '$USERPASS' -v ssh -o StrictHostKeyChecking=no $USERNAME@$ip_fast 'git clone https://gitlab.com/carles.mateo/python_combat_guide.git; cd python_combat_guide; git pull'"
                    }
                }
            }
        }
        stage('Build Docker Image') {
            steps {
                echo 'Building Docker Container'
                withCredentials([usernamePassword(credentialsId: 'ssh-fast', usernameVariable: 'USERNAME', passwordVariable: 'USERPASS')]) {
                    script {
                        sh "sshpass -p '$USERPASS' -v ssh -o StrictHostKeyChecking=no $USERNAME@$ip_fast 'cd python_combat_guide; docker build -t python_combat_guide .'"
                    }
                }
            }
        }
        stage('Run the Tests') {
            steps {
                echo "Running the tests from the Container"
                withCredentials([usernamePassword(credentialsId: 'ssh-fast', usernameVariable: 'USERNAME', passwordVariable: 'USERPASS')]) {
                    script {
                        sh "sshpass -p '$USERPASS' -v ssh -o StrictHostKeyChecking=no $USERNAME@$ip_fast 'cd python_combat_guide; docker run  python_combat_guide'"
                    }
                }
            }
        }
    }
}
My Jenkins Docker installation has the sshpass command, and I use it to connect via SSH, with username and Password to the server defined by ip_fast environment variable.
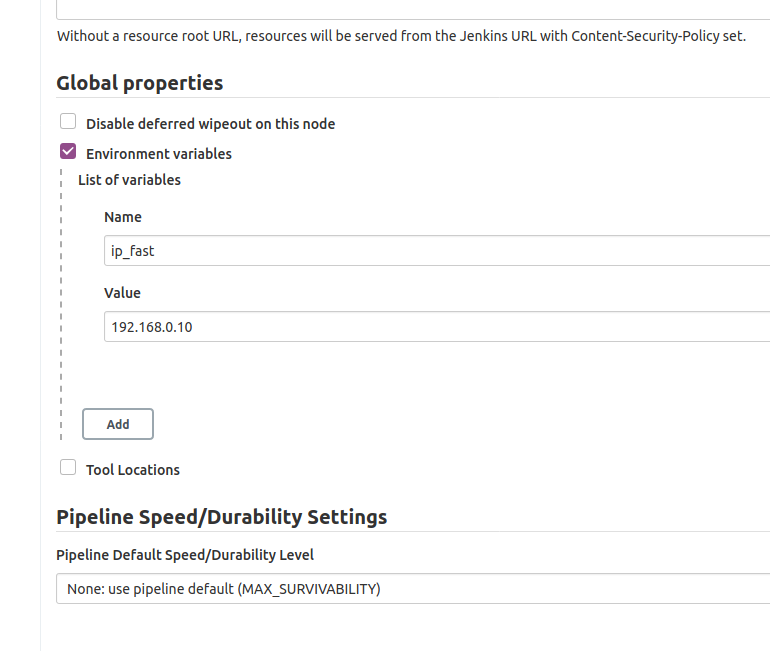
We defined the variable ip_fast in Manage Jenkins > Configure System.
There in Global Properties , Environment Variables I defined ip_fast:
In the Build Server I’ll make a new user and allow it to build Docker:
sudo adduser jenkins_build

sudo usermod -aG docker jenkins_build
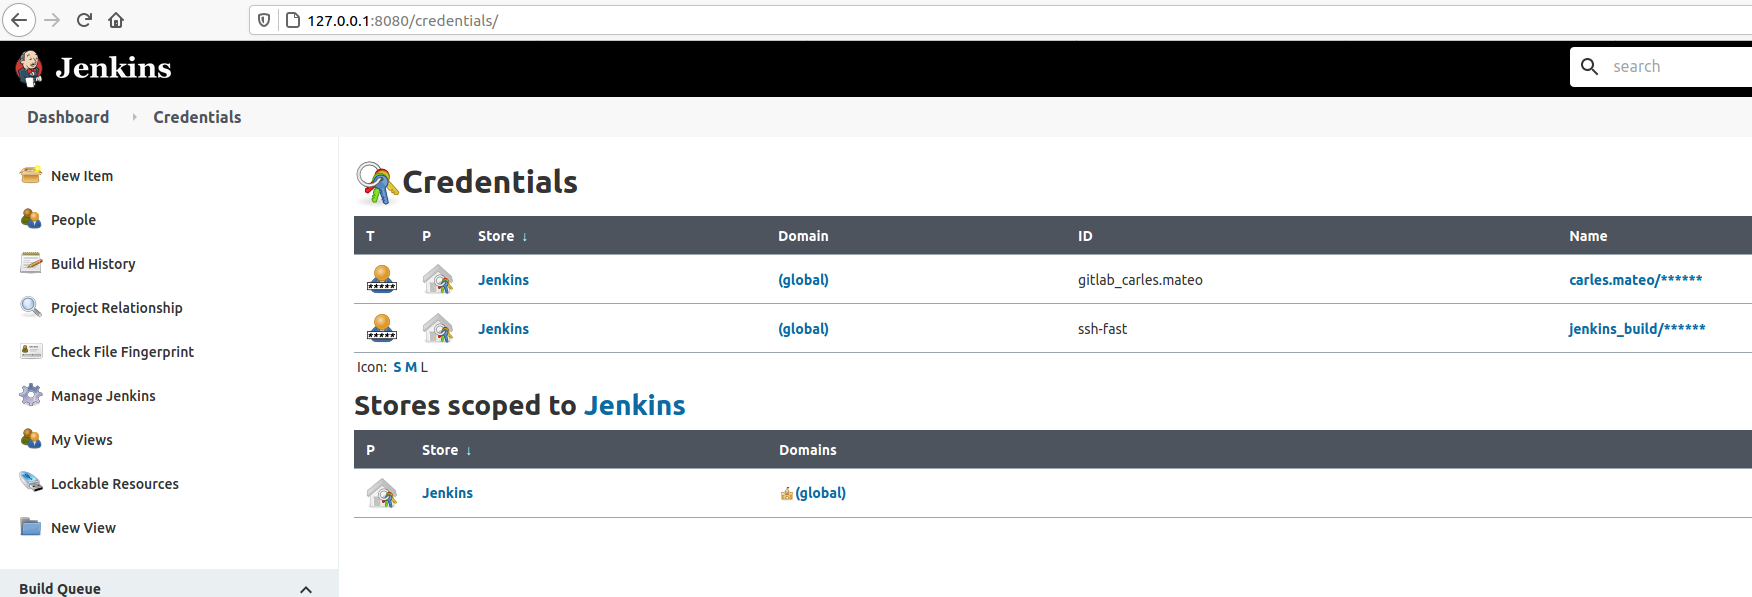
The Credentials can be managed from Manage Jenkins > Manage Credentials.
You can see how I use all this combined in the Jenkinsfile so I don’t have to store credentials in the CVS and Jenkins (Docker Container) will connect via SSH to make the computer after ip_fast Ip, to build and run another Container. That Container will run with a command to do the Unit Testing. If something goes wrong, that is, if any program return an Exit Code different from 0, Jenkins will consider the build fail.

Take in count that $? only stores the Exit Code of the last program. So be careful if you pass multiple commands in one single line, as this may mask an error.
Separating the execution in multiple Stages helps to save time, as after a failure, execution will not continue.
Also visually is easy to see where the error is.